Quick Lighting Tricks in Blender Part 1
With pretty much every 3D program you have various possibilities to illuminate your scene or object in different ways. One variant is, to put it simply, that you set and align your light sources and in most cases this looks relatively good, as long as you pay attention to a few important things. However, I don’t want to go into all the important factors in detail here, just show you a quick way to create quite appealing and interesting renderings with relatively little effort. The following rendering is a bit exaggerated, neither the light nor the material is right, but it should only serve as a small example.
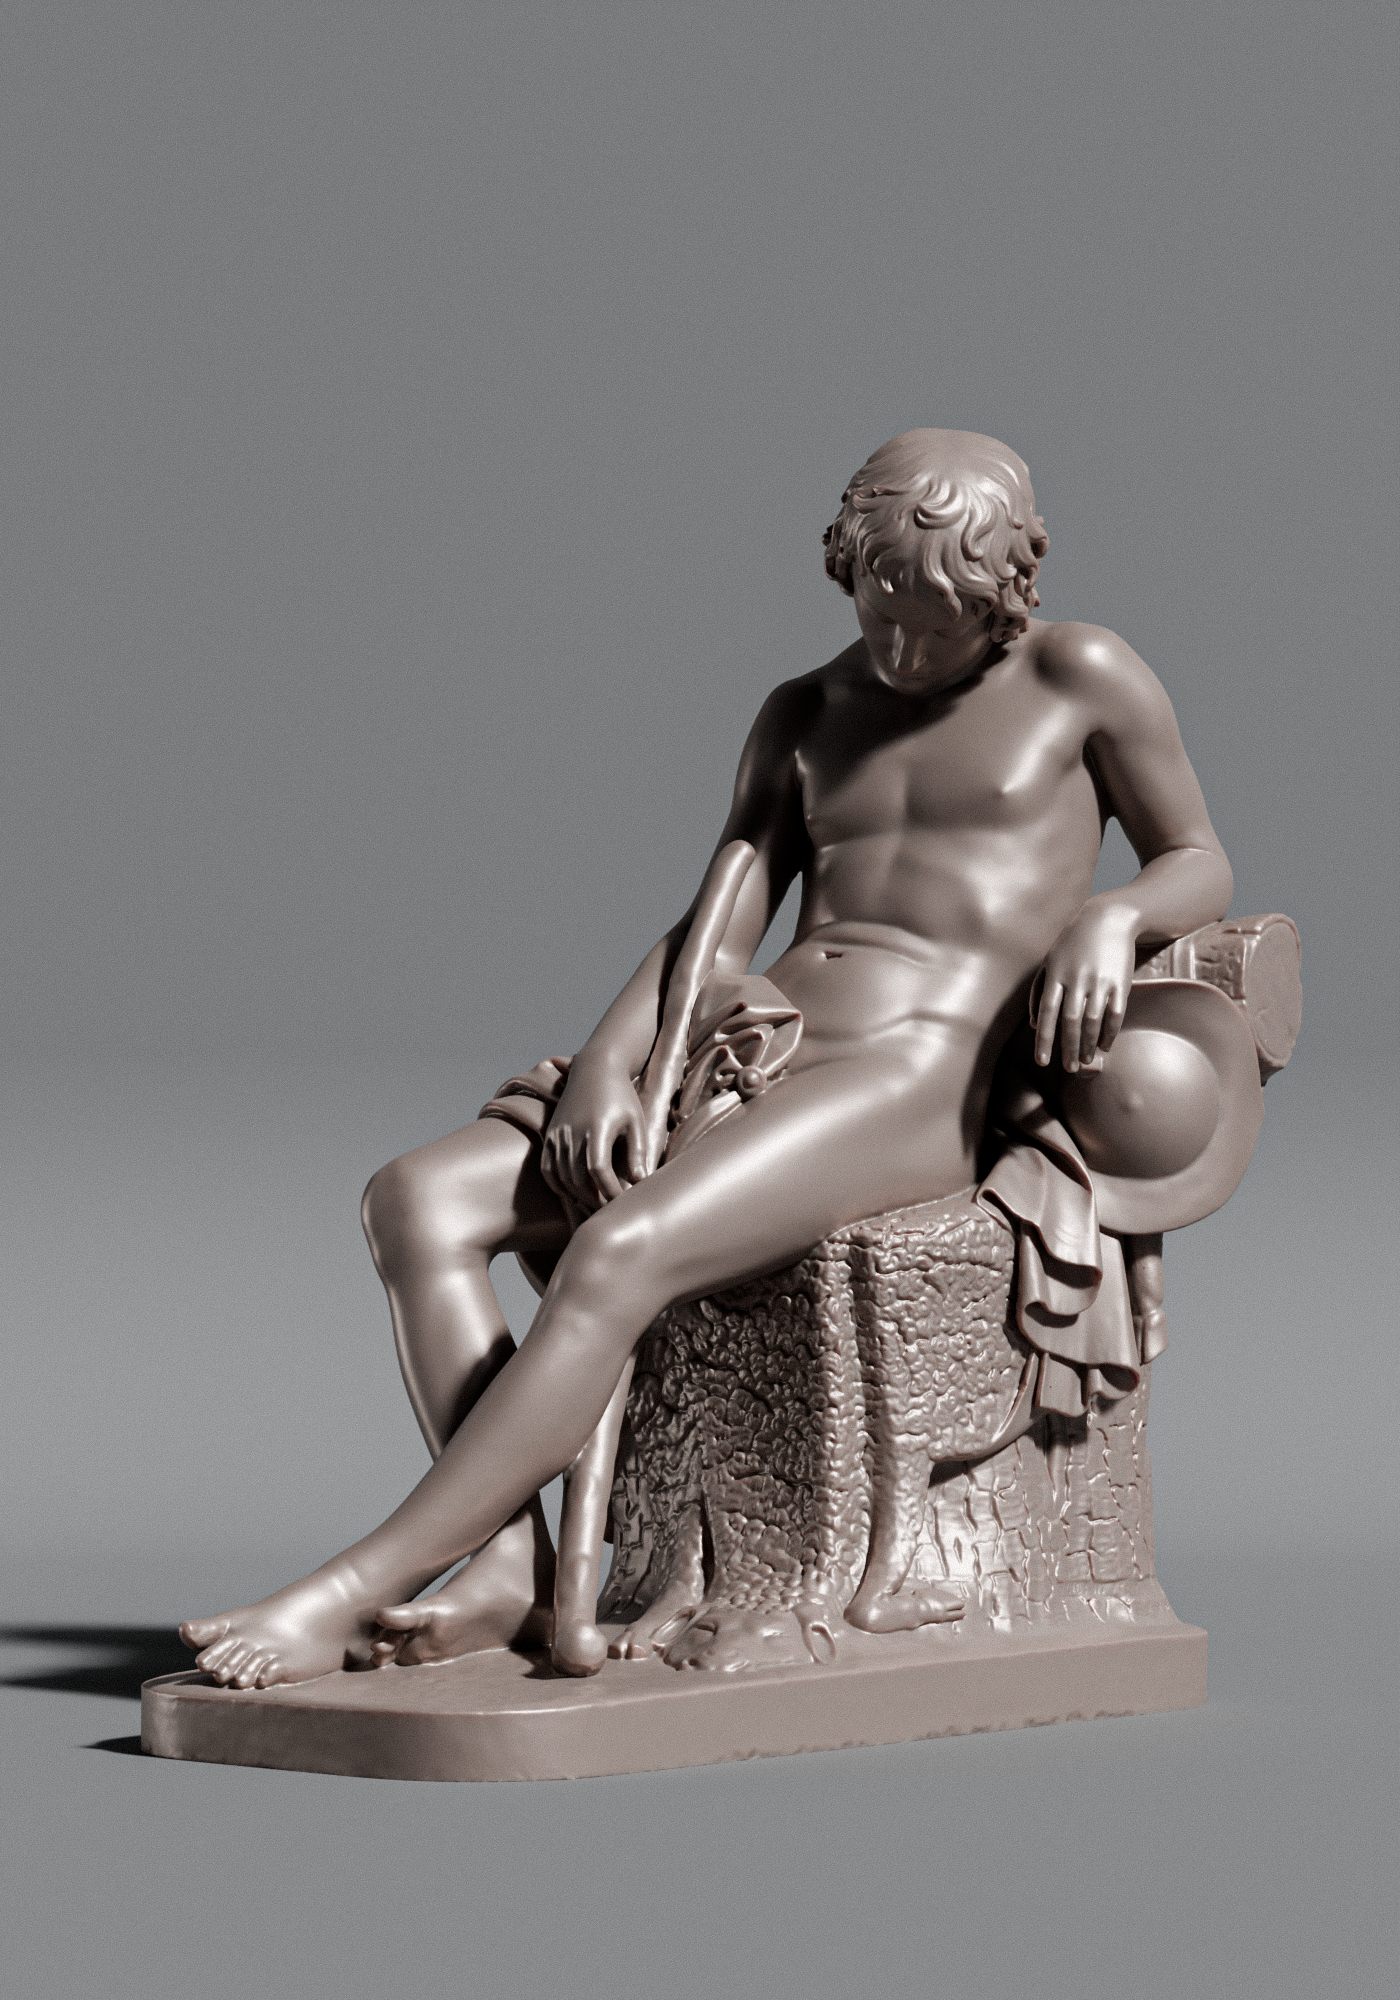
For product renderings, I usually use „three-point lighting“ to show off the product in an appealing way. However, there are situations where you have chosen an HDRI texture for the lighting in the scene, e.g. for an interior scene. If you want to render a close-up of a certain area or detail in the scene without changing and adjusting the entire lighting, the following method is one of the many possible approaches.
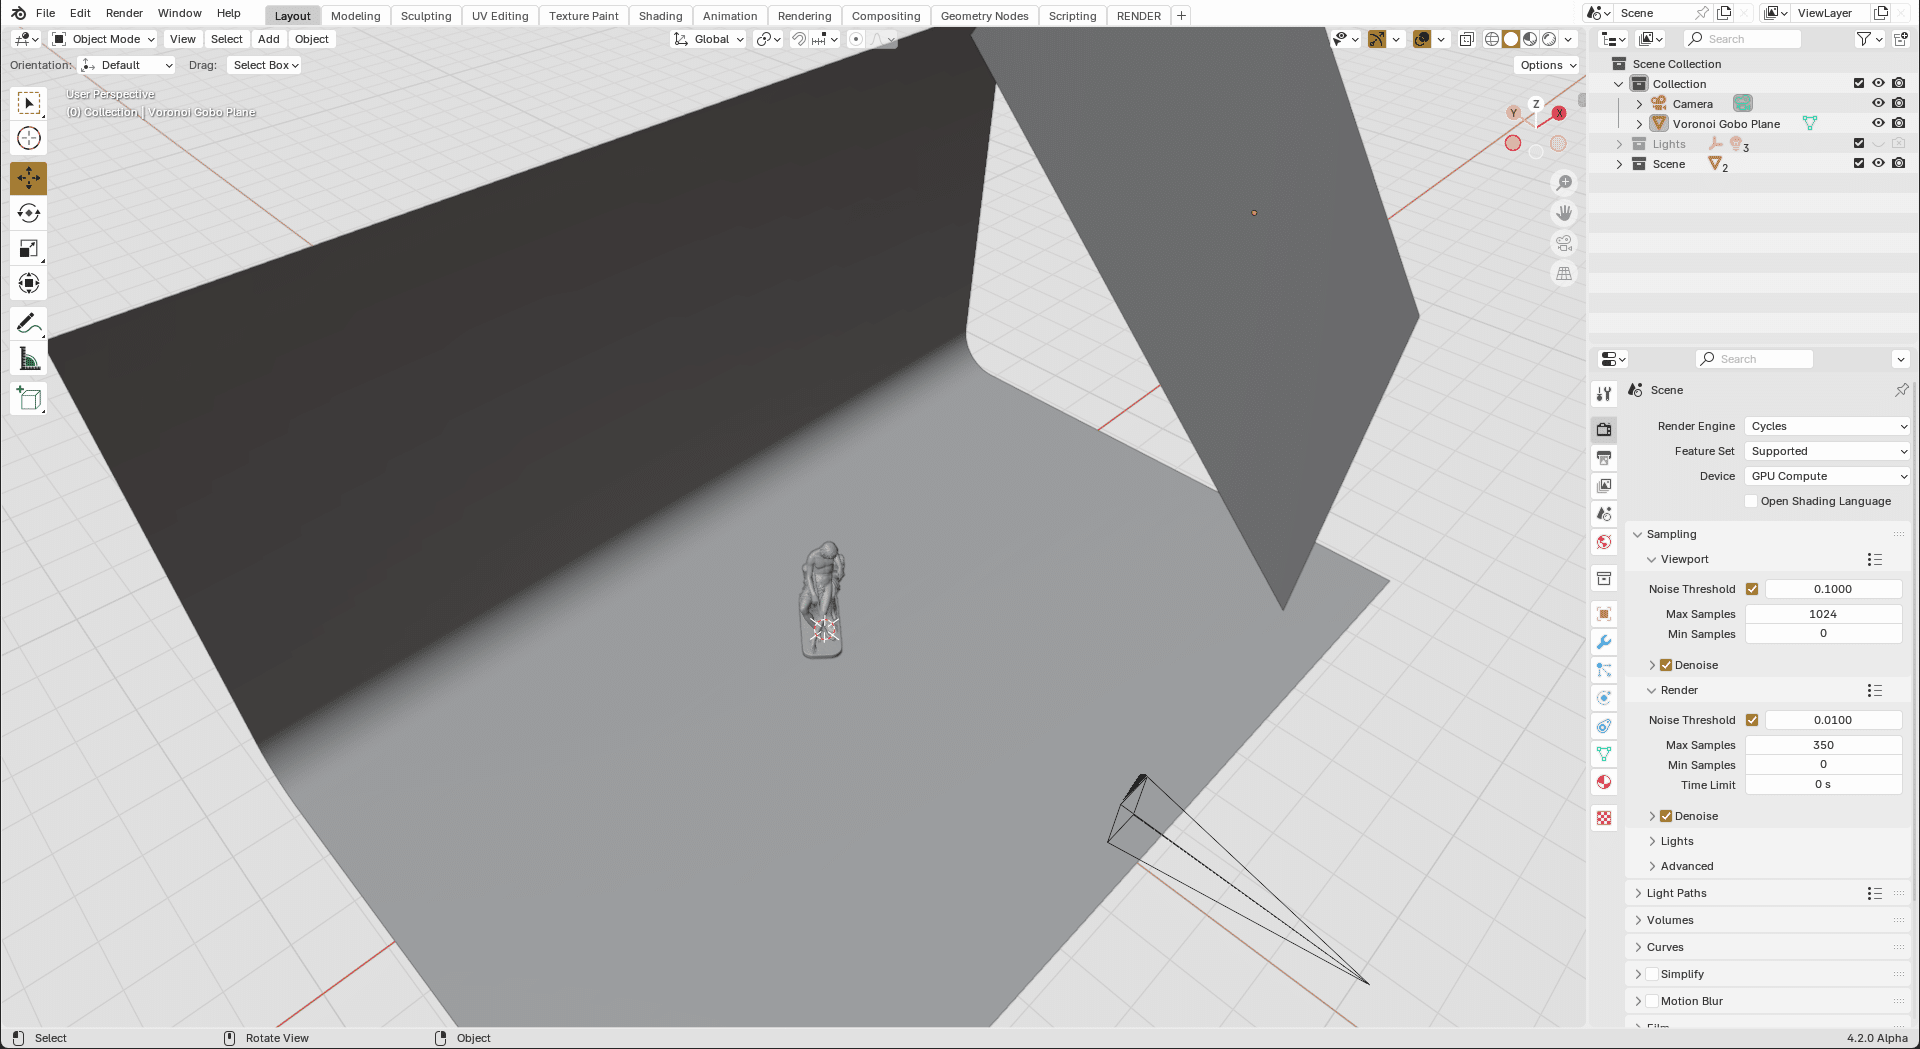
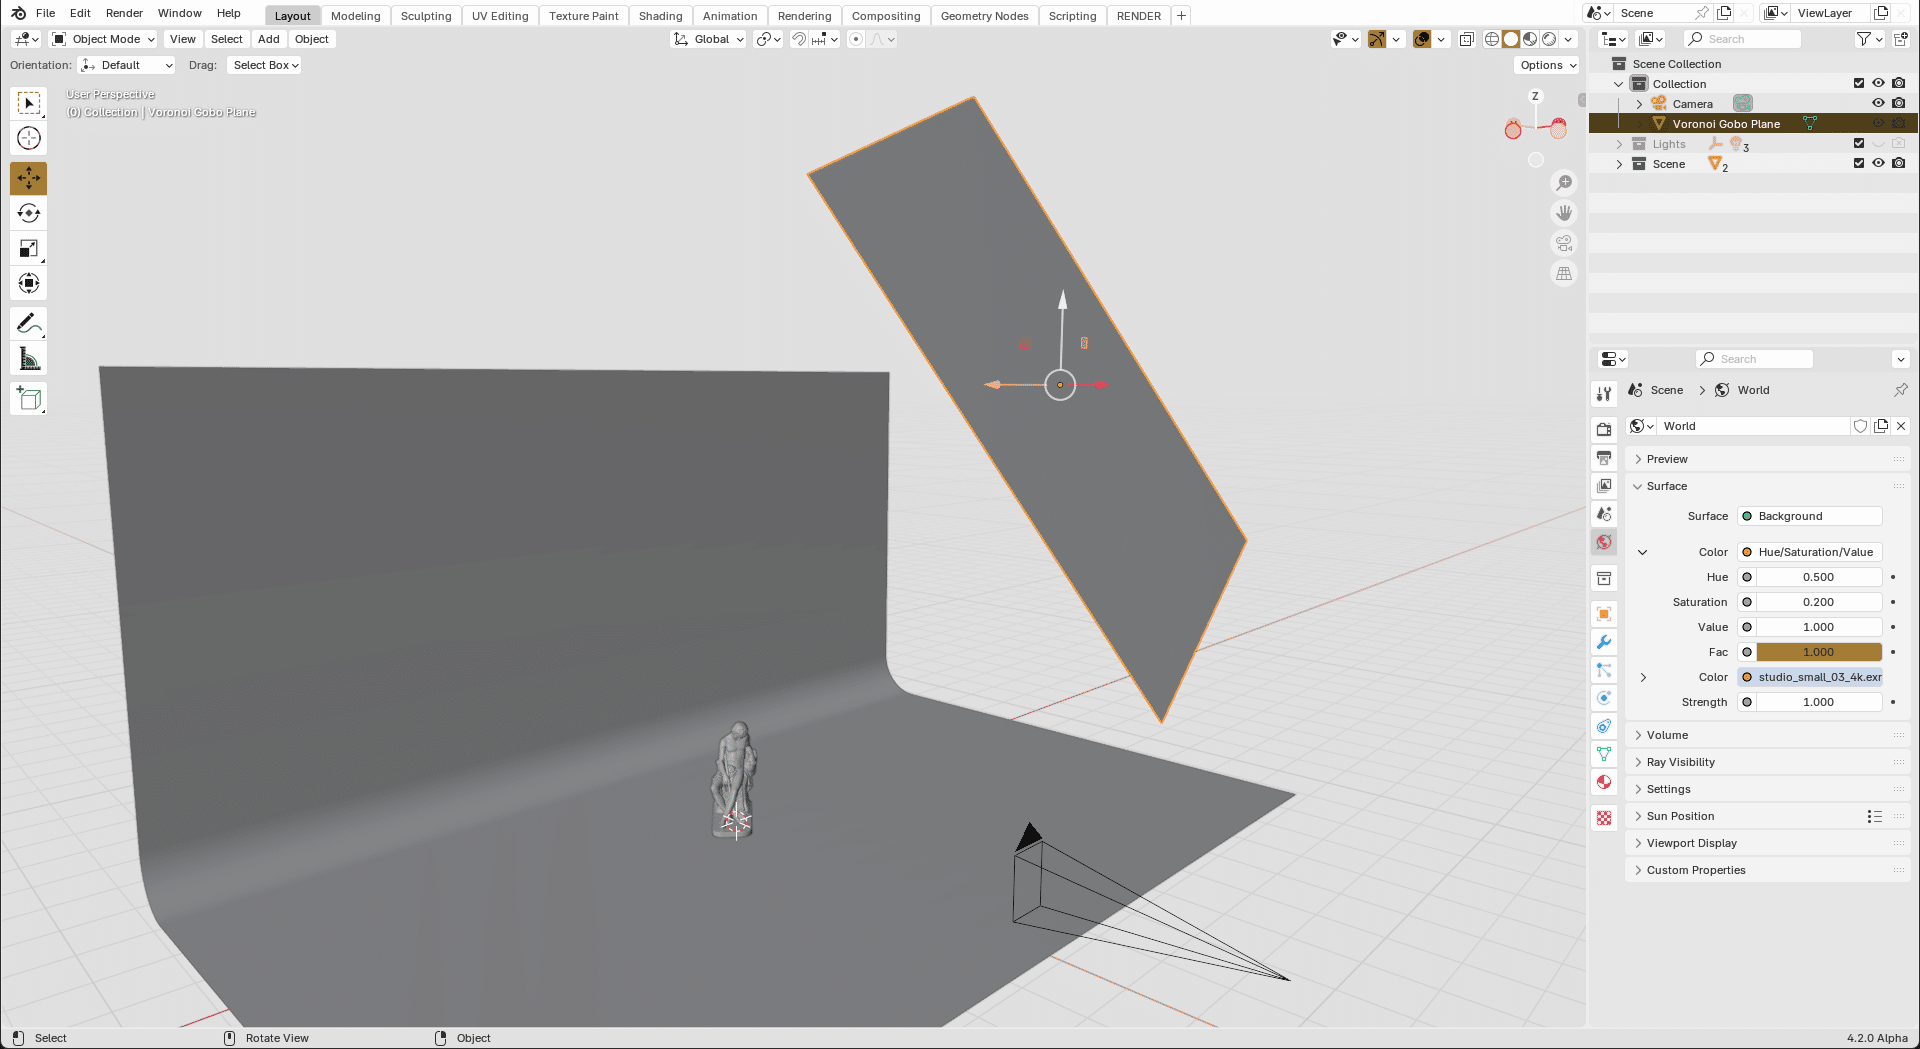
I have created a small scene here, consisting of a tarpaulin that serves as a background and a small statue, which is a scanned model and which you can download here for free along with some other models. Secondly, as you can see in the example, I created another surface and only roughly positioned it in front of the statue for the time being.
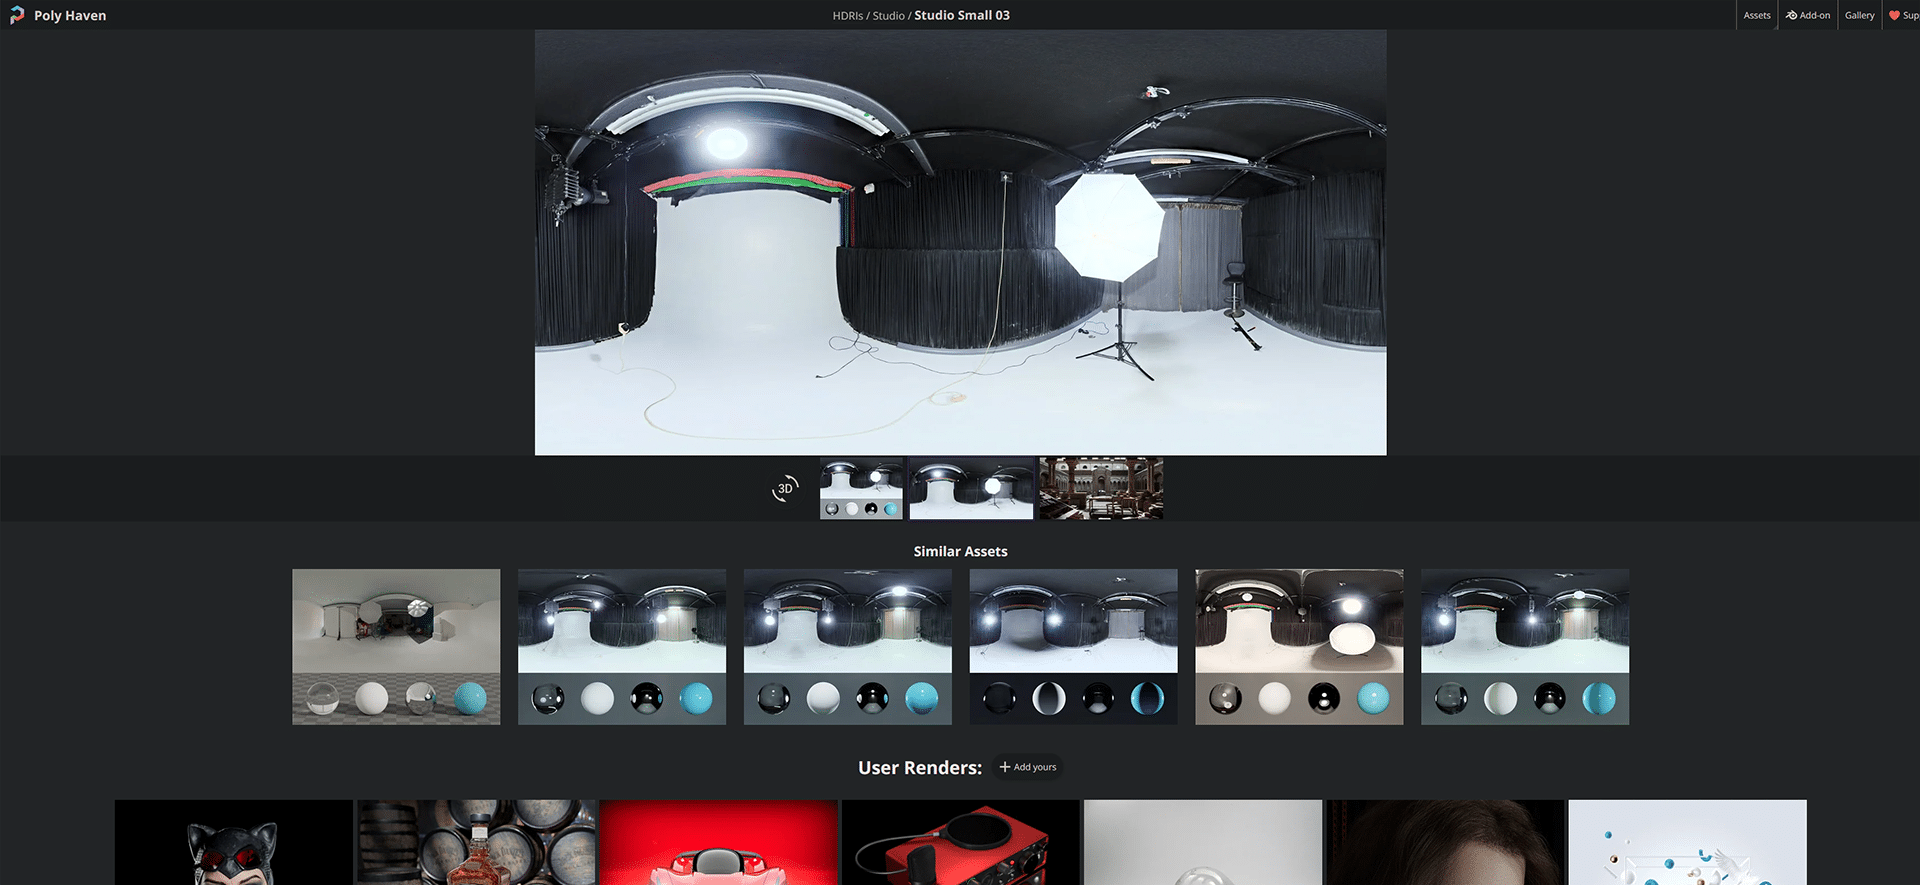
Next you select an HDRI texture, for this scene I used an „HDRI studio lighting texture“ as these types of HDRI’s are better suited to situations like this than overcast or some outdoor HDRI’s as sometimes the desired effect doesn’t come across as well.
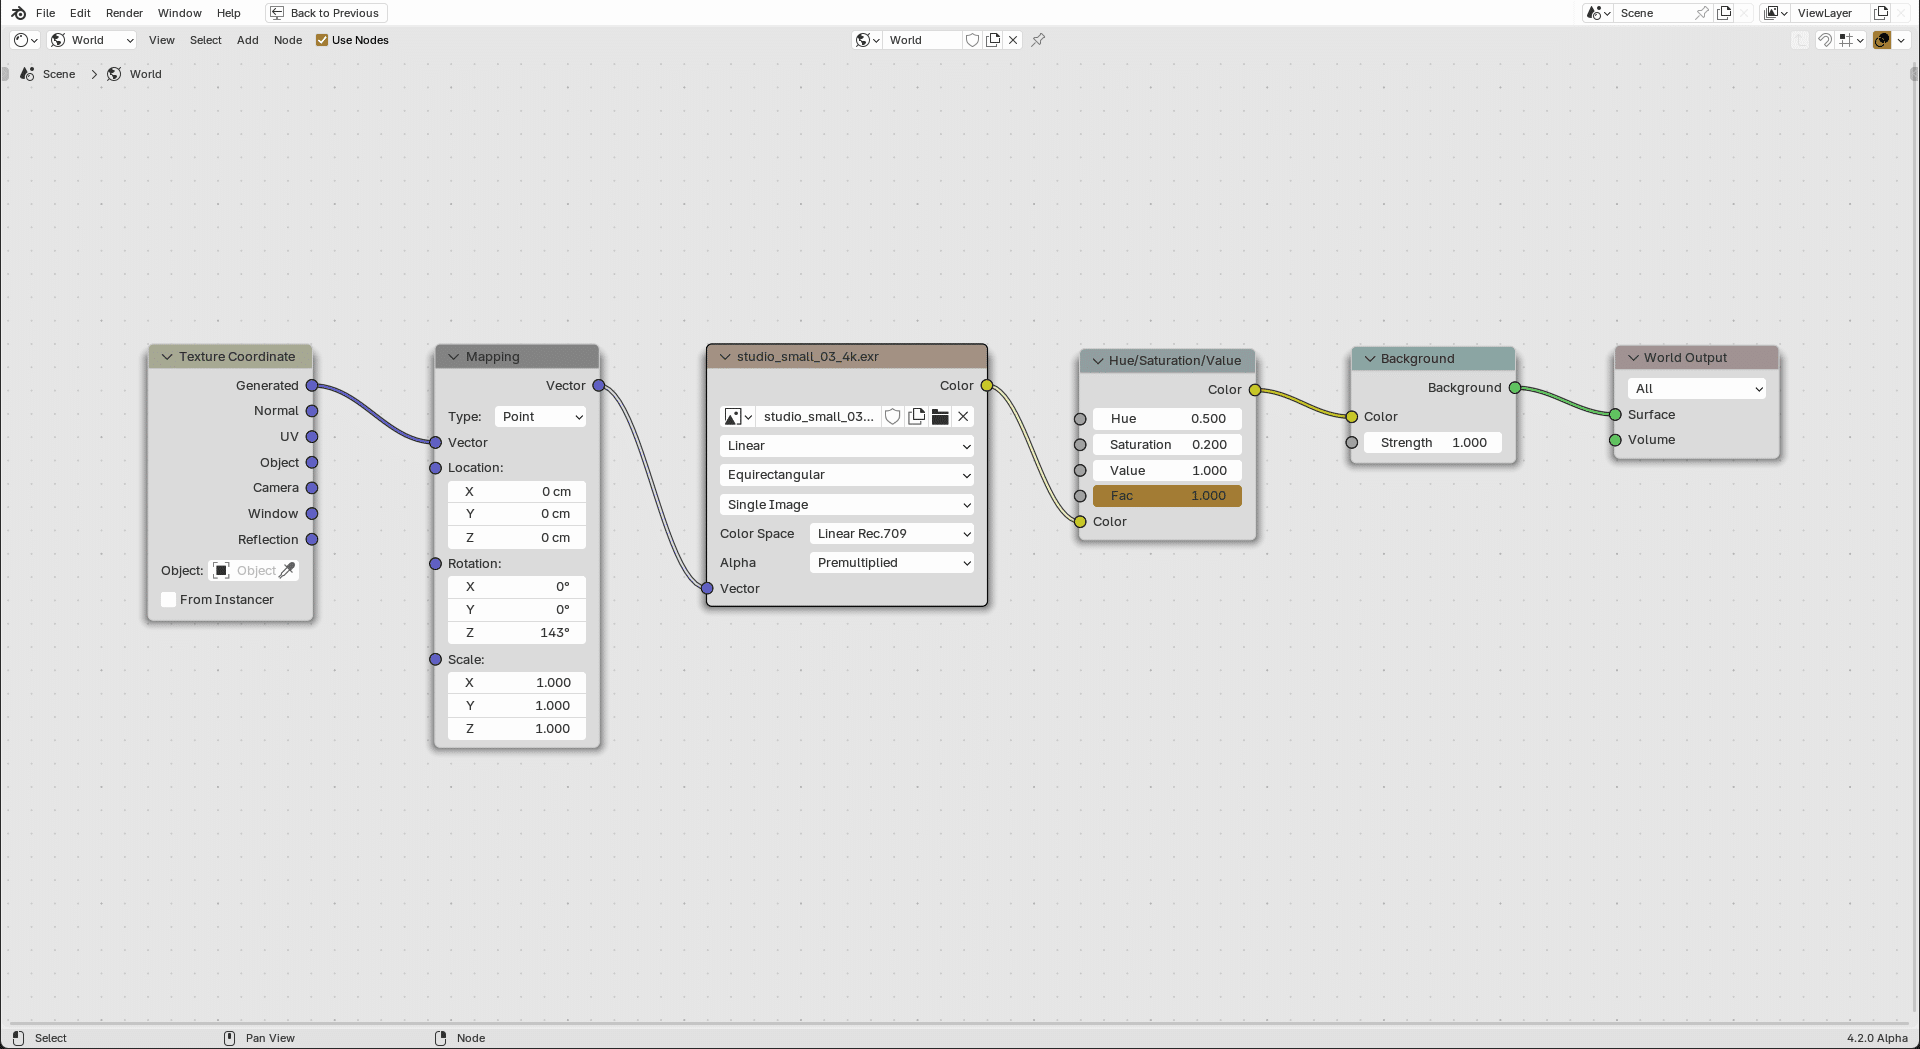
Once you have done this, you should make a few small adjustments in the „World node area“. First, click on the „Texture Node“ and with the key combination „Ctrl+T“ you get two more „Nodes“ such as the „Texture Coordinates“ and the „Mapping Node“, provided you have activated the integrated „Node Wrangler AddOn“ in the settings.
In the „Mapping Node“ you now rotate your HDRI until the exposure comes close to a „three-point illumination“. As you can see, I have added a „Hue/Saturation Node“ between the „Texture Node“ and the „Background Node“ to desaturate the „HDRI texture“ a little.
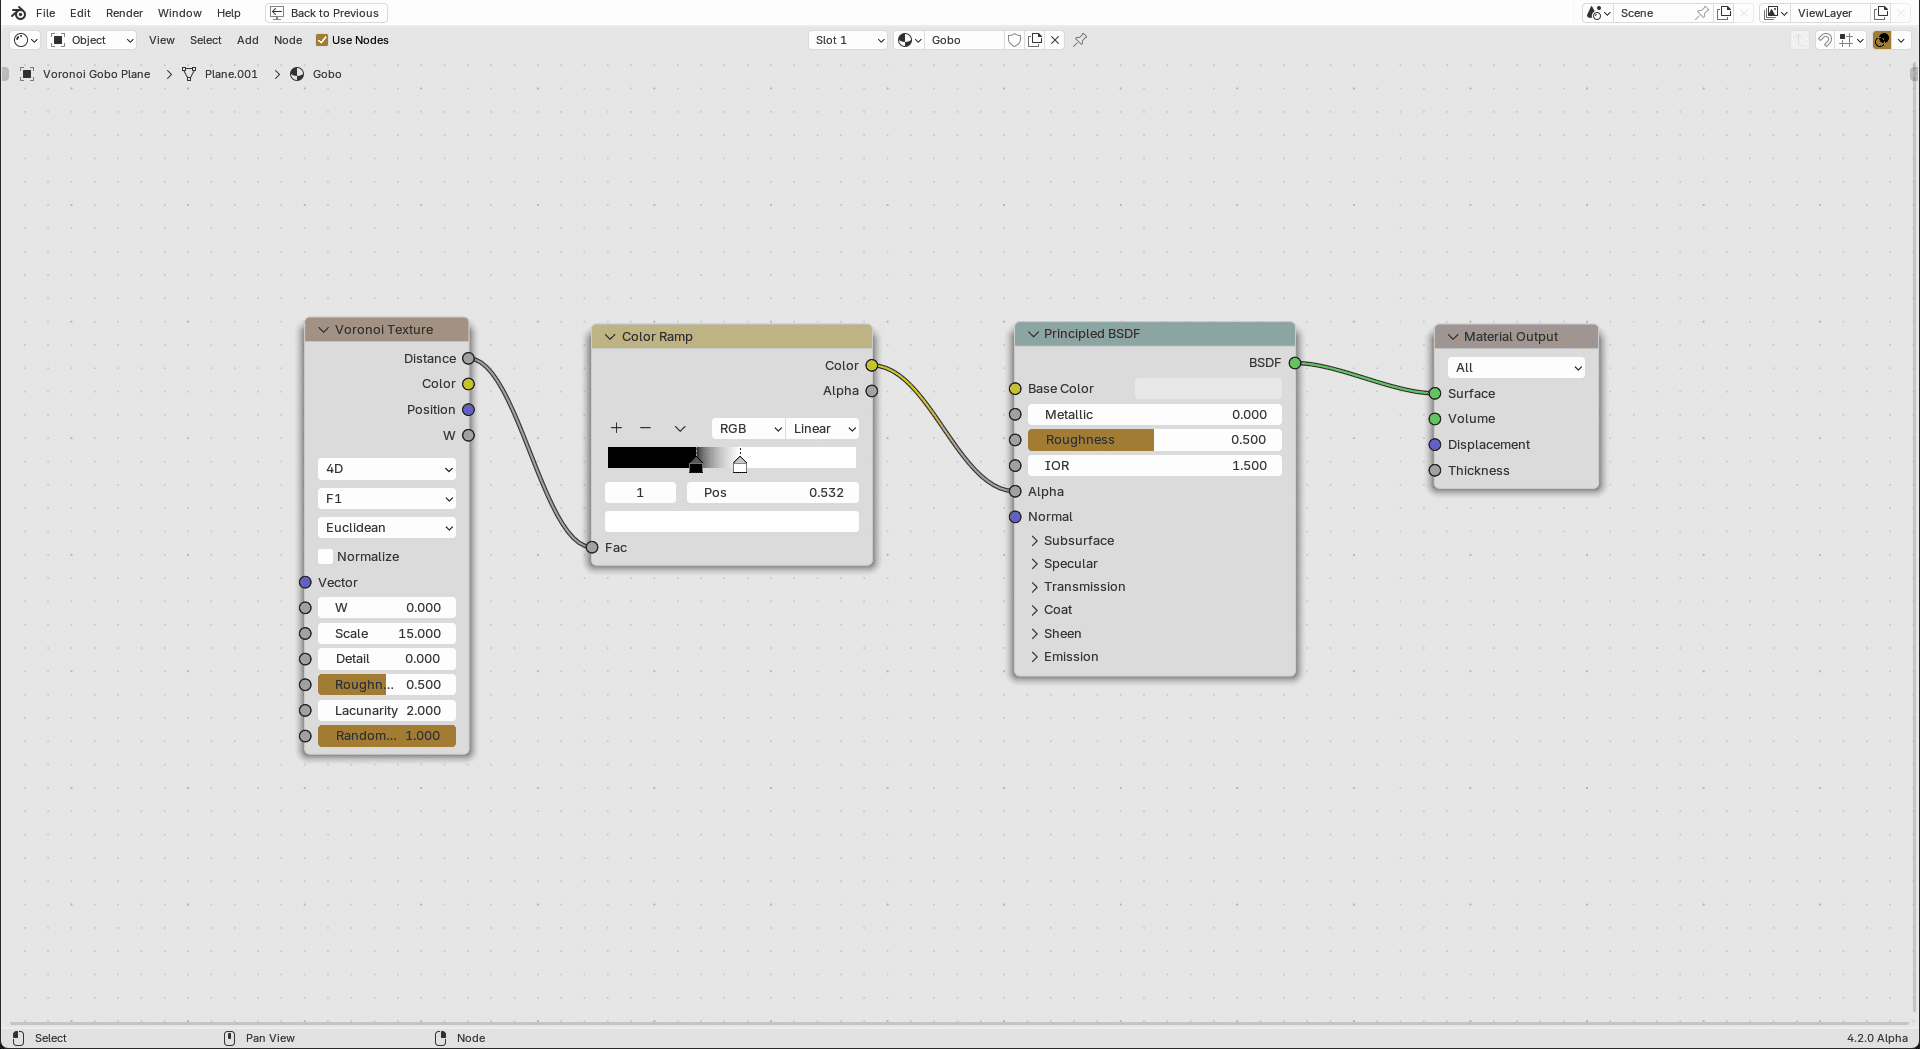
In the next step, you create a new material for the previously created smaller plane. Use the key combination „Shift+A“ to create a „Voronoi texture node“ and a „Color ramp node“ and connect them to the „Principled BSDF shader node“ as shown in the screenshot.
You can see the settings and values of the „Voronoi node“ and the „Color ramp node“ in the screenshot, although you can vary the size depending on the situation. It’s best to play around with the values to get a great result.
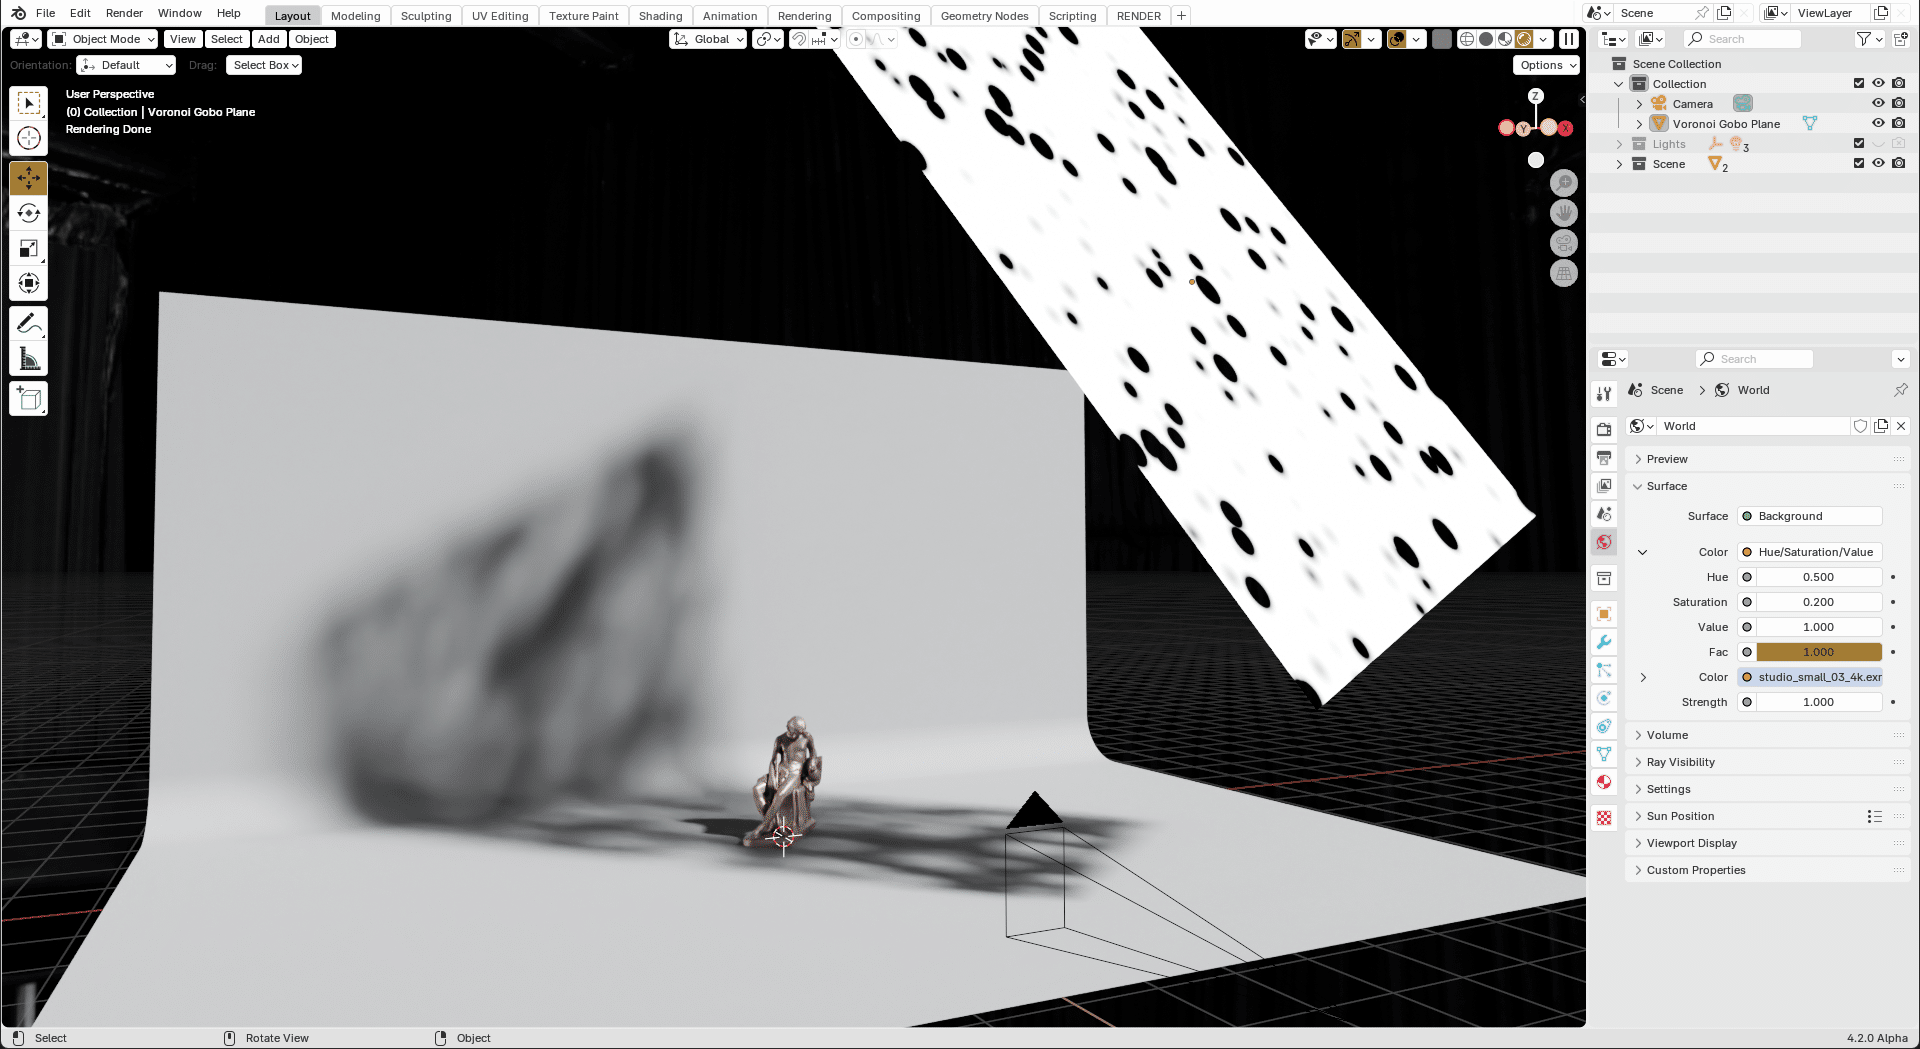
If everything fits so far, your result should look something like this. Basically, all you have to do is position the surface so that you get a nice shadow effect.
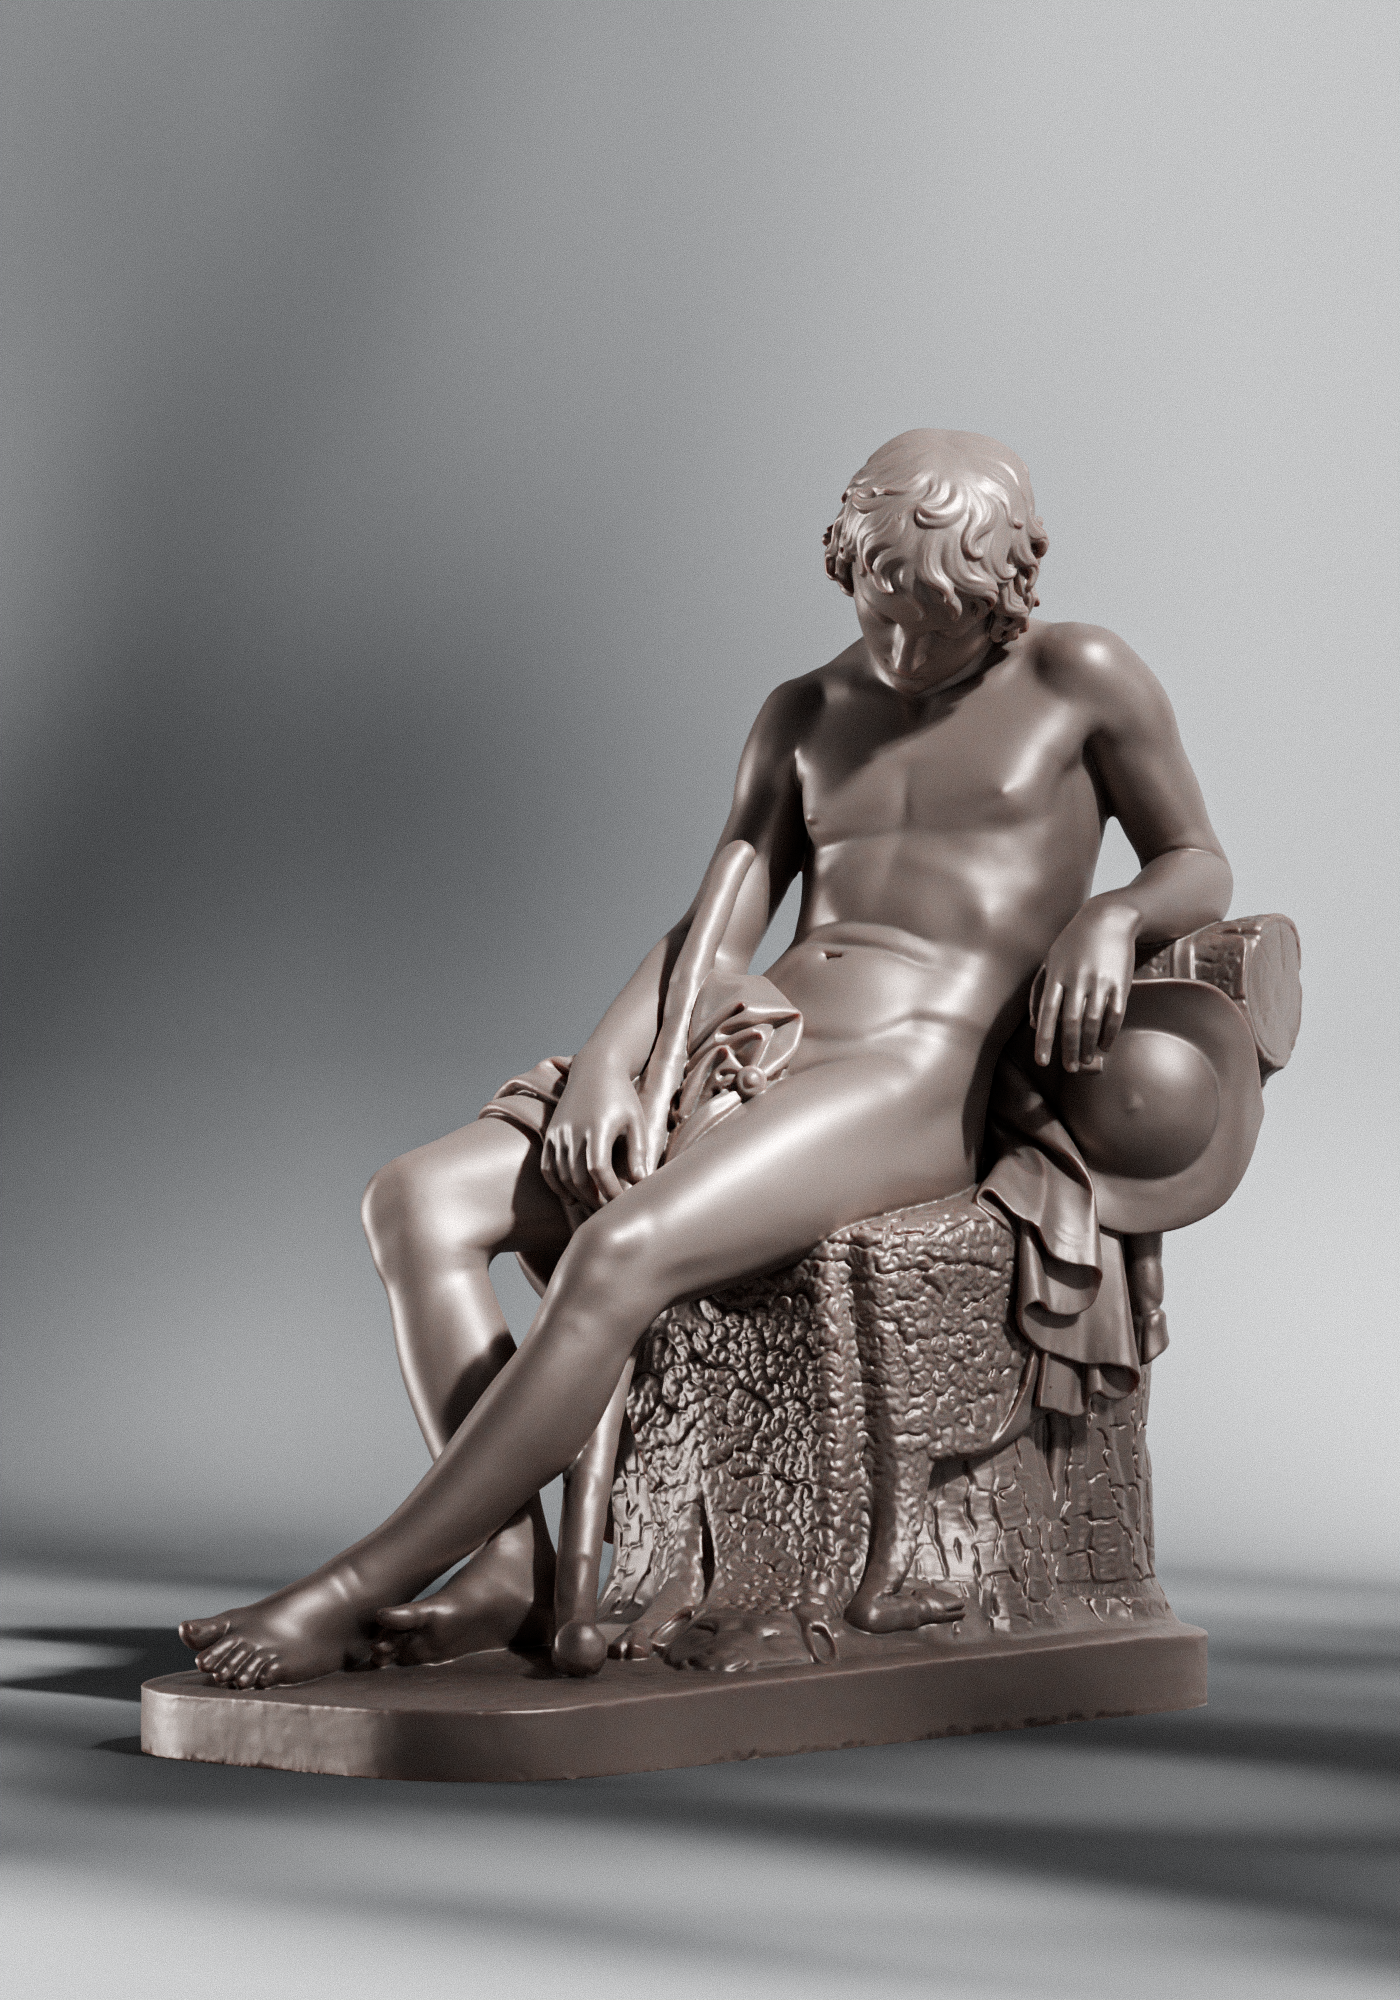
3D Scan Statue: HERE
HDRI Texture: HERE
