Bathroom Interior ArchViz
Some time ago I discovered a tutorial on YouTube showing how to create a bathroom scene in 3ds Max. I only noticed the video because I liked the rendering in the thumbnail and thought I would try to recreate it without watching the tutorial. So I took the opposite approach. I wanted to recreate the scene using the knowledge I have about 3ds Max and Corona. After I had almost everything completed, I watched this tutorial in parts to see if my approach was the right one and I was surprised to find that the tutor had essentially done the same steps as I did when creating it. There were actually only minor differences in the creation that were not worth mentioning.

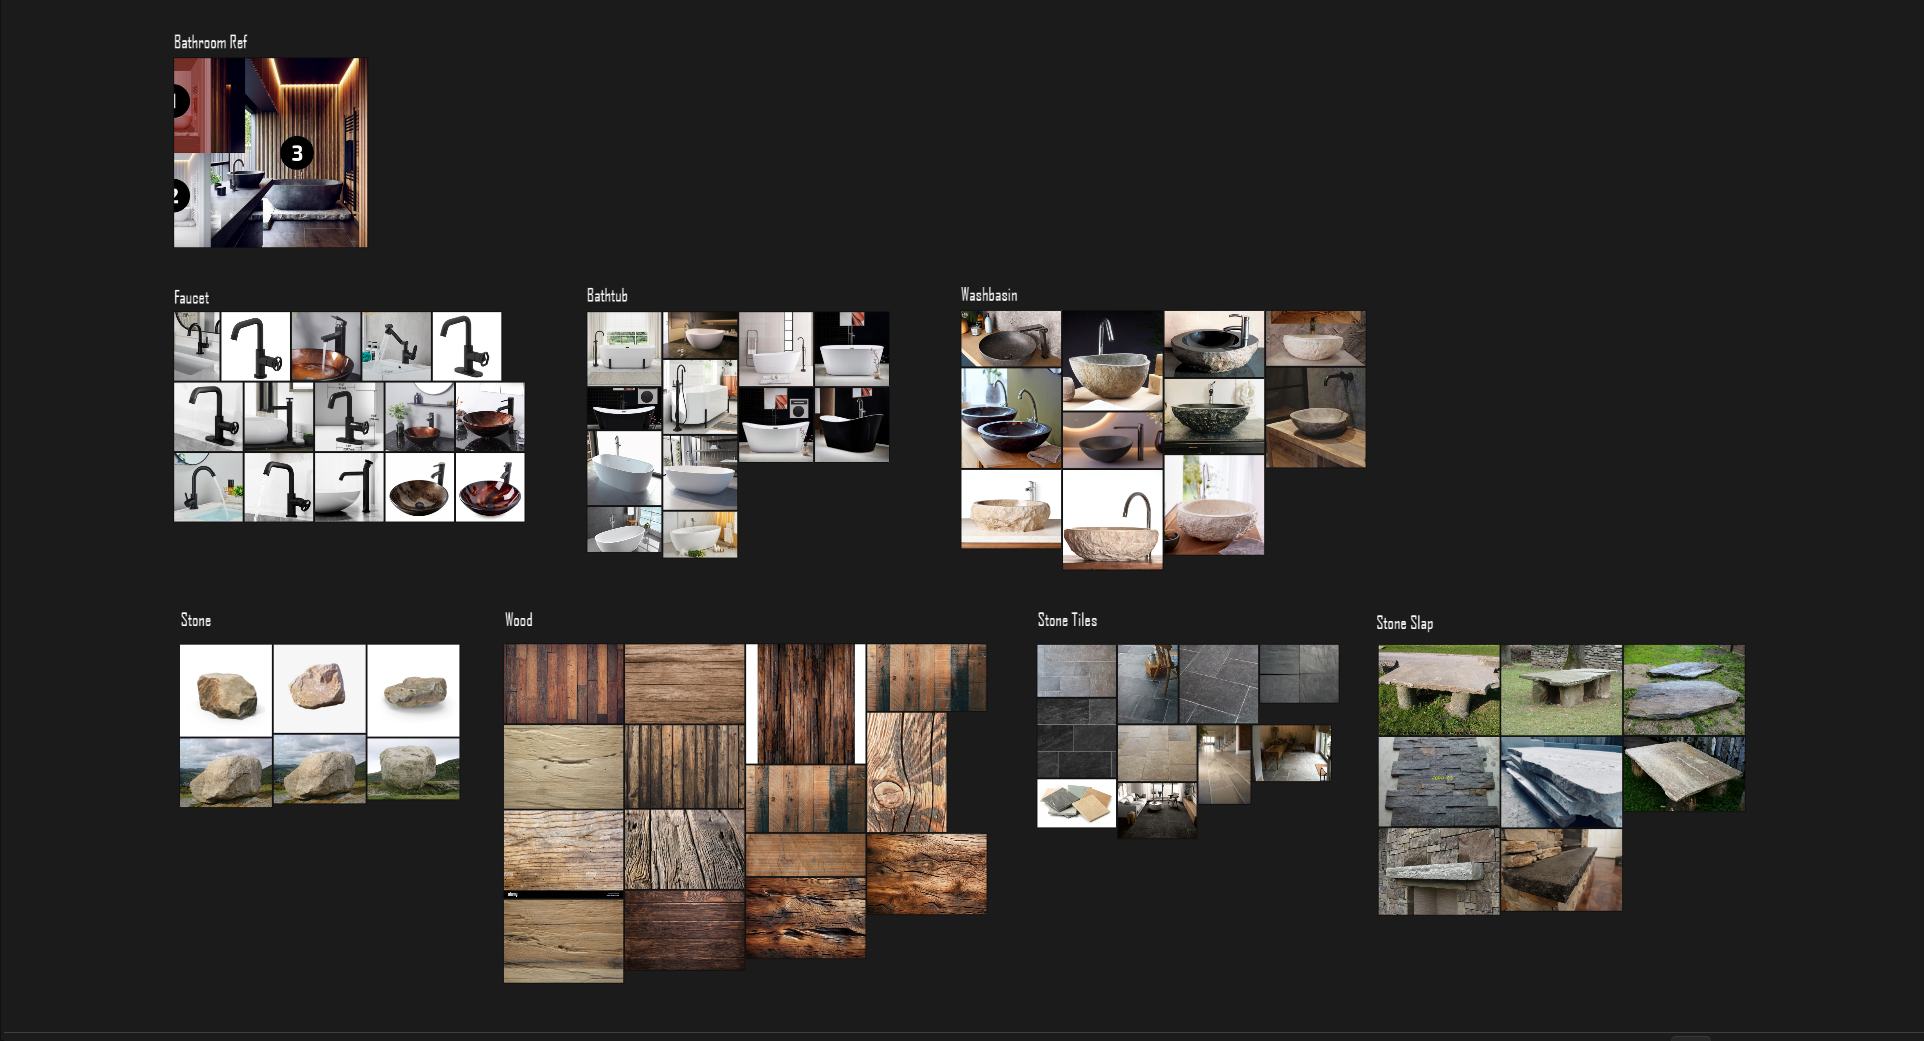
Of course, I wanted to model as much as possible myself during the creation, firstly because I simply had the time for this project and therefore no DeadLine, and secondly to improve my modeling skills even more. That’s why I first created a blockout scene with a humanoid character in real scale at the start of the project, so that everything would fit together in the correct real scale afterwards. After I had finished the blockout scene, I looked for various pictures as a reference for the later modeling of the individual objects. I only wanted to model the bathtub, the washbasin and the two taps and, of course, the room itself. I added all the other accessories in the scene towards the end and they are not mine, they are from the „Chaos Cosmos Browser“ where everyone has access to them who has purchased „VRay“, „Corona“ or „Chaos Vantage“, as in my case. Although the plant and other objects are designed for VRay or Corona, I strongly advise everyone who uses them to do their own work on the textures and materials. Especially when the objects are positioned close to the camera. Many of the materials are simply too oversaturated and unnatural or the Bump-Settings do not fit, it is also not uncommon that even the surface mesh of some objects is not always 100% clean. Sometimes it is only subtle adjustments that need to be made, but they make a huge difference to the final rendering.

Incidentally, I would like to explain the difference between VRay and Corona in more detail for all newcomers to 3D, as this question is often asked. Both renderers are backed by the Chaos Group, whereby Corona was bought up about 4 years ago, whereas VRay has been an integral part of the Chaos Group since the beginning. Essentially, there are no differences in terms of quality and performance. VRay is much more complex in terms of scope, settings and handling, which is why newcomers are literally overwhelmed when they first look at the settings, features and handling. Corona is much more beginner-friendly and has quickly made a name for itself in the field of architectural visualizations alongside VRay. The second major difference is that VRay allows you to render on both the GPU and the CPU, whereas Corona only uses the CPU for rendering. This means that with Corona you have to do without the speed of GPU rendering, but this is basically not a disadvantage, because if you want quality in your renderings, you will render with the CPU in most cases anyway. Those who prefer speed naturally render with the GPU. It often depends on the circumstances and the scene to be rendered. These are basically the only two differences between VRay and Corona. In my experience, there are two camps, some swear by VRay and others by Corona, but as already mentioned, there are no differences in terms of the quality of the renderings or the performance under the hood. I personally appreciate the quality of both render engines, which is why I use both. I will also create an complete animation of this project as soon as I find the time.

First short animation test

PurRef | Reference Images

Screenshot | 3ds Max

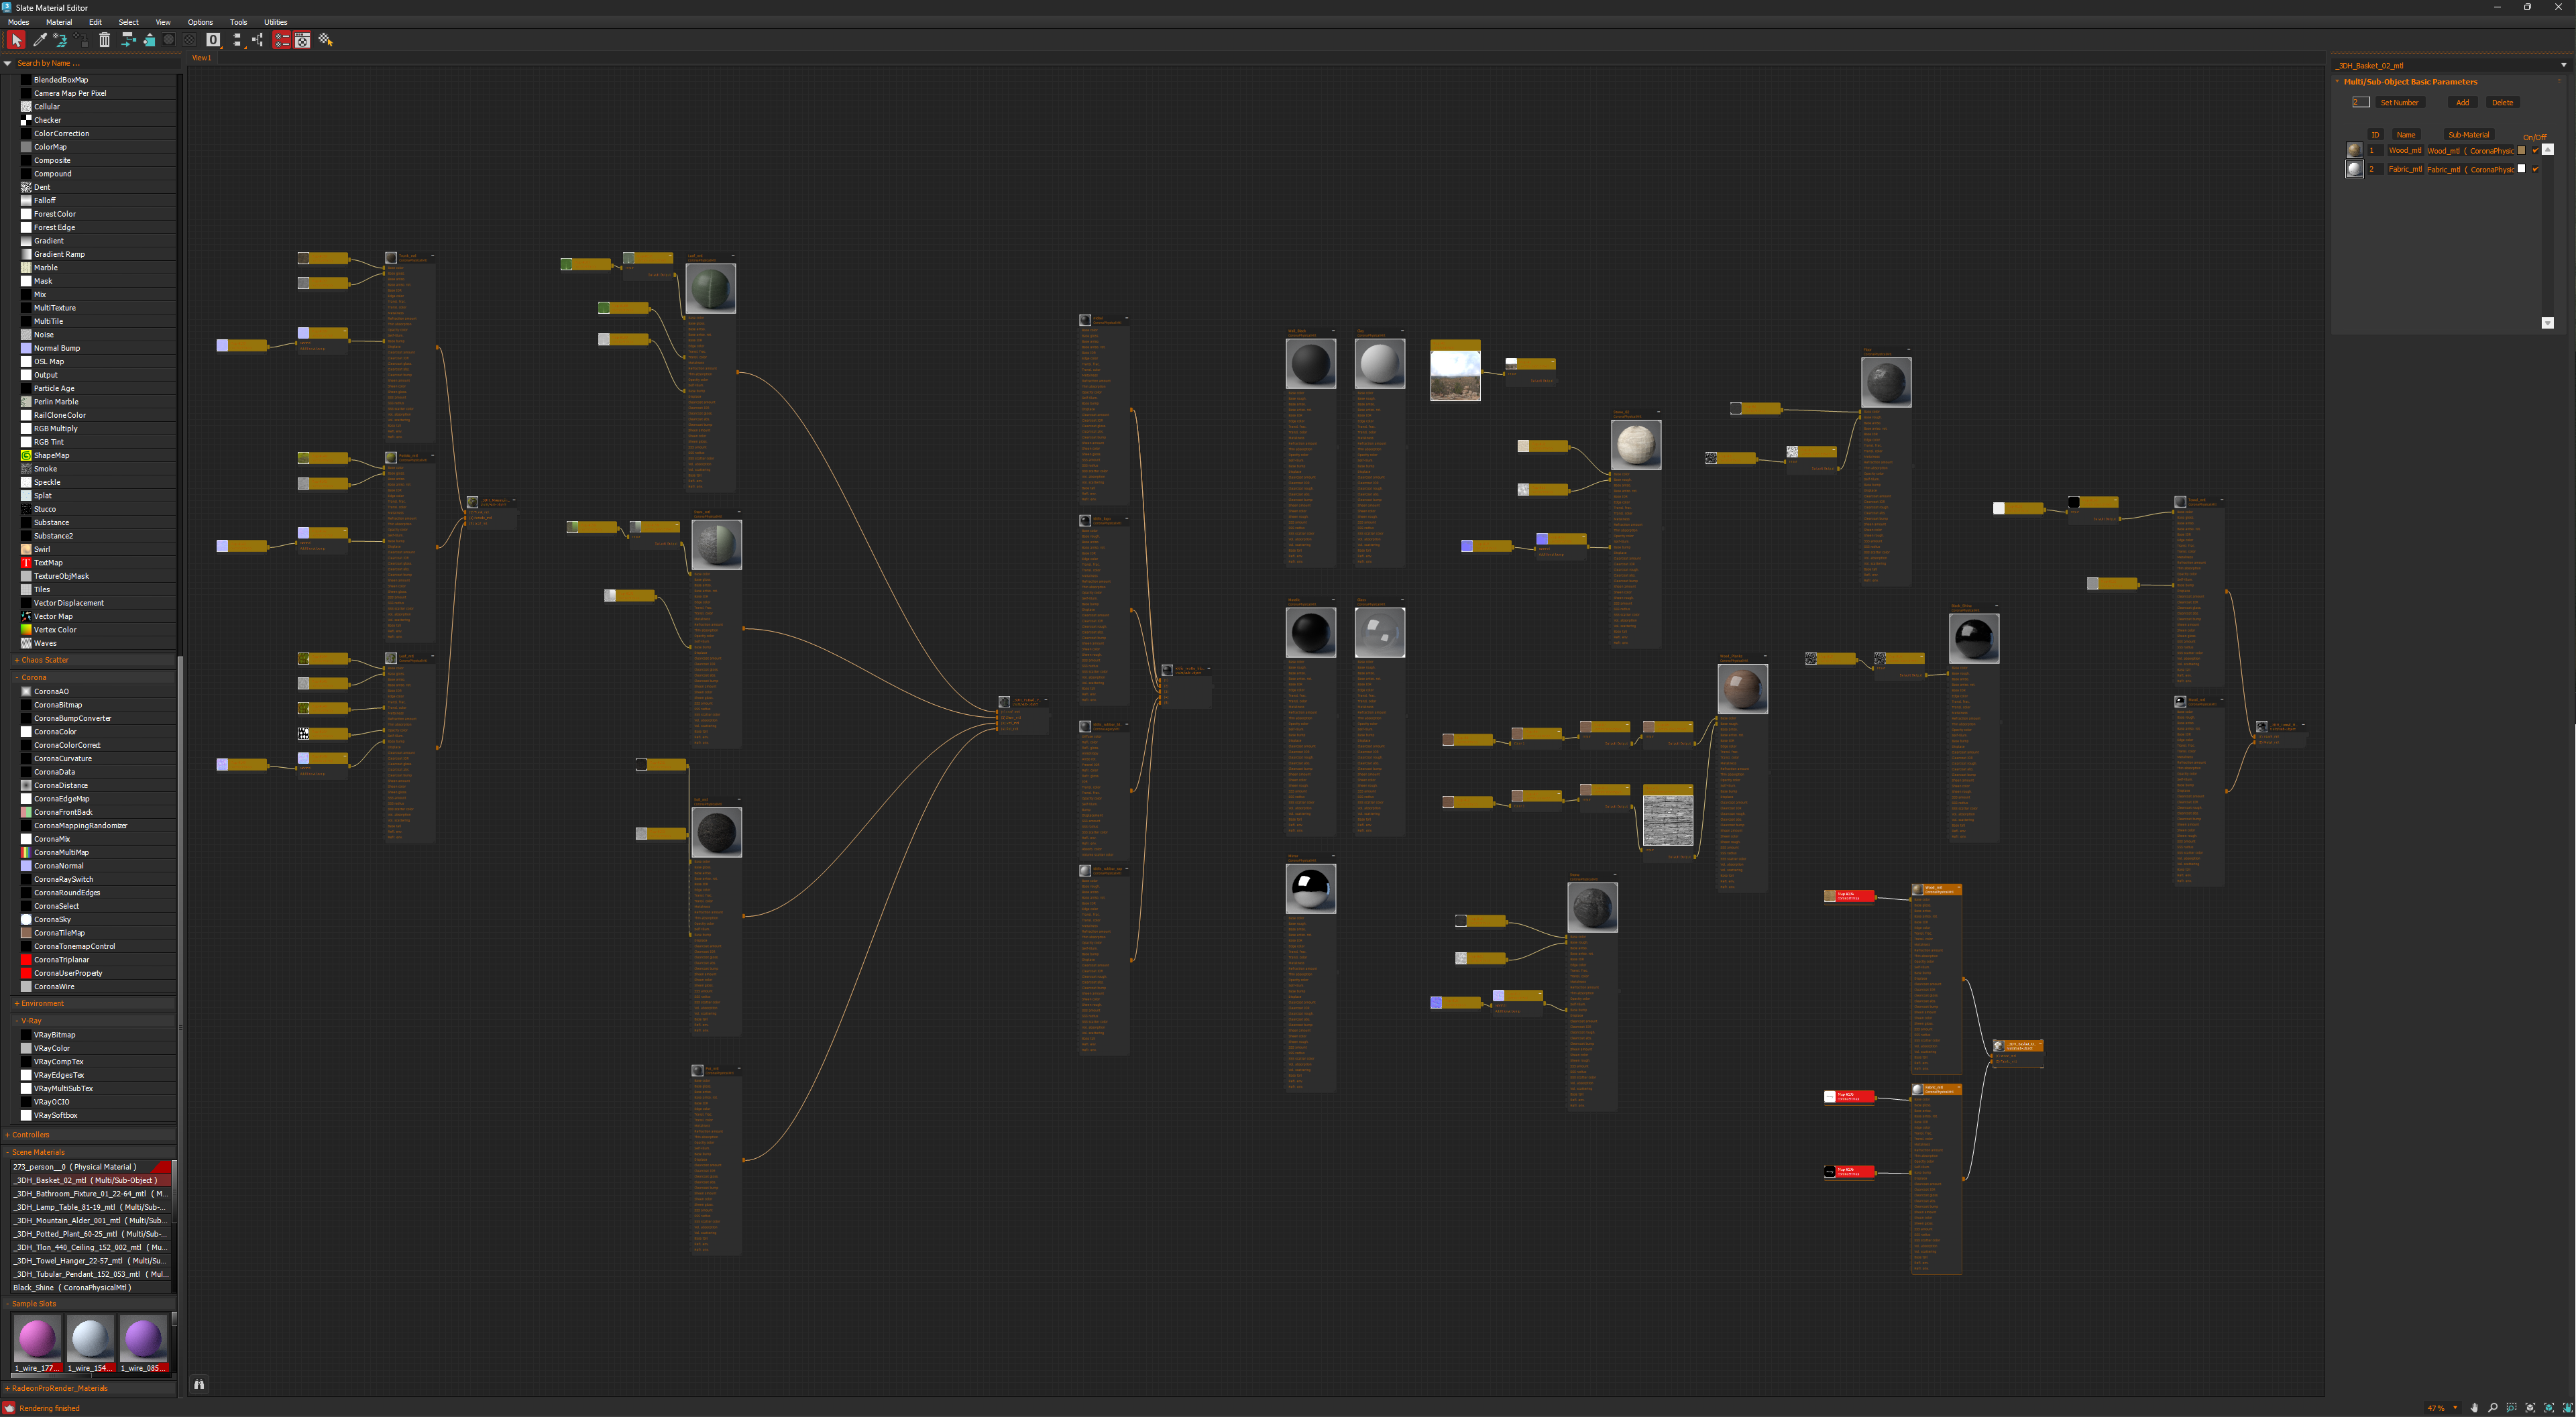
Corona Material Nodes
