A short guide to glass – Part 3
Hello and welcome to the third part of my glass guide and this part is not only about architectural glass, but also about the basic approach of modeling or rather, the exploration of reality.
Basically, glass is pretty much the only material apart from water that seems to merge with its surroundings and interacts very strongly with them due to its high light transmission and reflectivity. How glass looks is ultimately the sum of its surroundings, which is why the „render engines“ or hardware work at peak performance as soon as glass, water or liquid shaders are used. It’s about ray depth, caustics, reflections, light refraction and volume, all these physical calculations have to be processed and passed on by the engine in the shortest possible time, especially in real-time rendering.
I don’t want to bore you with physical calculations here, but I want to draw your attention to something that you should consider when modeling. The worse you model or the more you do wrong when modeling and creating materials, the more difficult it will be for the render engine to deliver good results. If you then add to this the wrong render settings, you usually end up with more of a mush than a good, clean, high-quality render.
I would like to take this opportunity to refer you to a site and a great compendium that was originally written for programmers of „render engines“ but which contains a lot of basic knowledge on the subject of „rendering“ and which I can recommend to anyone who wants to delve a little deeper into this area.
Well, I have already described how you can create a glass shader in Blender in the first two parts and essentially the individual steps for creating an architectural glass are not very different from those for a normal glass. With architectural glass, modeling plays a somewhat greater role. However, the word „modeling“ would be too big a word for the following approaches, which in my opinion lead to a better result.
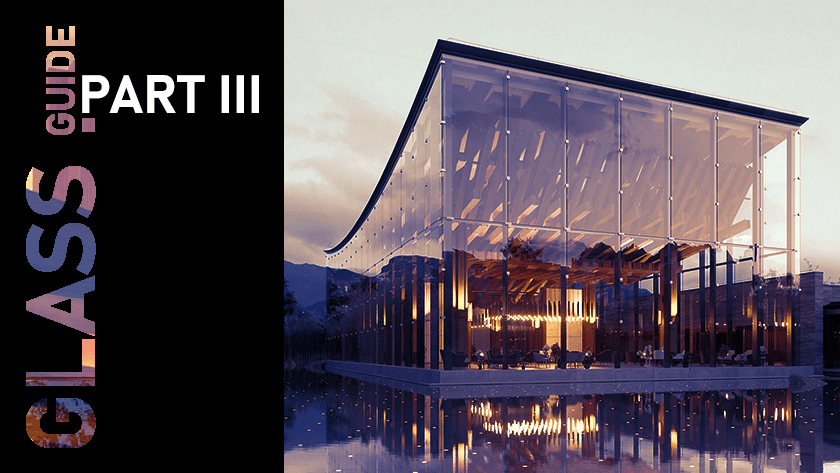
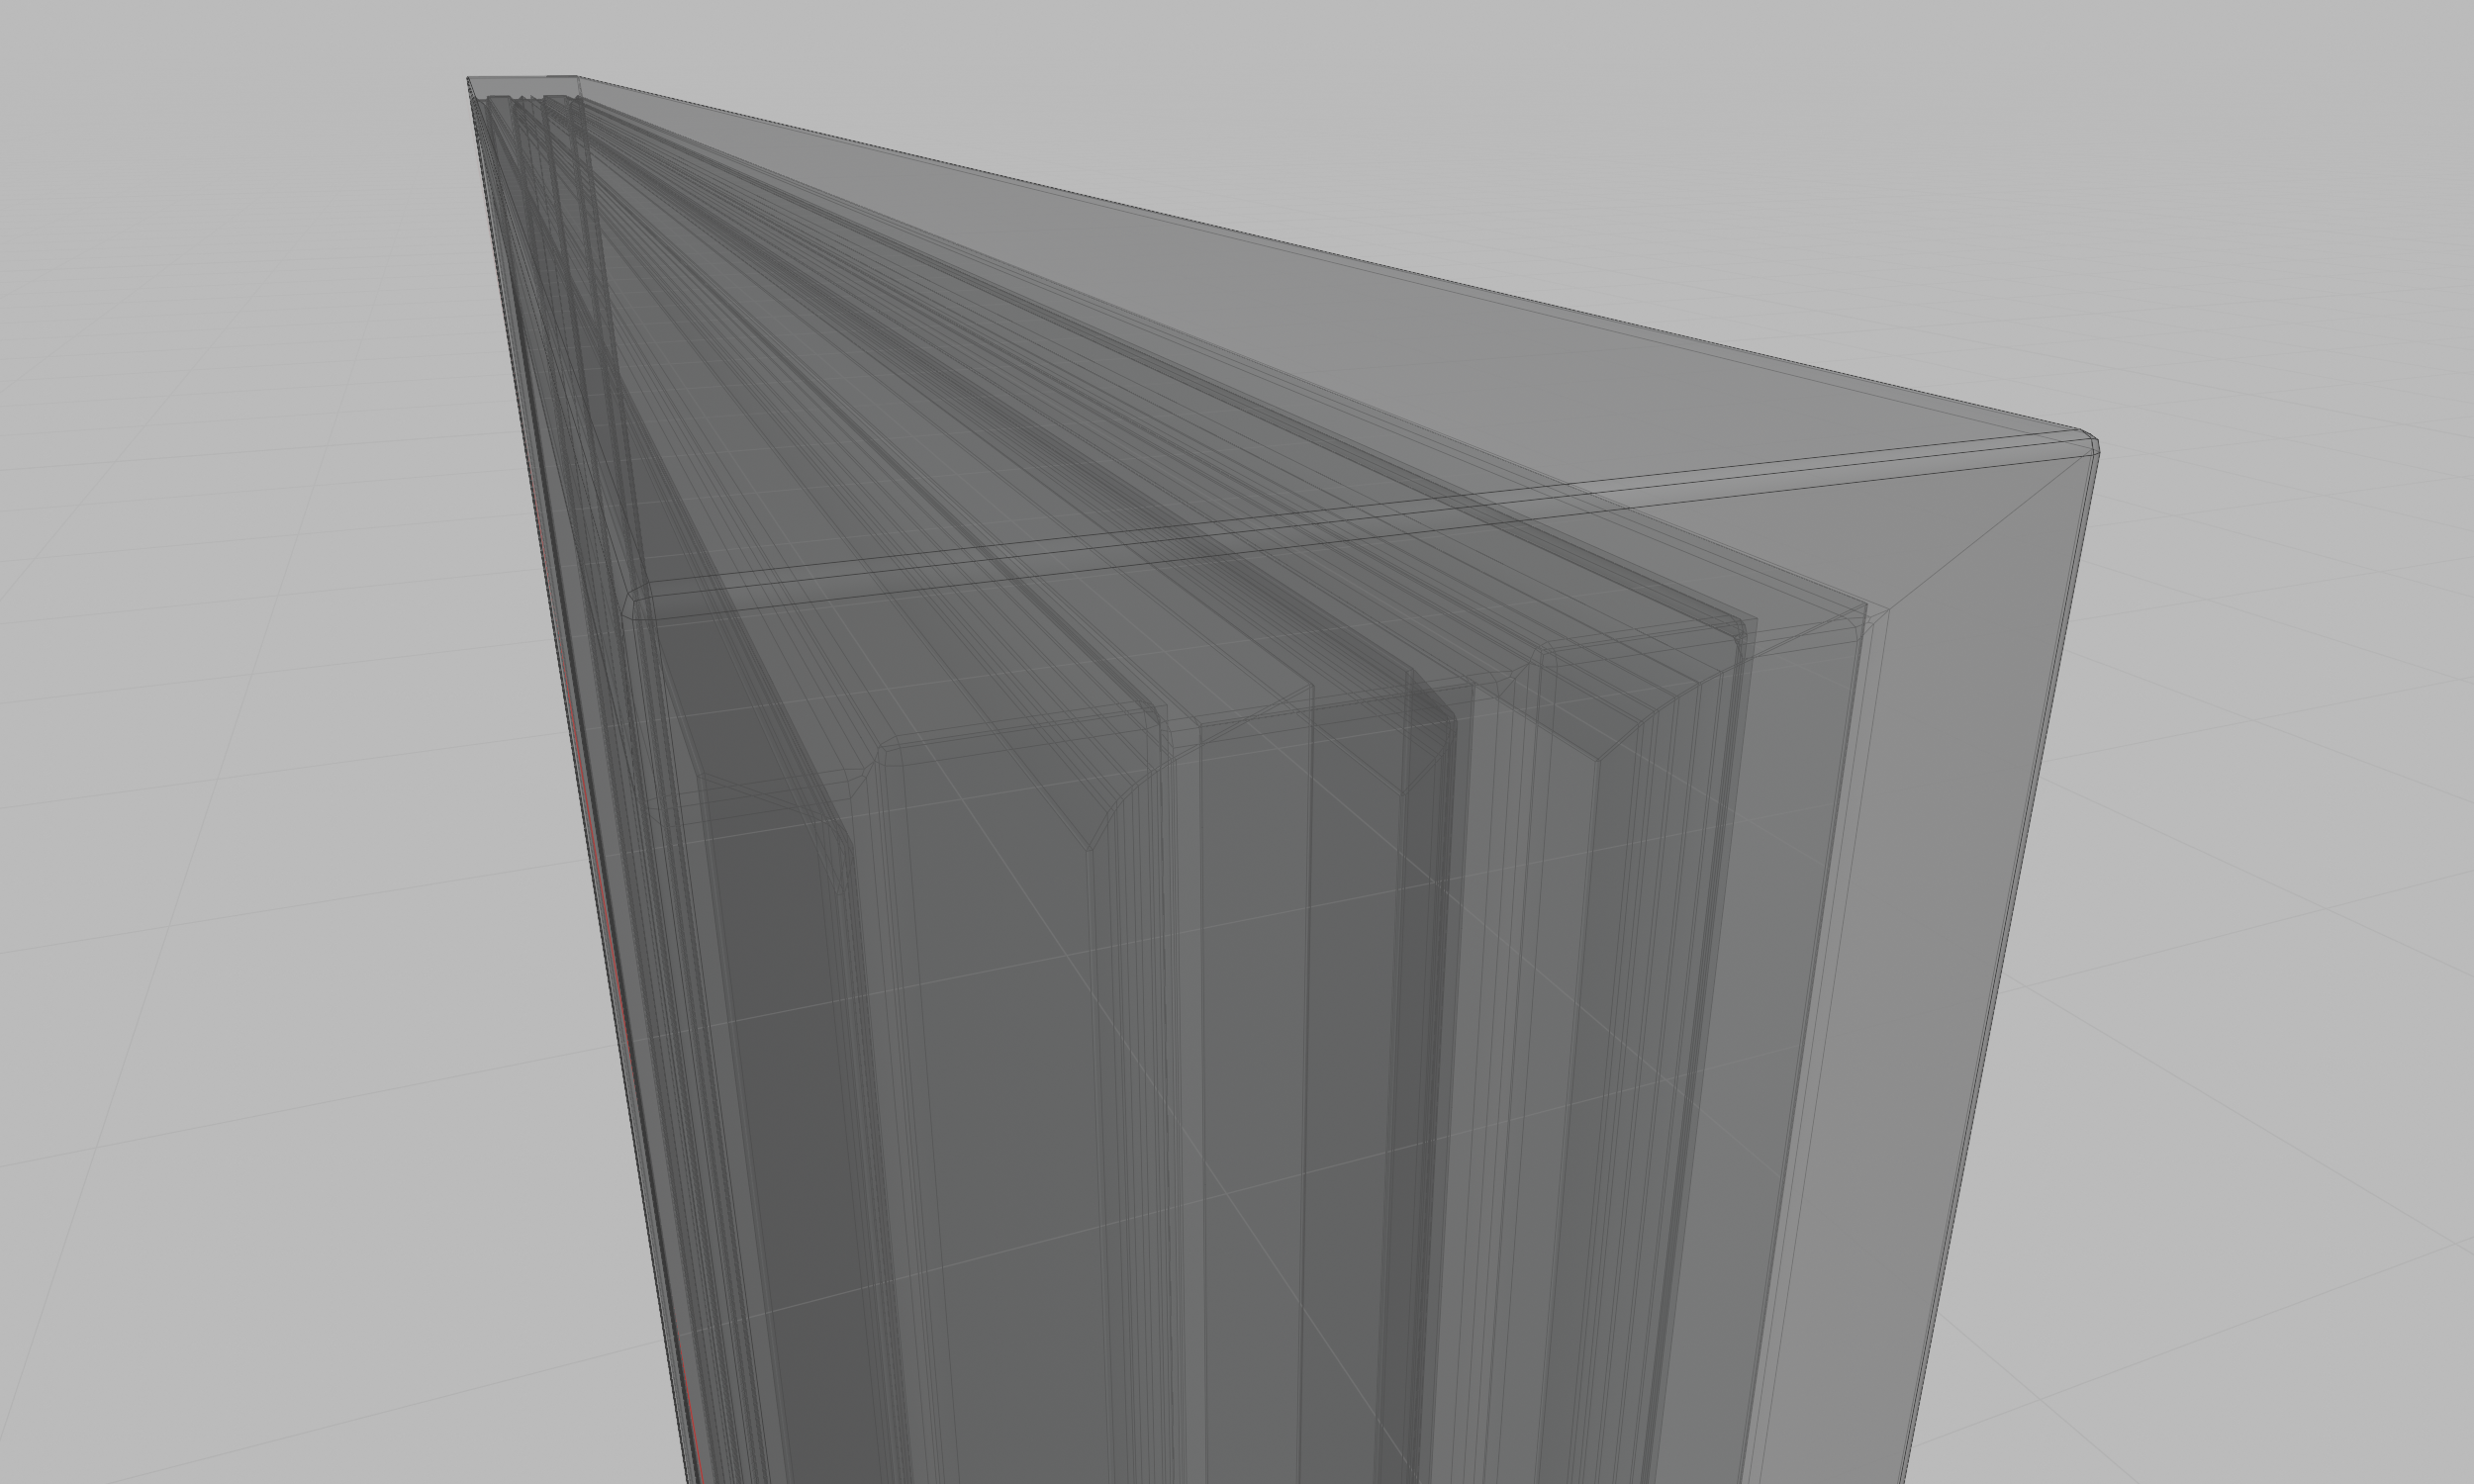
When it comes to architectural glass, I see in 90% of cases that the window frame is modeled first and then the glass and the glass usually consists of a cube or surface with a thickness of 1cm, for example. A glass shader is then placed on top and that’s it. This is how almost everyone does it and basically there is nothing wrong with it at first glance. But if you take a closer look, you will all too often notice that something doesn’t fit. It looks like glass, it reflects and actually looks quite good, but something is wrong or doesn’t look the same as in the real environment. Well my friends, and this is exactly where I want to start with you.
As already mentioned, the construction of a window in the 3D area usually looks similar to my example, which is not fundamentally wrong.
But if you look at the structure of a typical window in architecture, a window consists not only of a simple frame and a pane of glass, but of several components and details. Some may now be thinking…
„That’s obvious, but in a larger building like a skyscraper or an office building, all these details can become too much.“
Of course, you don’t have to model in such detail in every situation or scene, especially when it’s clear that the camera will be placed further away from the building. On the other hand, there is always the option of modeling a window in detail and duplicating it via „instances“.
The Frame:
Let’s start with the frame first, I personally always try to model the frame so that it has almost enough detail so that there is enough realism afterwards. I don’t exaggerate with the details here, because you can get lost in too many details. But I add as many as are necessary.
The Glass:
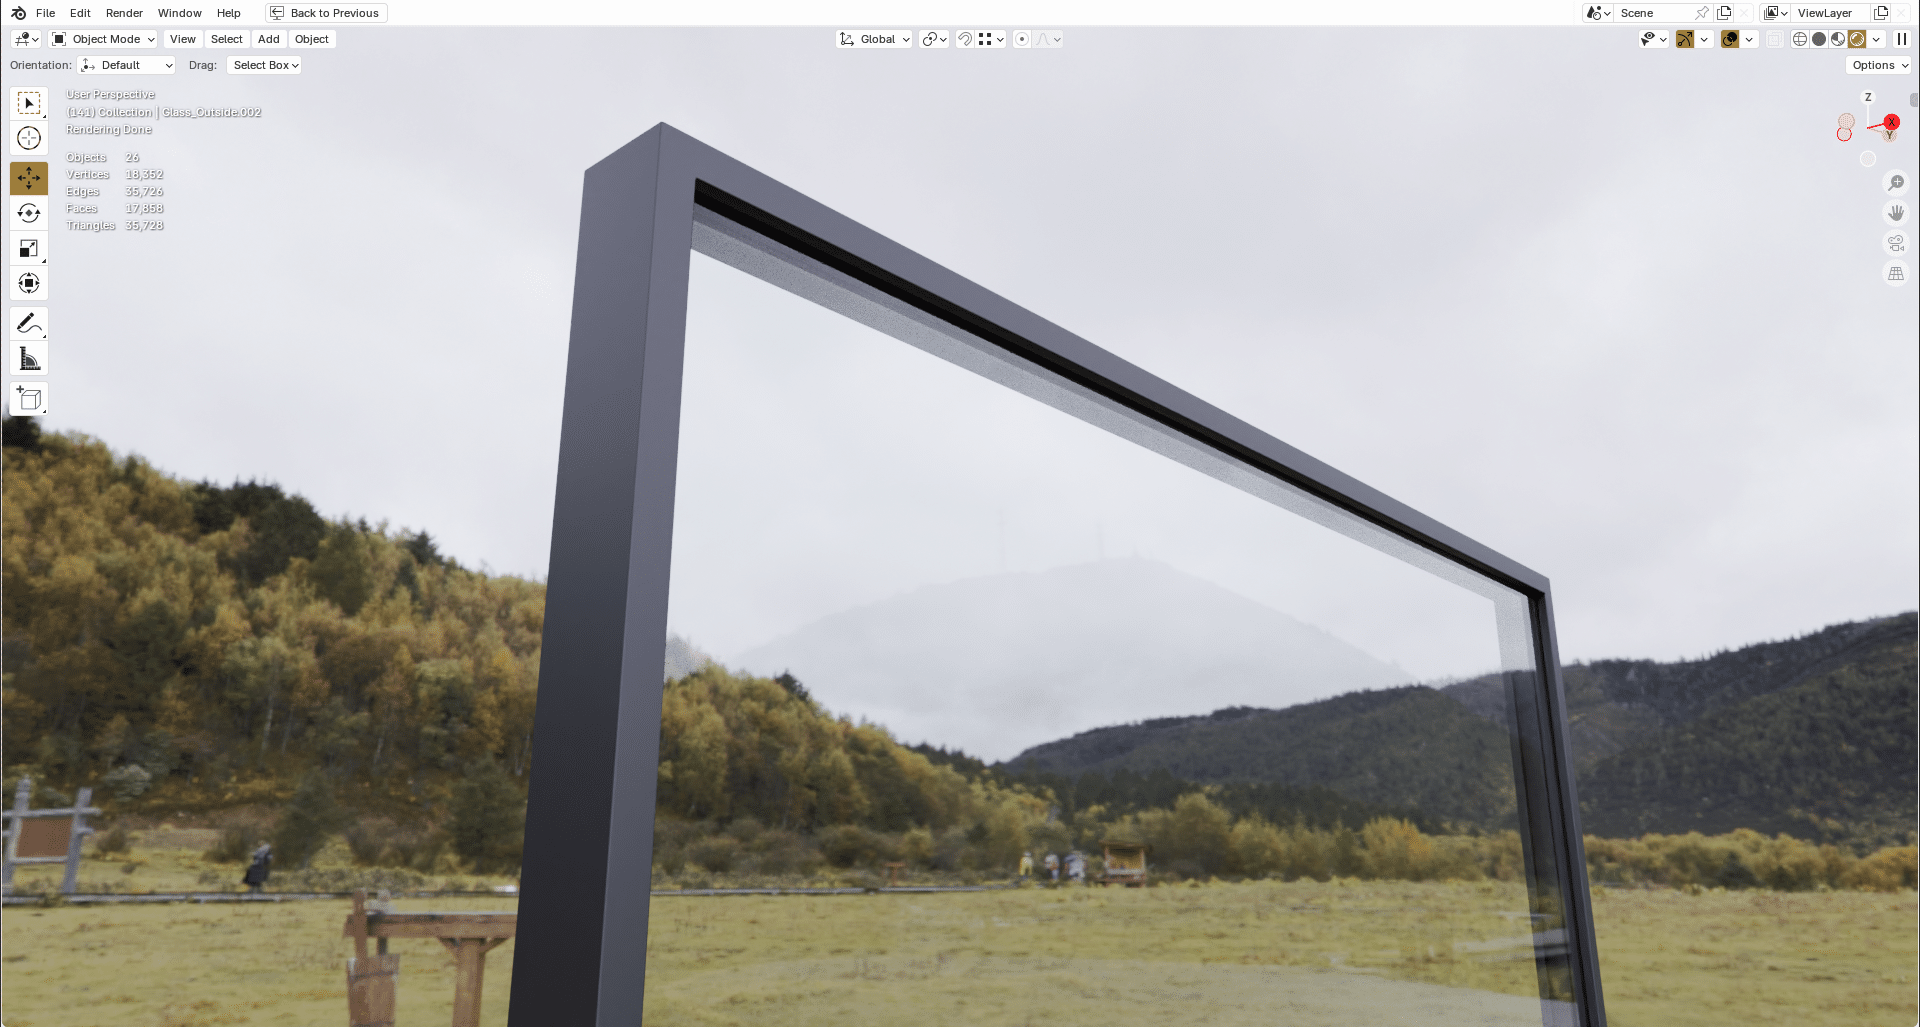
If we take a closer look at a typical piece of architectural glass, then, as already mentioned, the pane of glass consists not just of one surface with a certain depth, but of several parts. This is exactly what I try to recreate as best I can and here, too, I make sure that I don’t go completely overboard with the details.
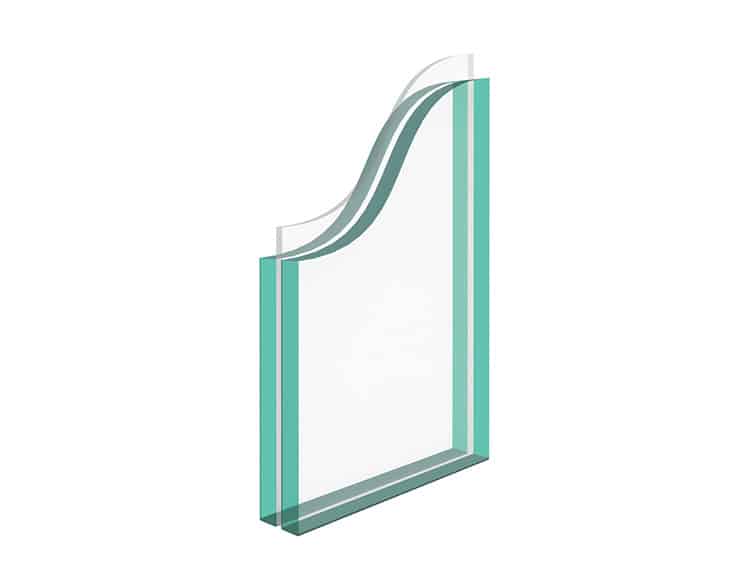
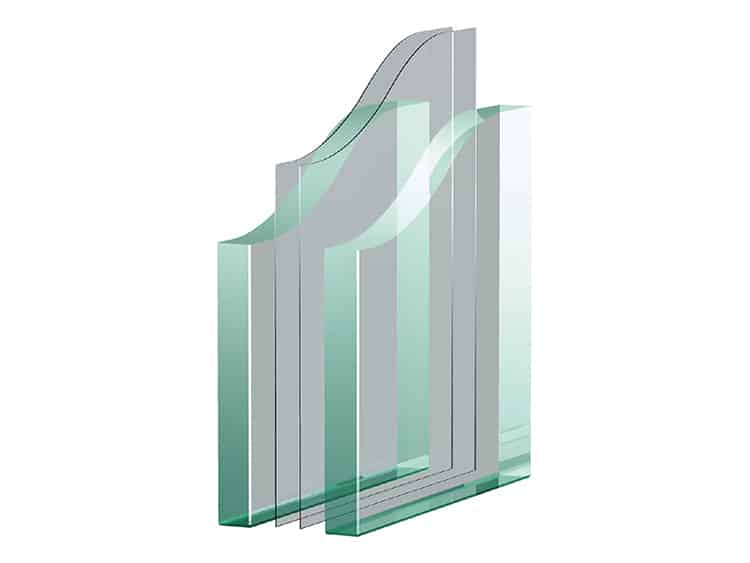
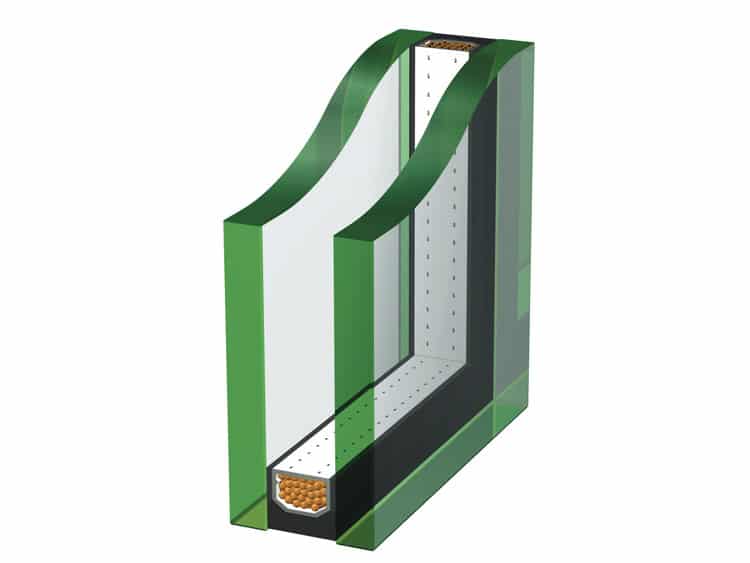
Image source: AGC
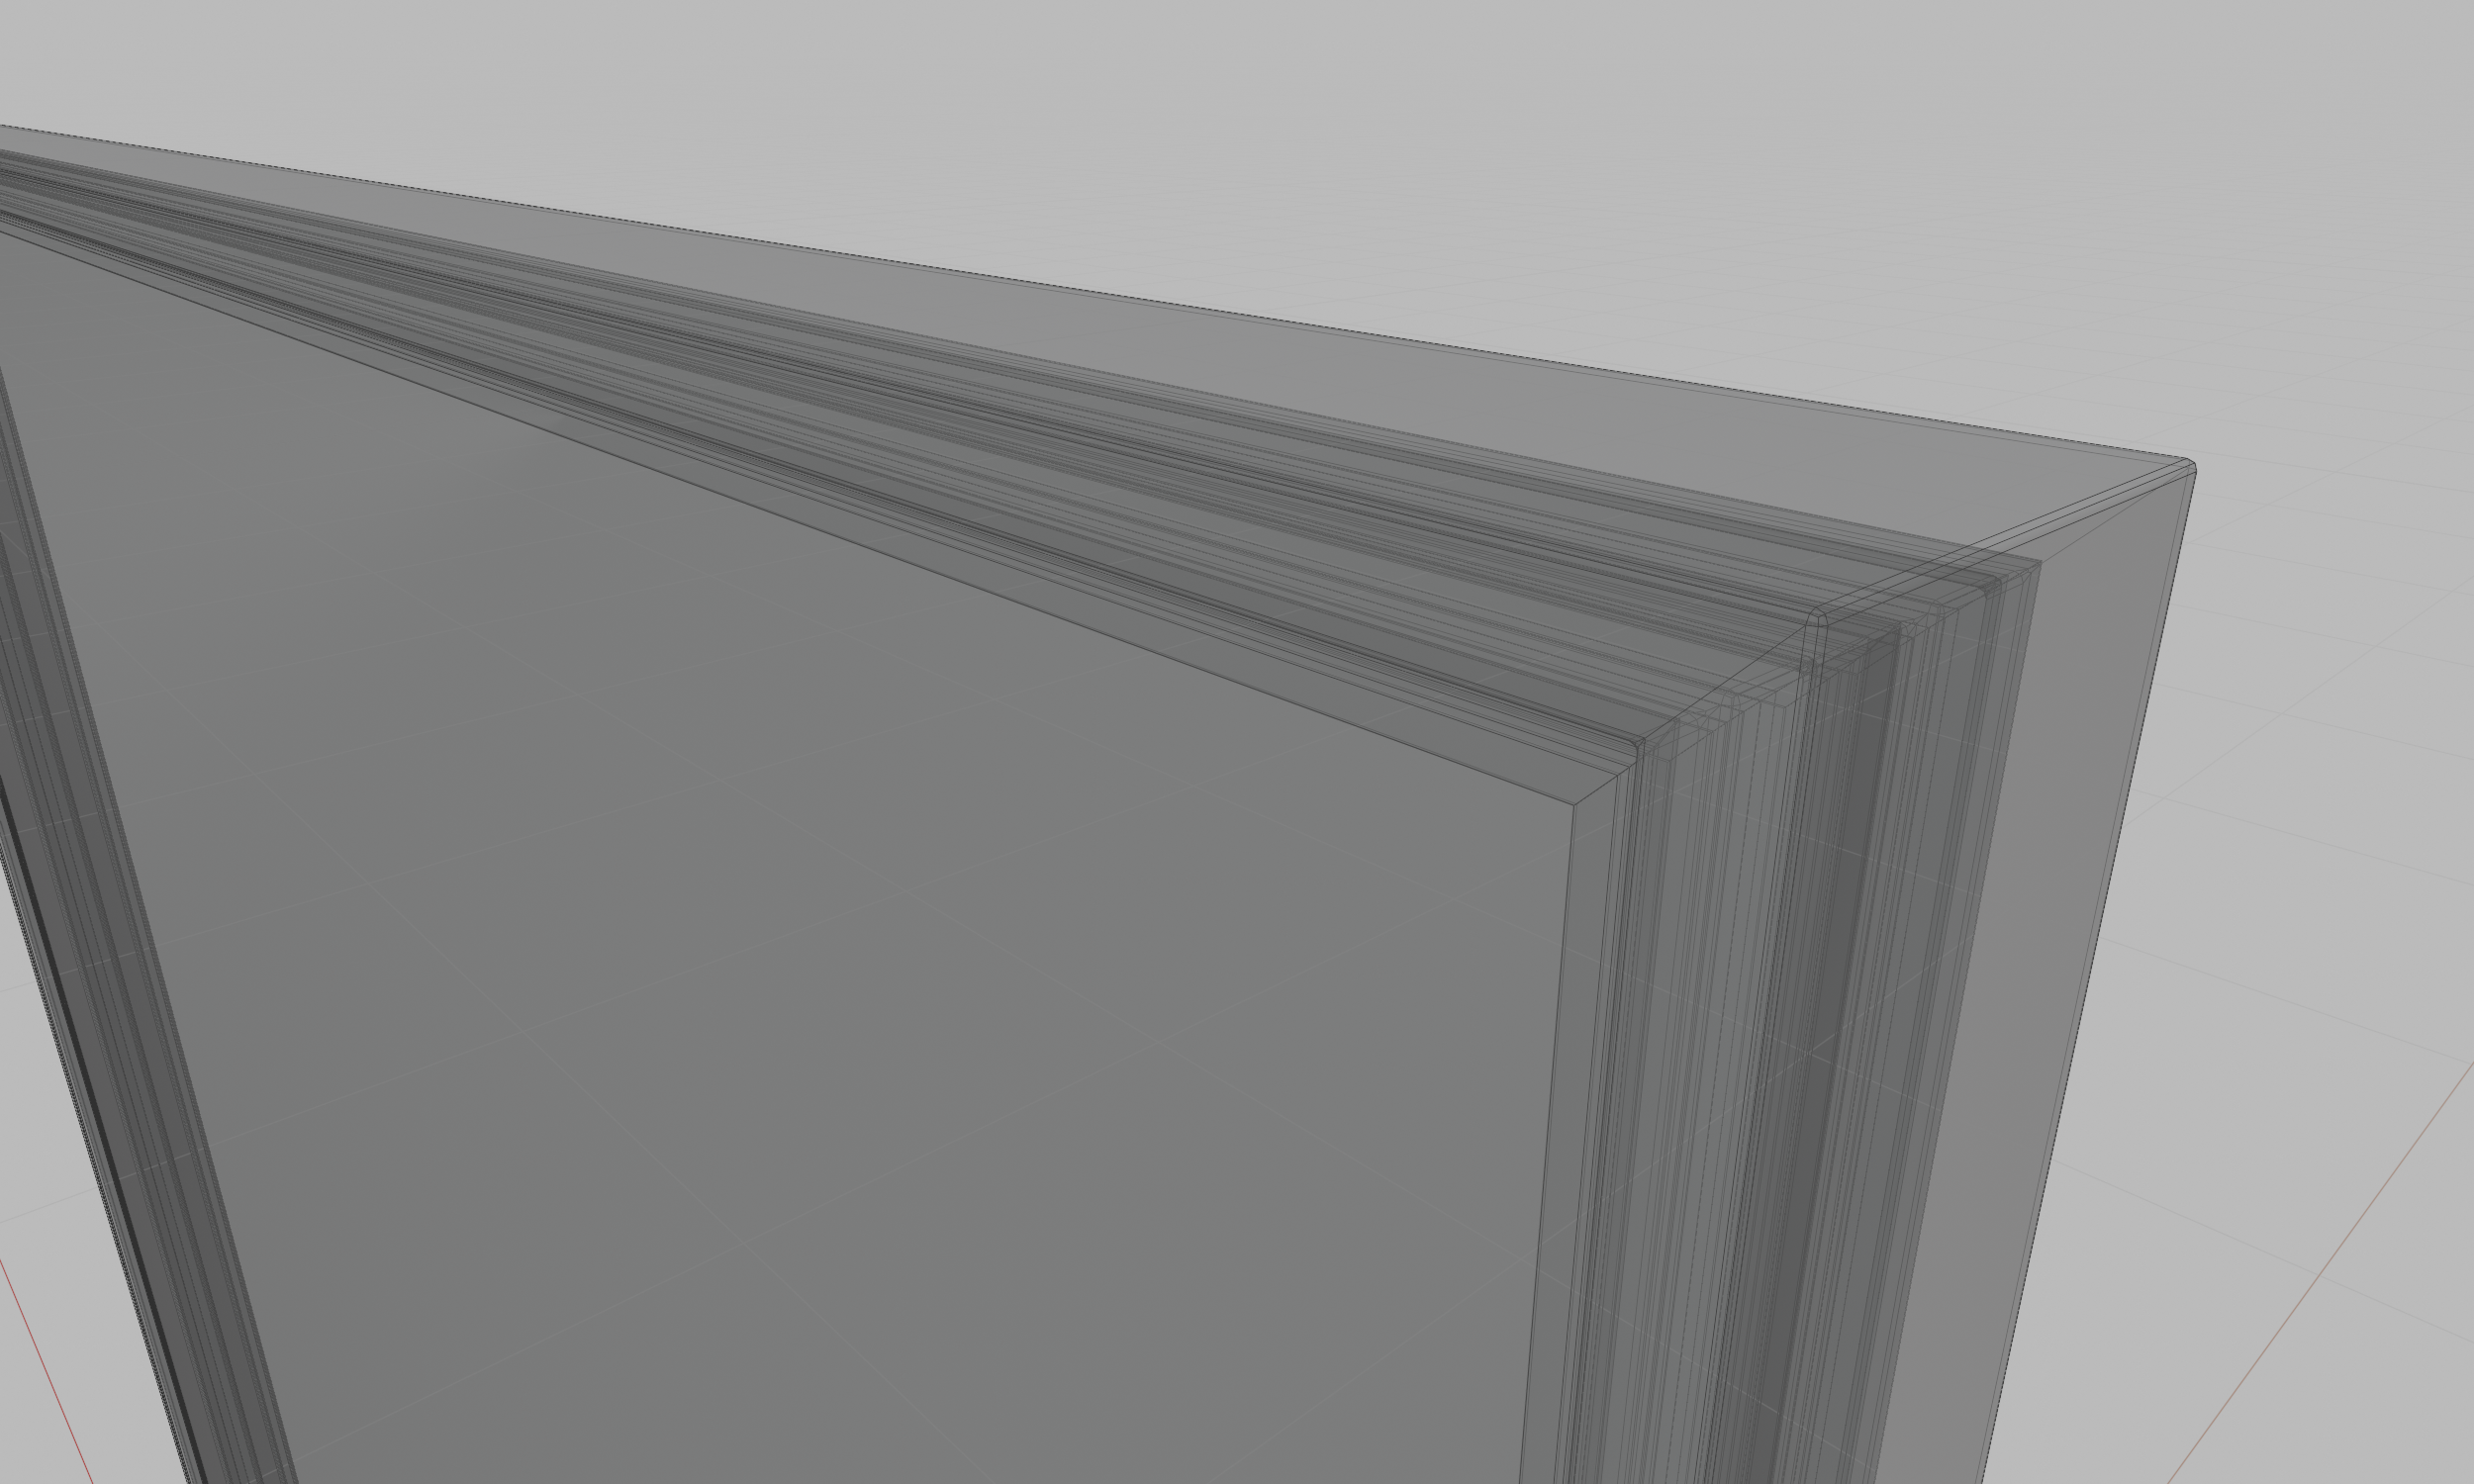
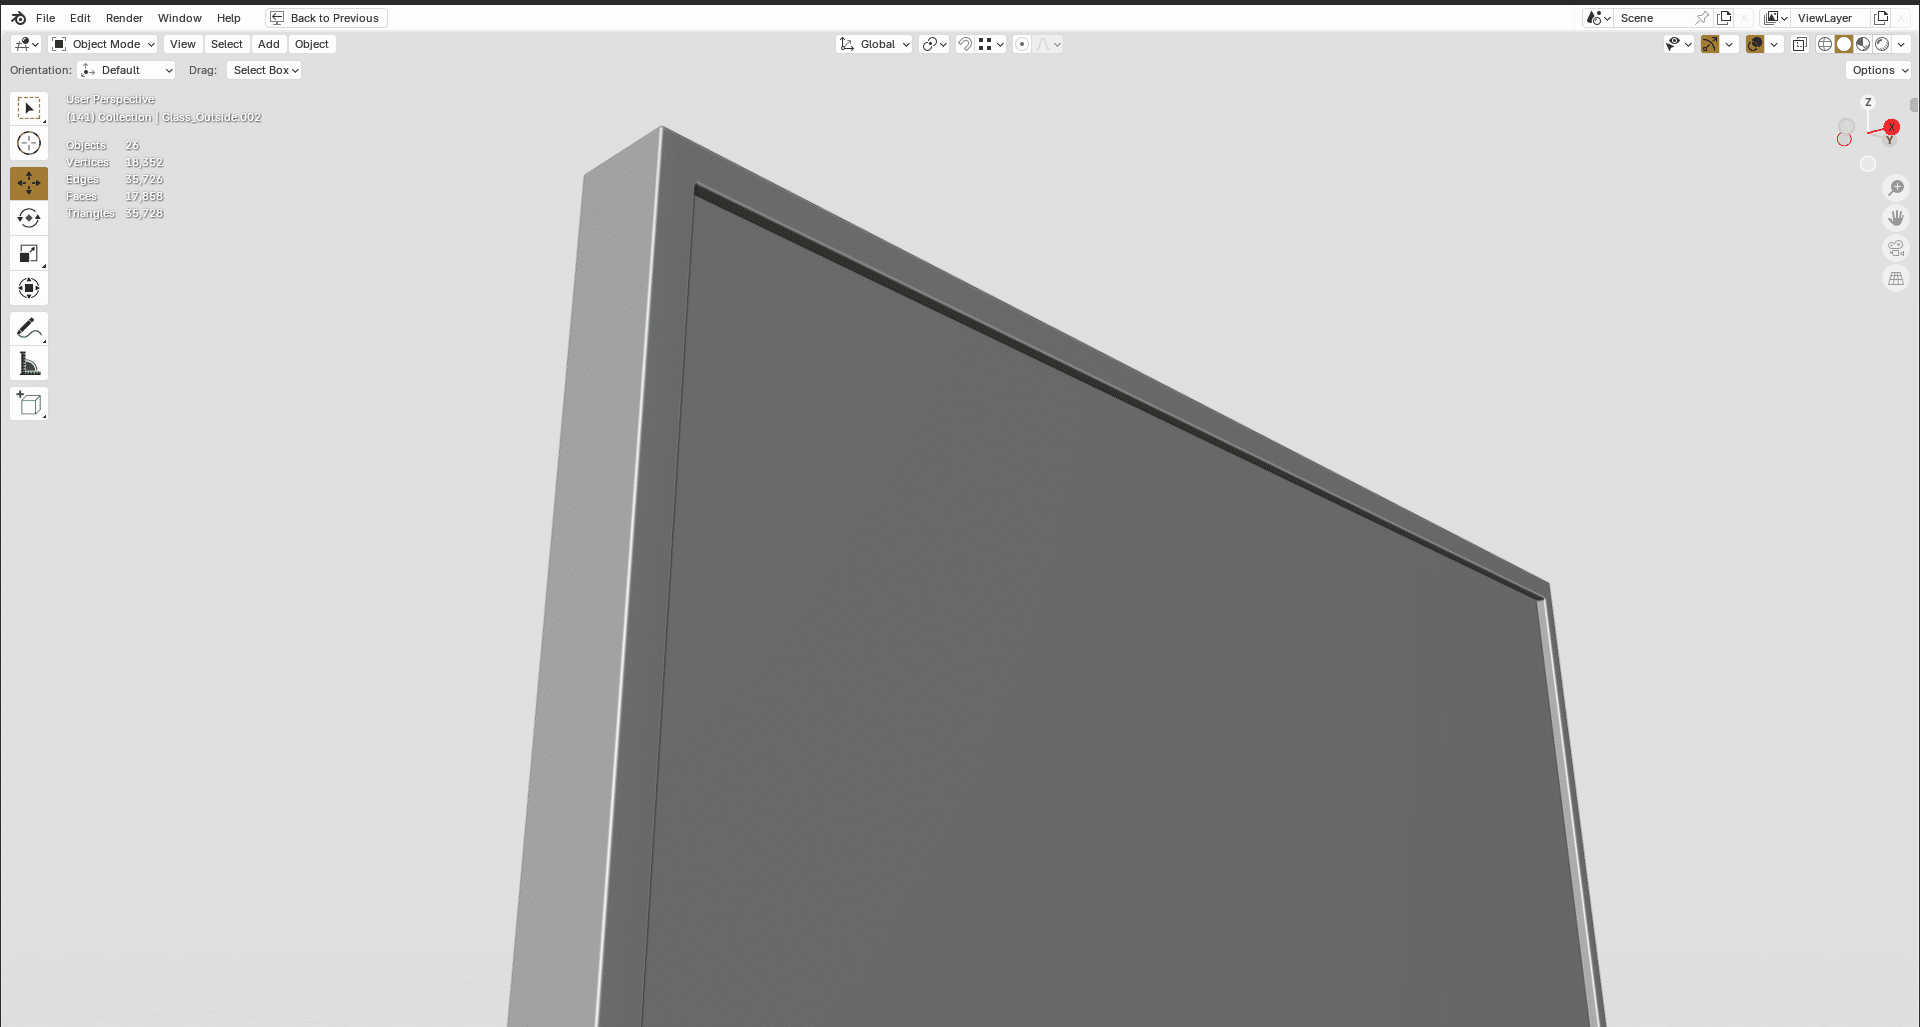
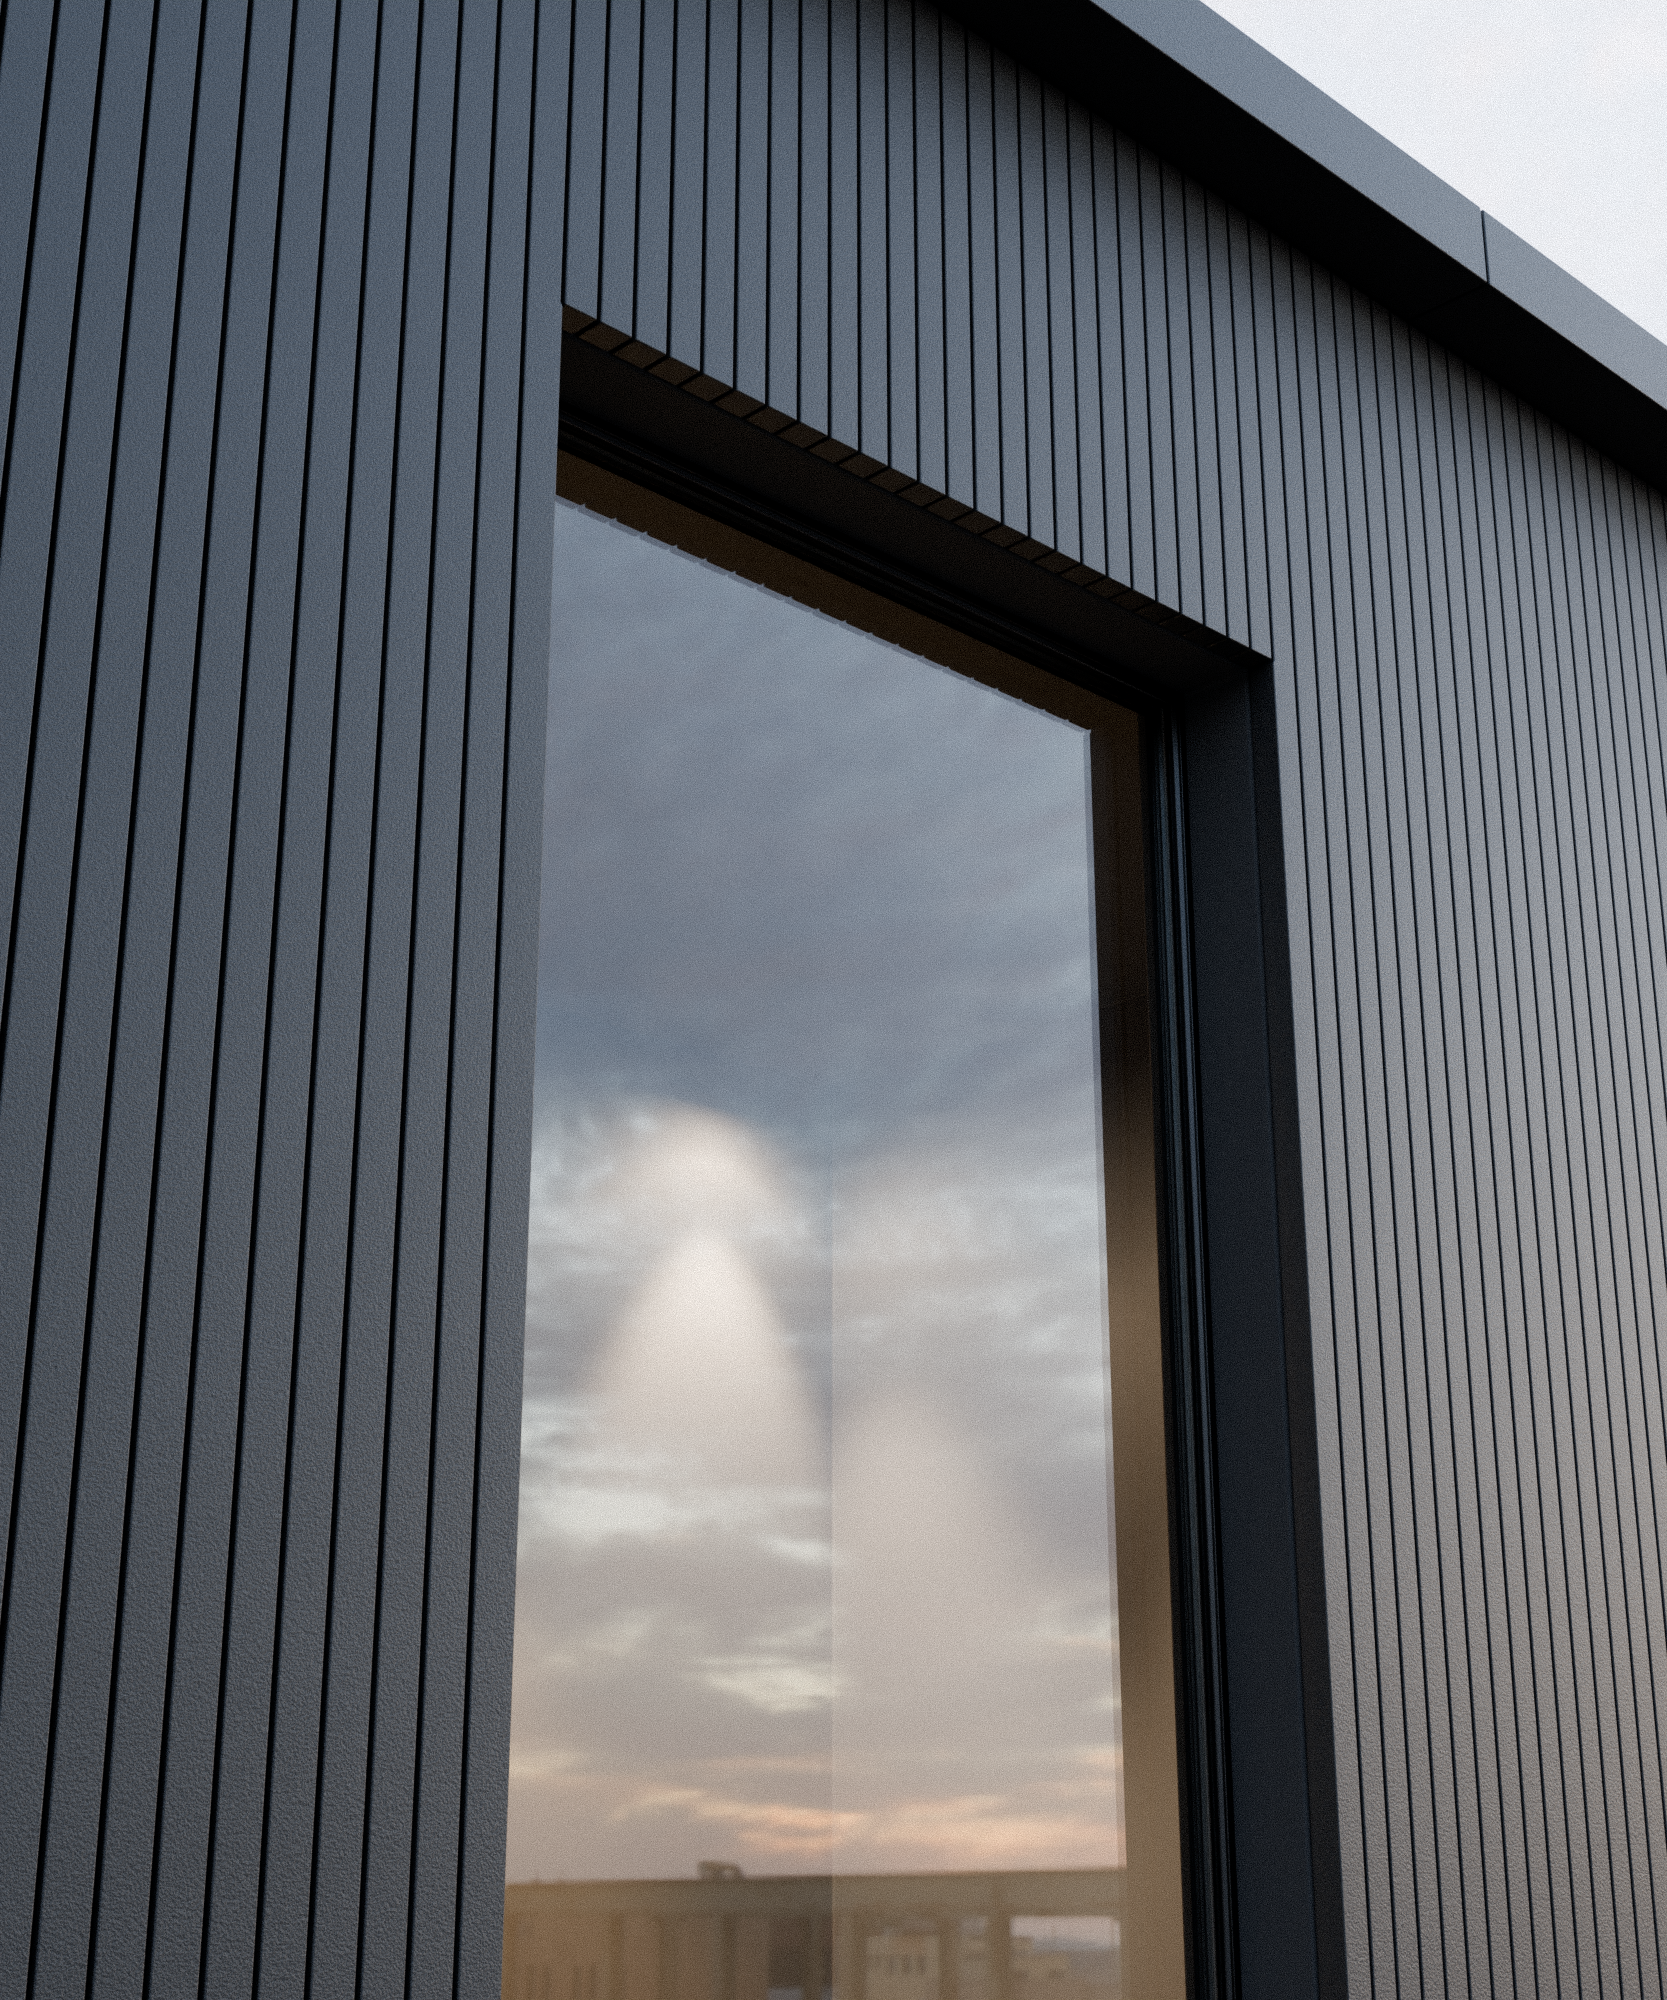
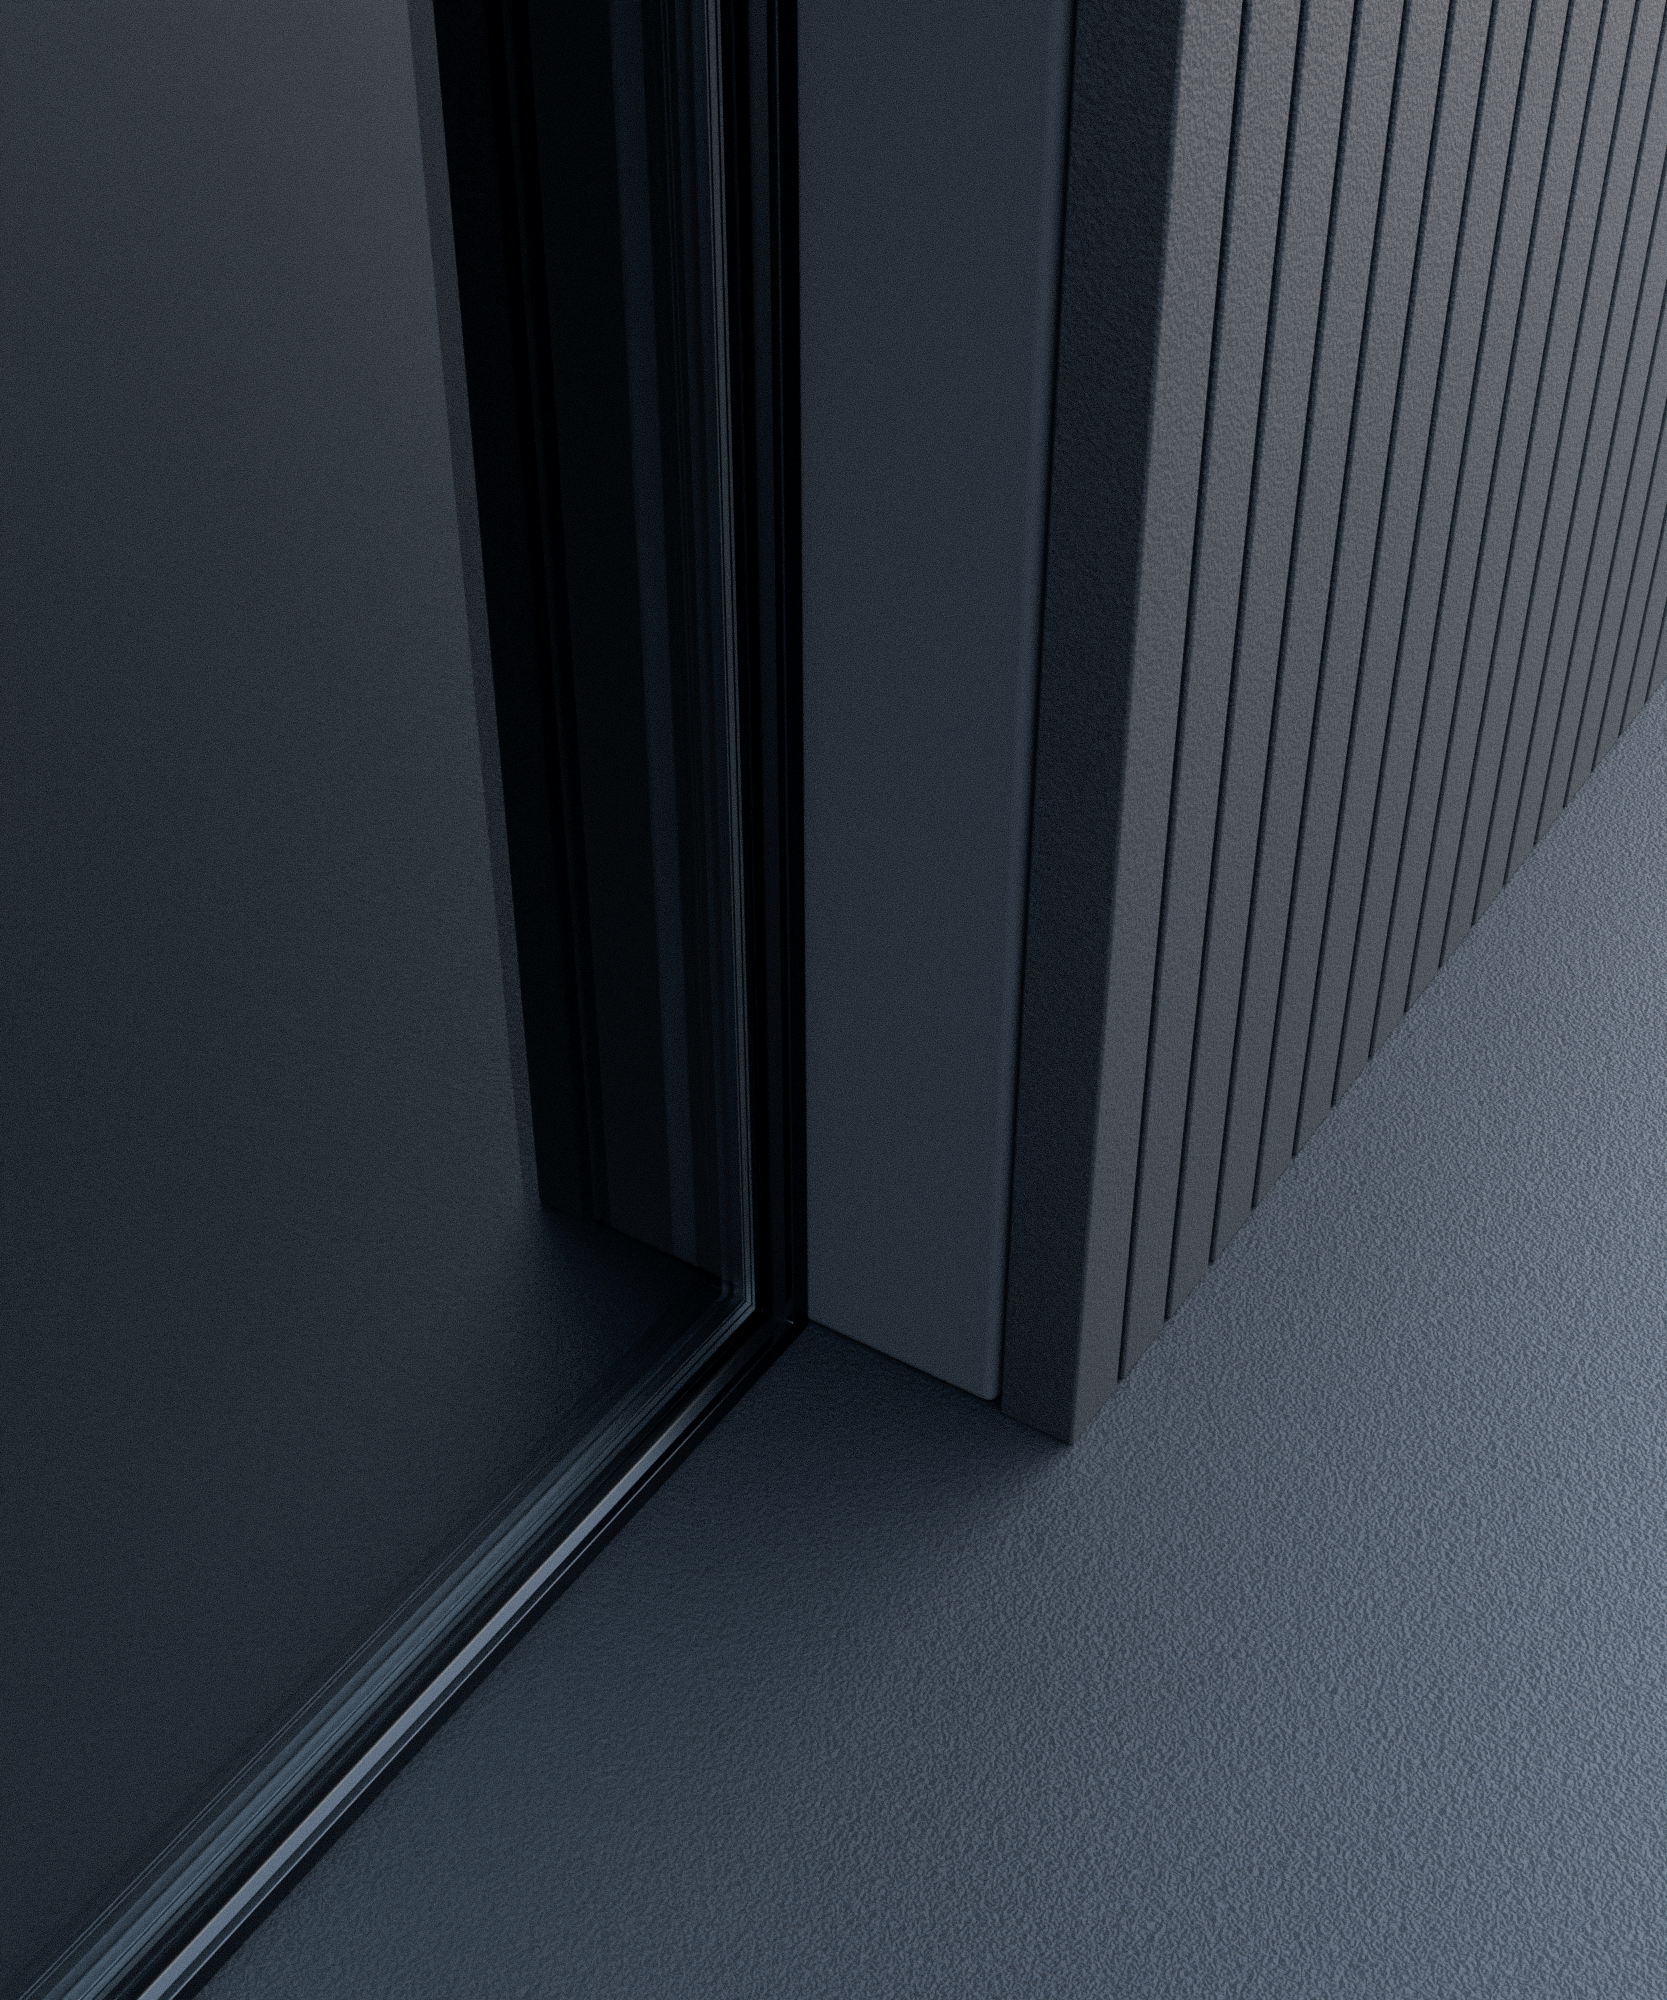
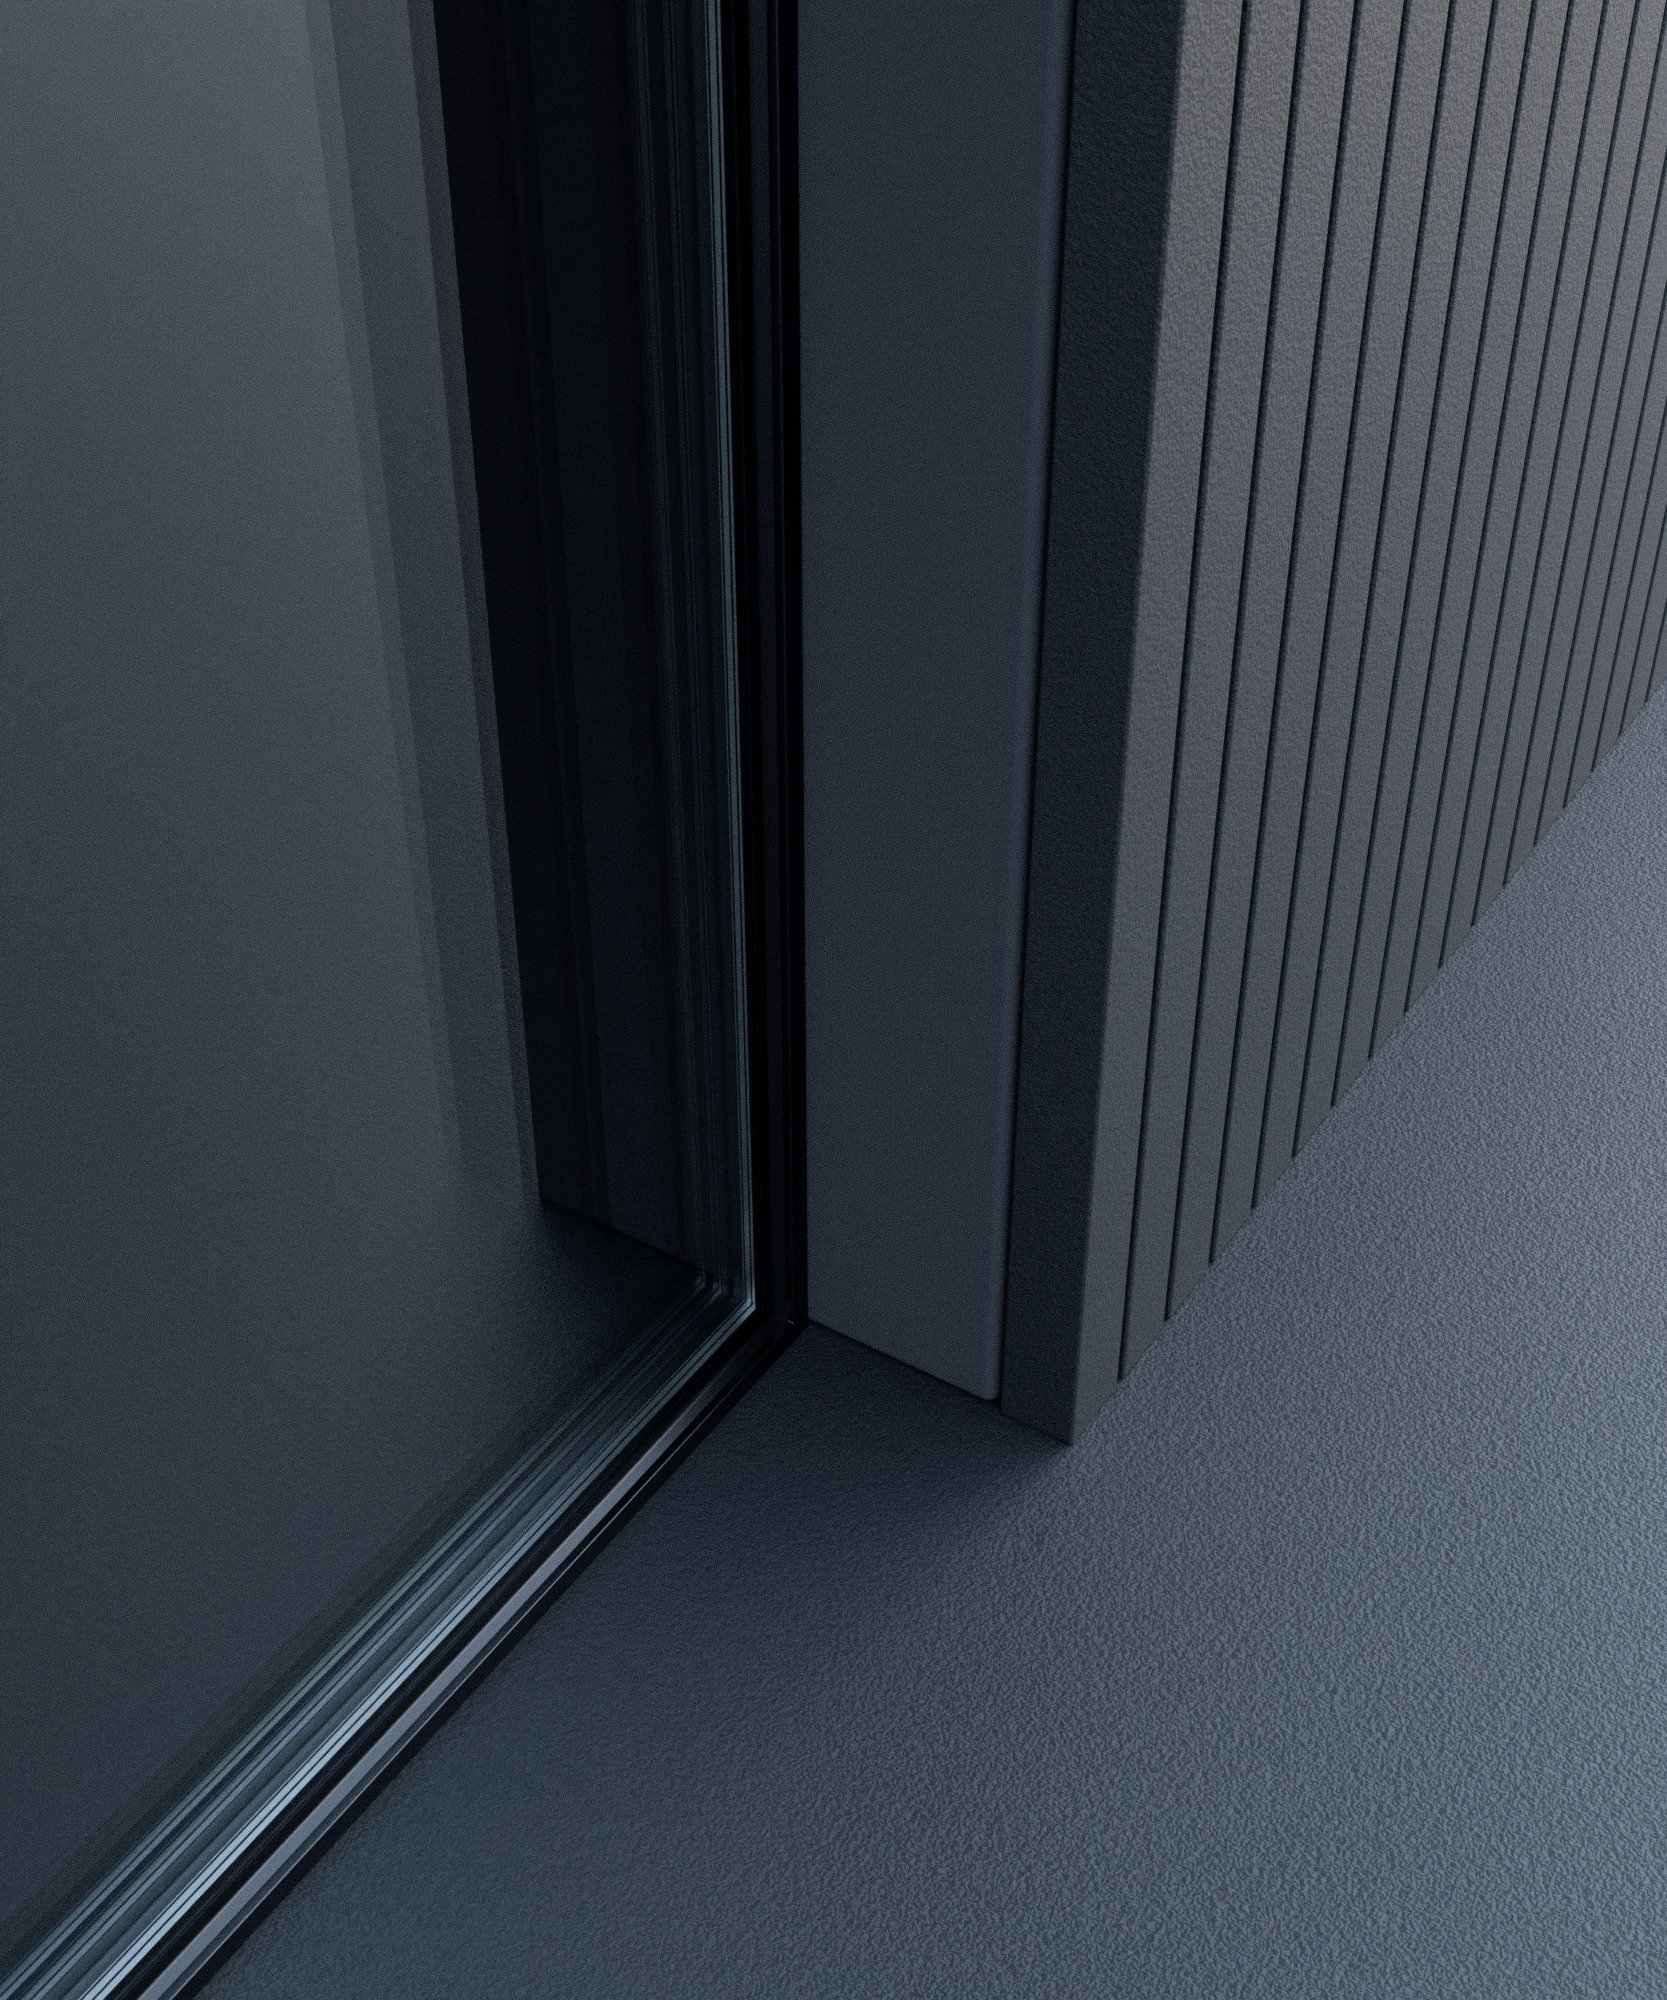
But what I do very often, I create, as you can see: a double glazing and the effect is very subtle, but supports the realistic overall impression. You can see a clear difference in the pictures below. With single glazing, the glass looks rather flat, with double glazing the glass seems to reflect a little more. The best effect, however, is that you get a certain double reflection in the glass, just like with real glass. At a certain viewing angle, this effect is sometimes more, sometimes less pronounced.


You can download this Blender scene and take a look at the parts that make up the windows and how I modeled them. I didn’t model the individual windows in too much detail as they were only intended to serve as examples. It’s all about the principle and the level of detail is quite sufficient for that. It is important to me that you can see where the journey is going, what you make of it is up to you.

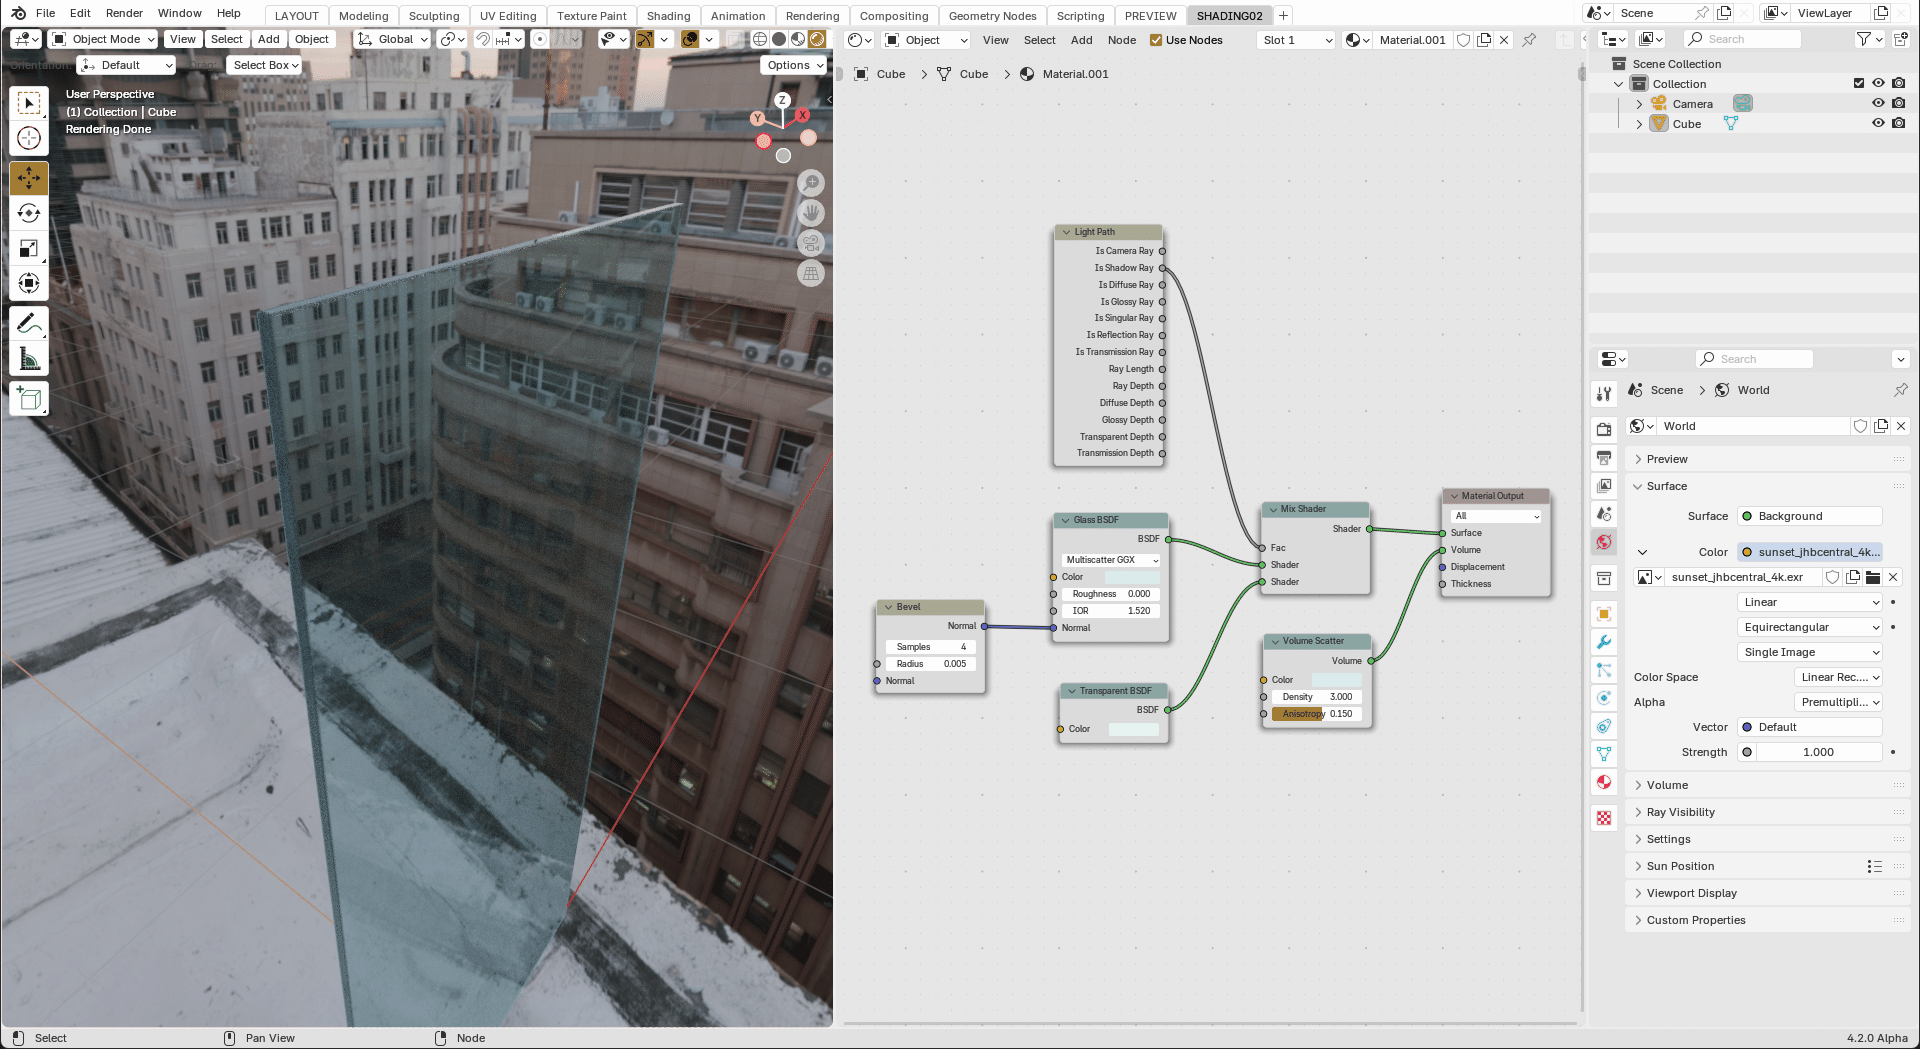
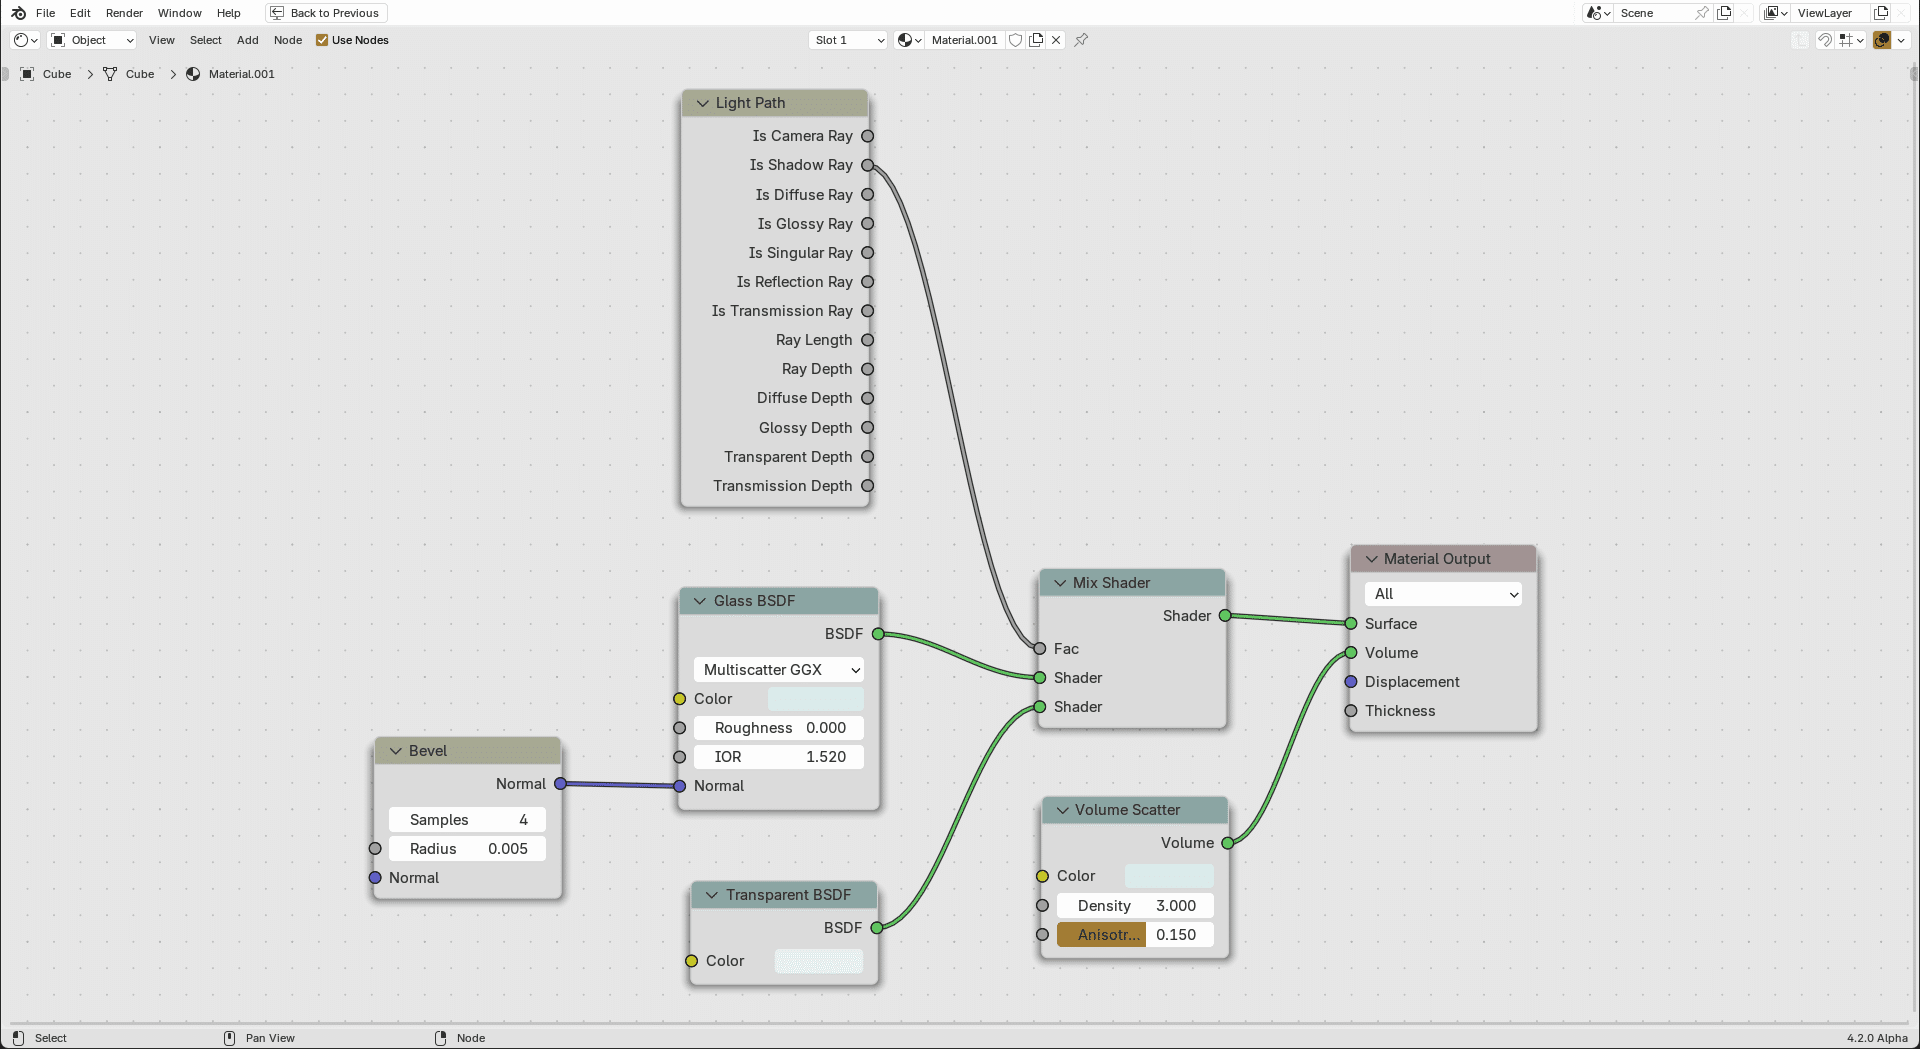
At the end, I’ll show you my personal „node structure“ for architectural glass. You can take the values from the screenshot or download the Blender-File.
So, we’ve now reached the end of the third part of my „Glass Guide“, in the fourth part I’ll be taking up the topic of „Movement in a glass“ and I hope you’ve had fun so far and have been able to take something away with you. I wish you a successful rest of the week and see you soon.