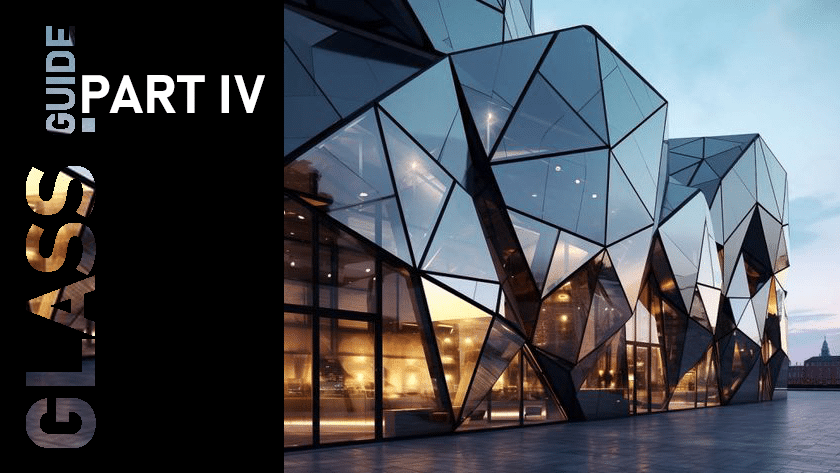
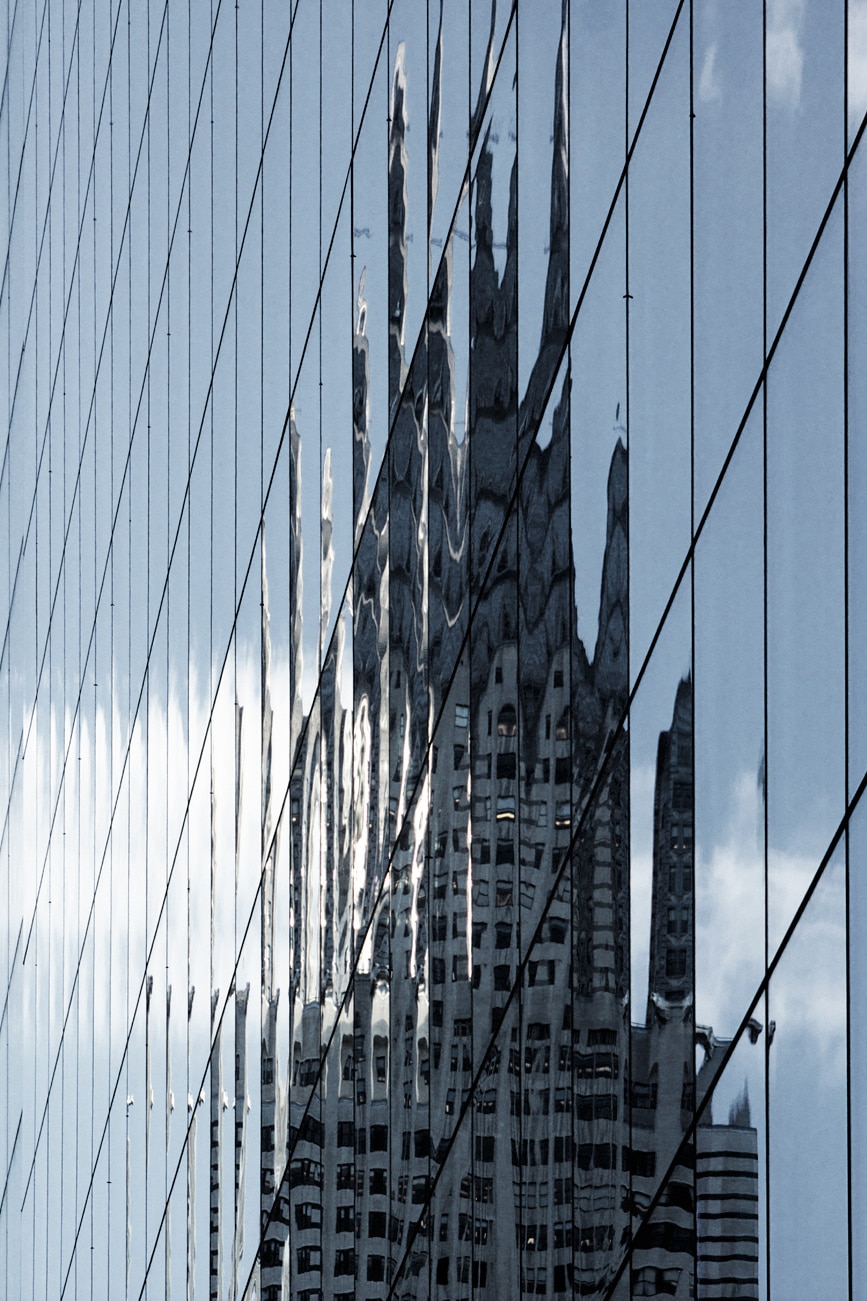
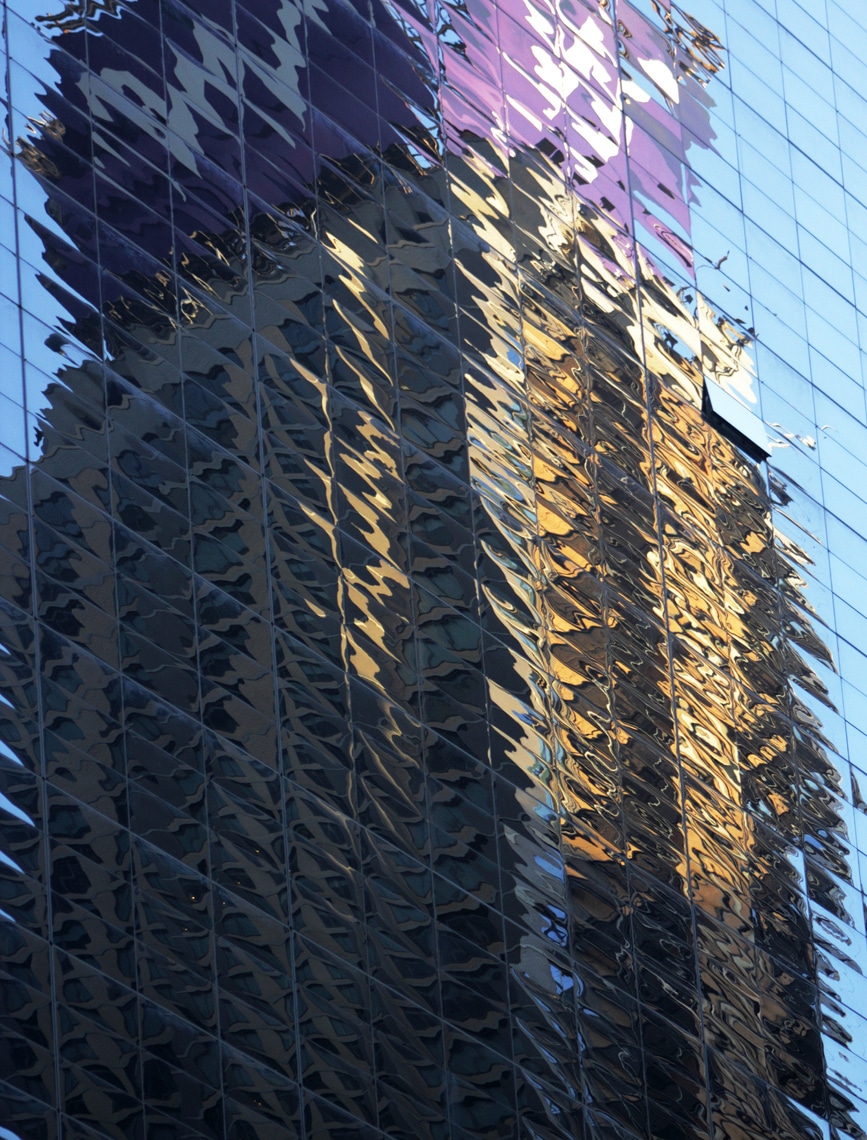
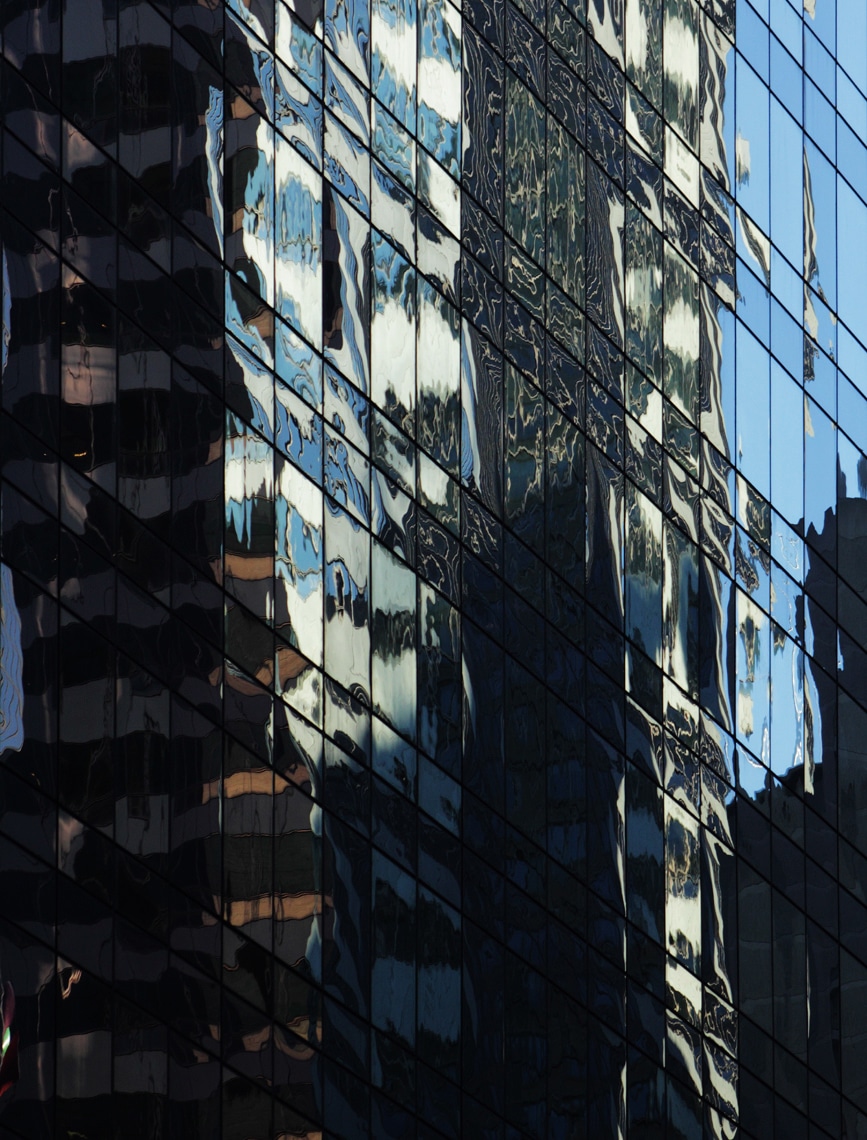
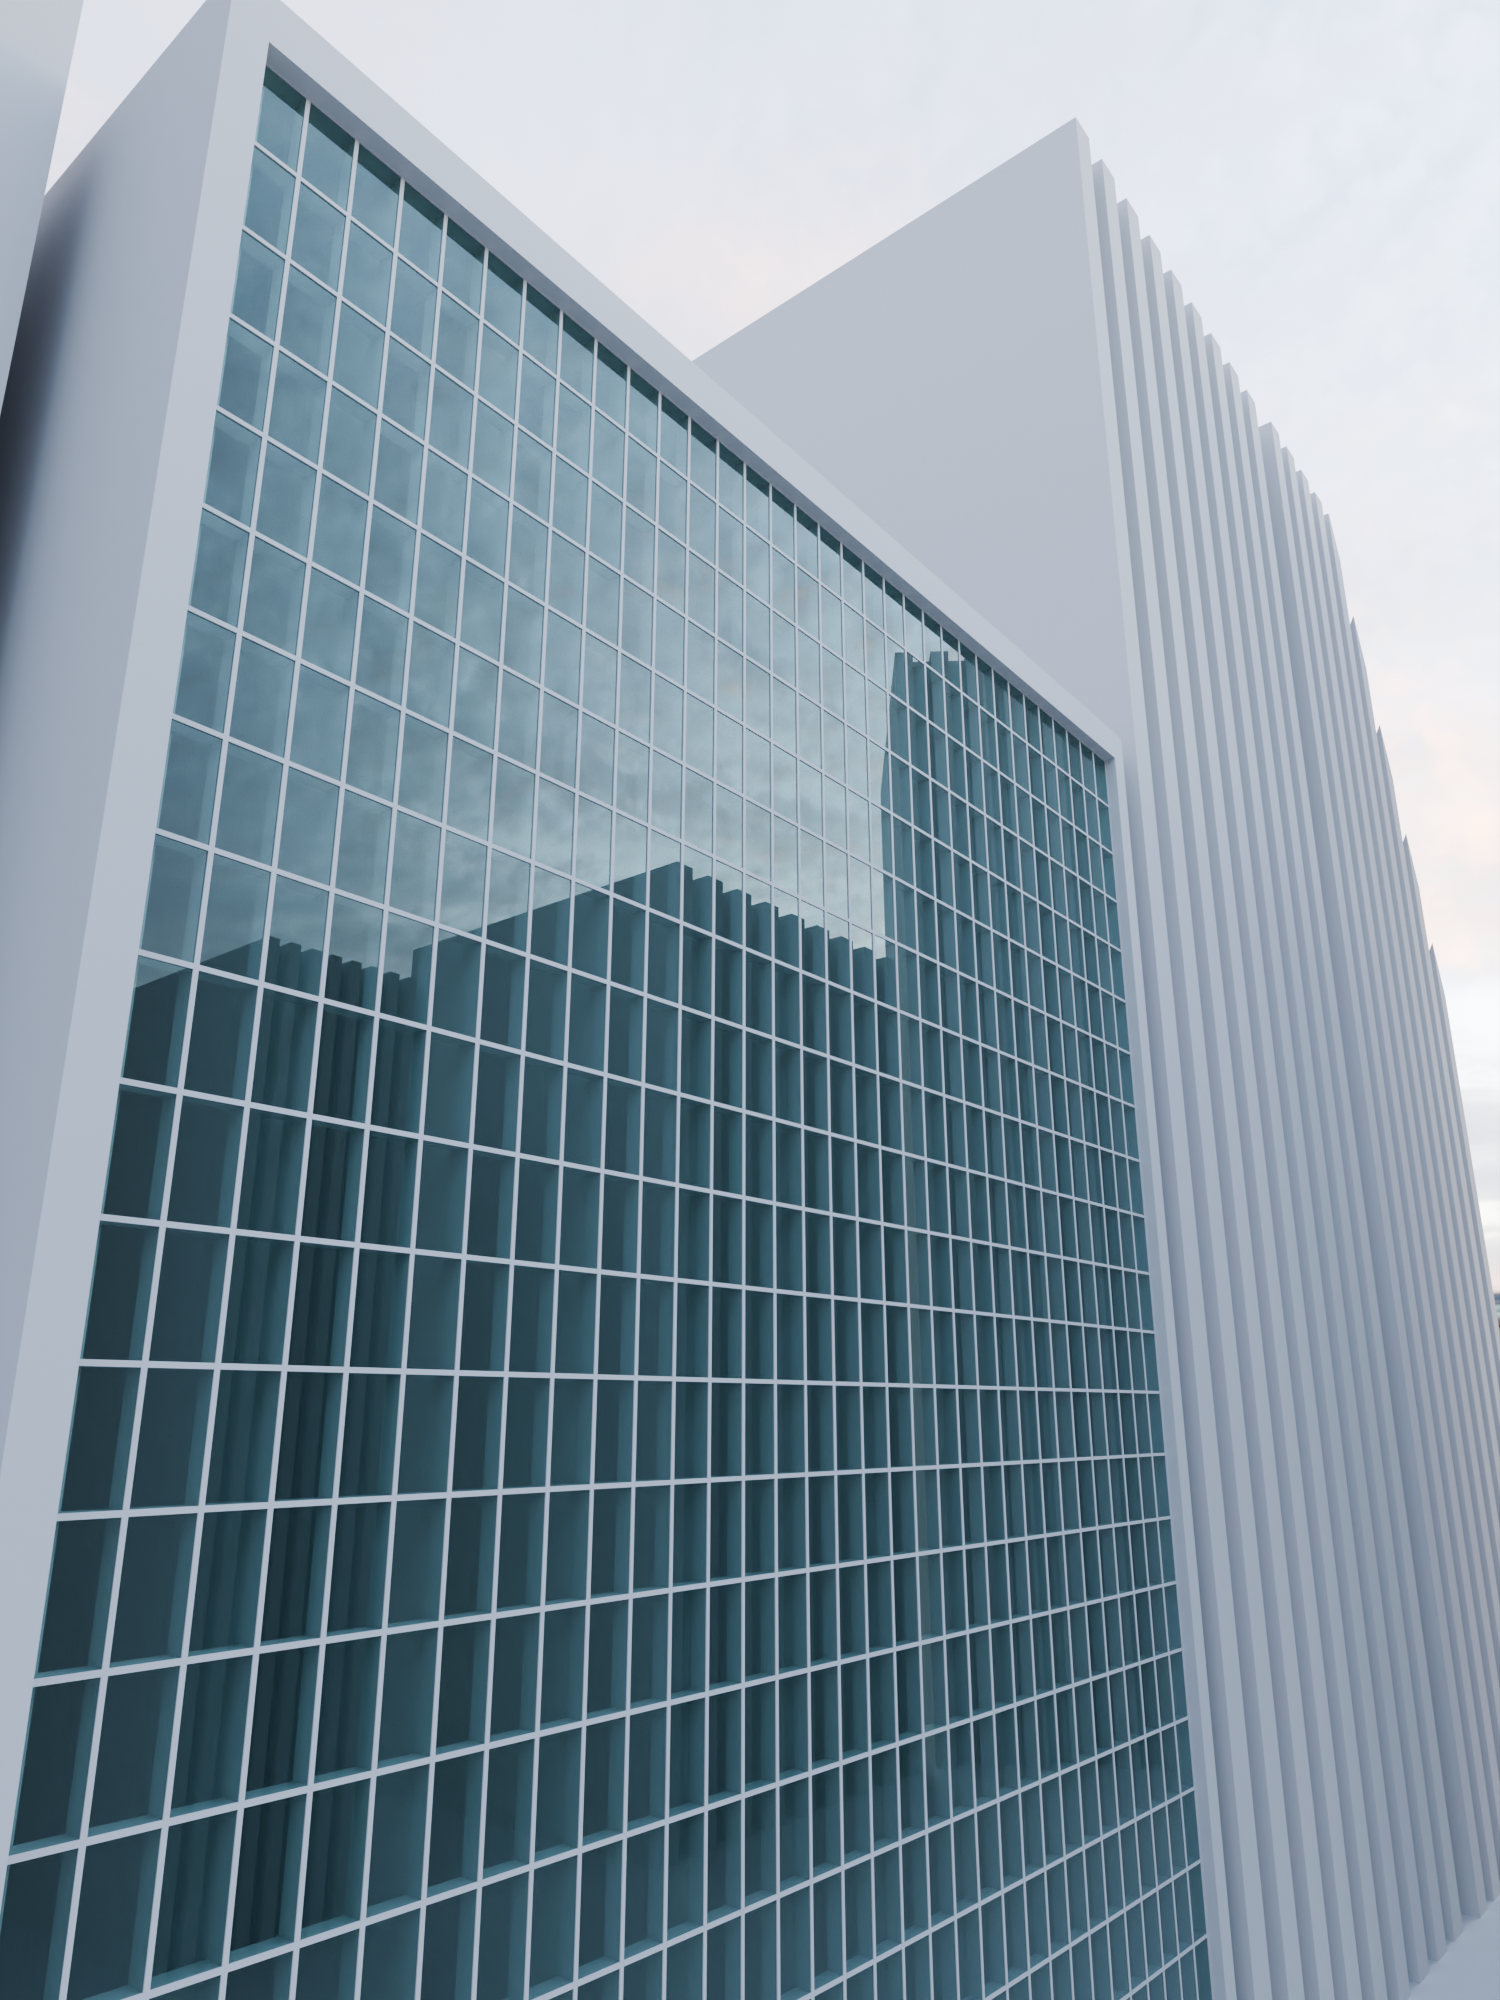
Welcome to the 4th part of my glass guide and this time it’s about the movement in the glass, or rather, it’s actually about the „tensions“ in the glass that arise when the glass has been framed. This viewing effect actually only occurs when you look at a building from a distance and at a certain angle.
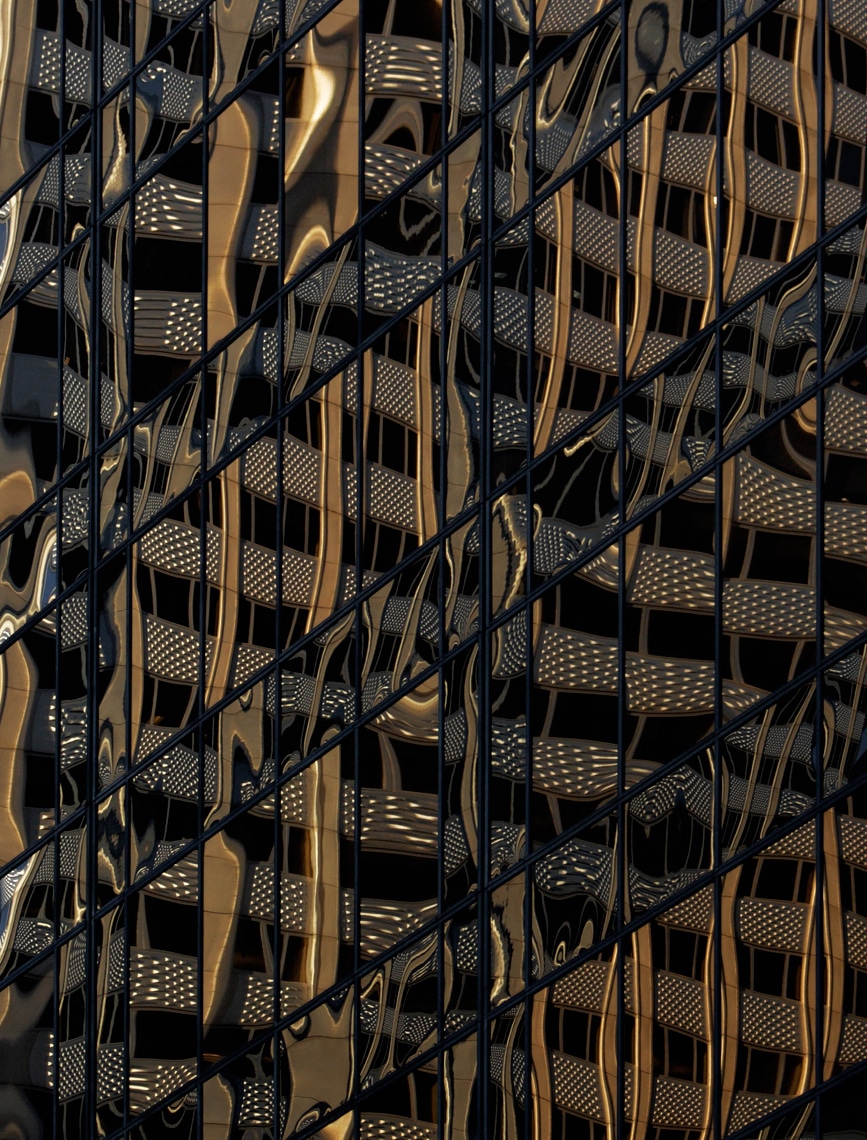
PICTURE SOURCE: Carsten Witte | Hamburg | Germany Link to Behance
What I notice very often is that even many renowned 3D artists and studios do not pay attention to this effect when you look at their large visualizations, which are undoubtedly usually very impressive, this small subtle effect is certainly not noticeable to everyone at first glance, but when it comes to realism, you should definitely pay attention to such details.
First of all, I will try to explain in more detail why this effect is created in the first place. Well, I’m not an engineer, but I think that the smaller the glass surface, the more rigid it is. The larger the glass surface, the more flexible the glass becomes and if a relatively large glass surface is then enclosed in a frame, tension occurs at the edges of the glass surface, which extends to the center of the glass surface. If you stand very close to a glass front, this effect is not noticeable, but if you look at the glass front from further away and at a certain viewing angle, this effect becomes very clear and the further away you are, the more pronounced this effect becomes.
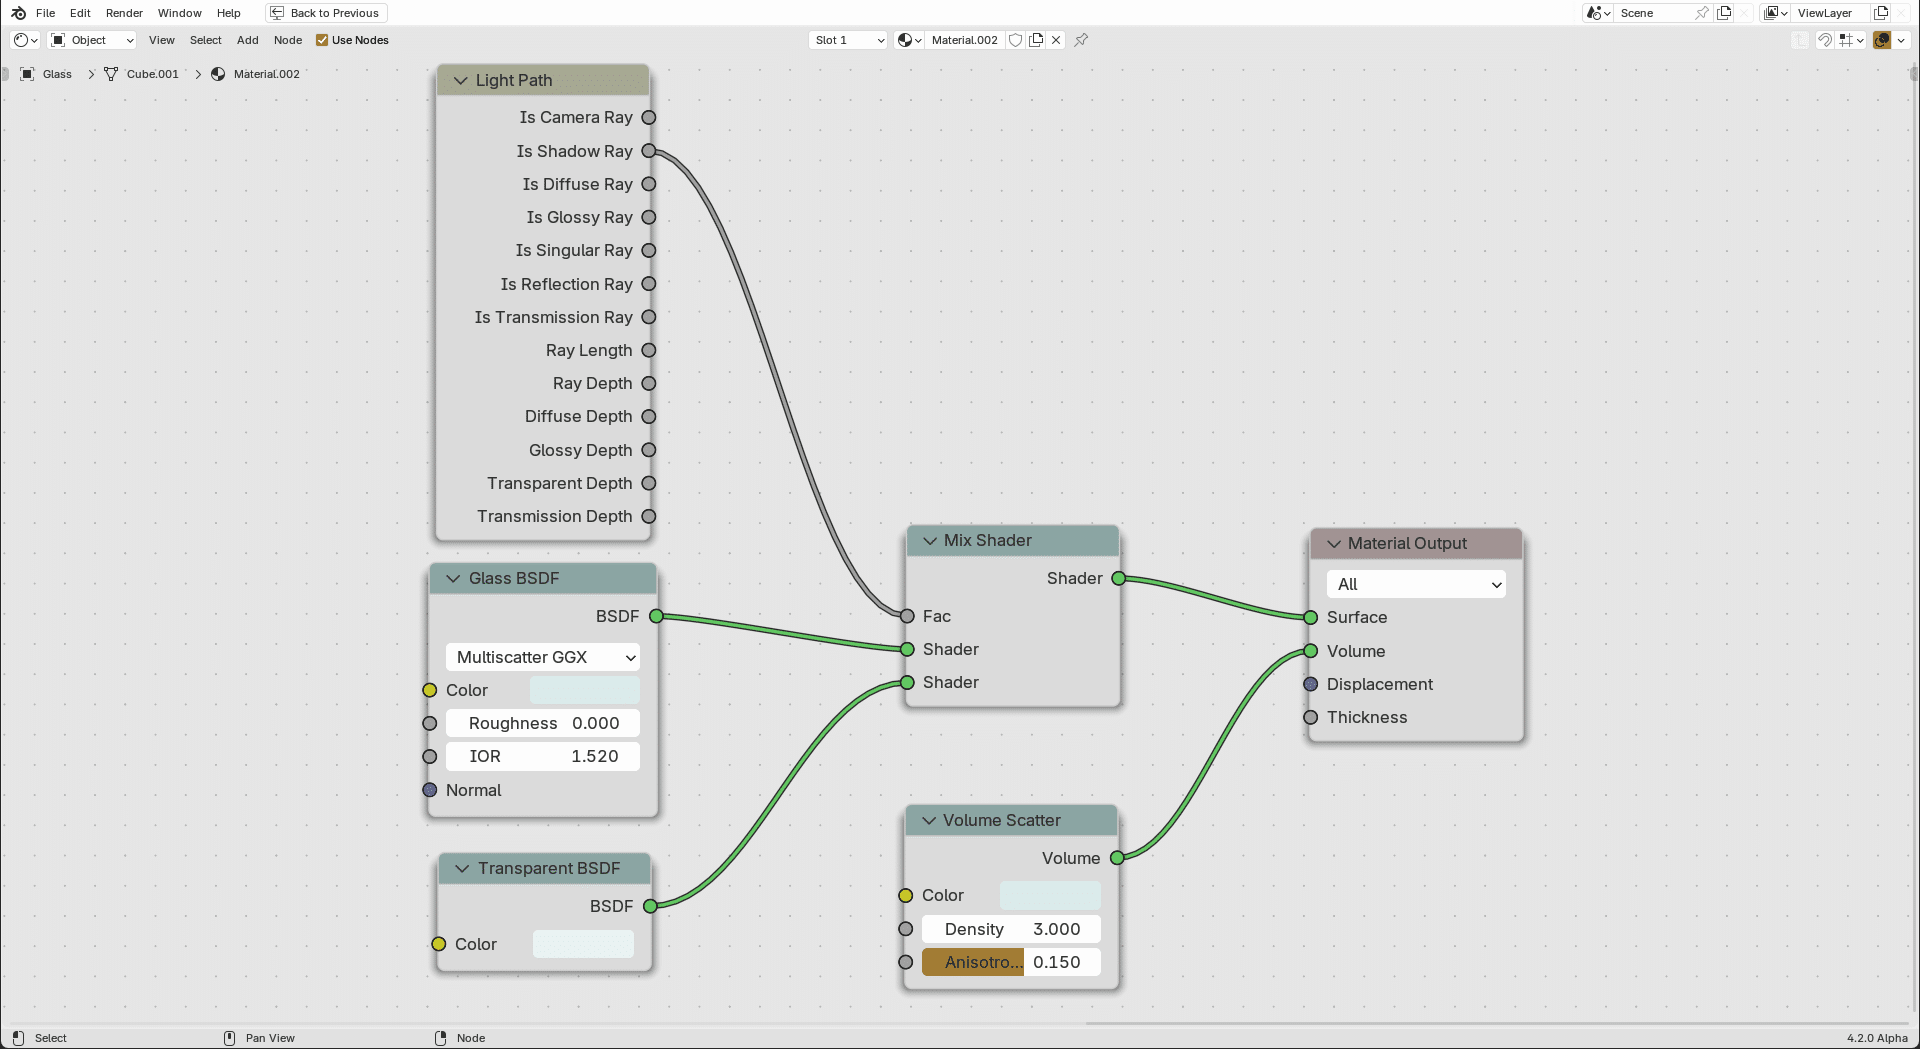
Now that we’ve got that out of the way, let’s get down to the nitty-gritty. But before I start here, I would like to mention that this method I have shown you may be completely wrong, but I have tried a few things in Blender and found this method to work the best, as you have complete control over the result. I would use a slightly different workflow in 3ds Max, for example, but essentially with the same approach.
First, of course, you need a glass surface or glass front to which you assign a glass shader. The structure of my „architectural glass“ looks like this…
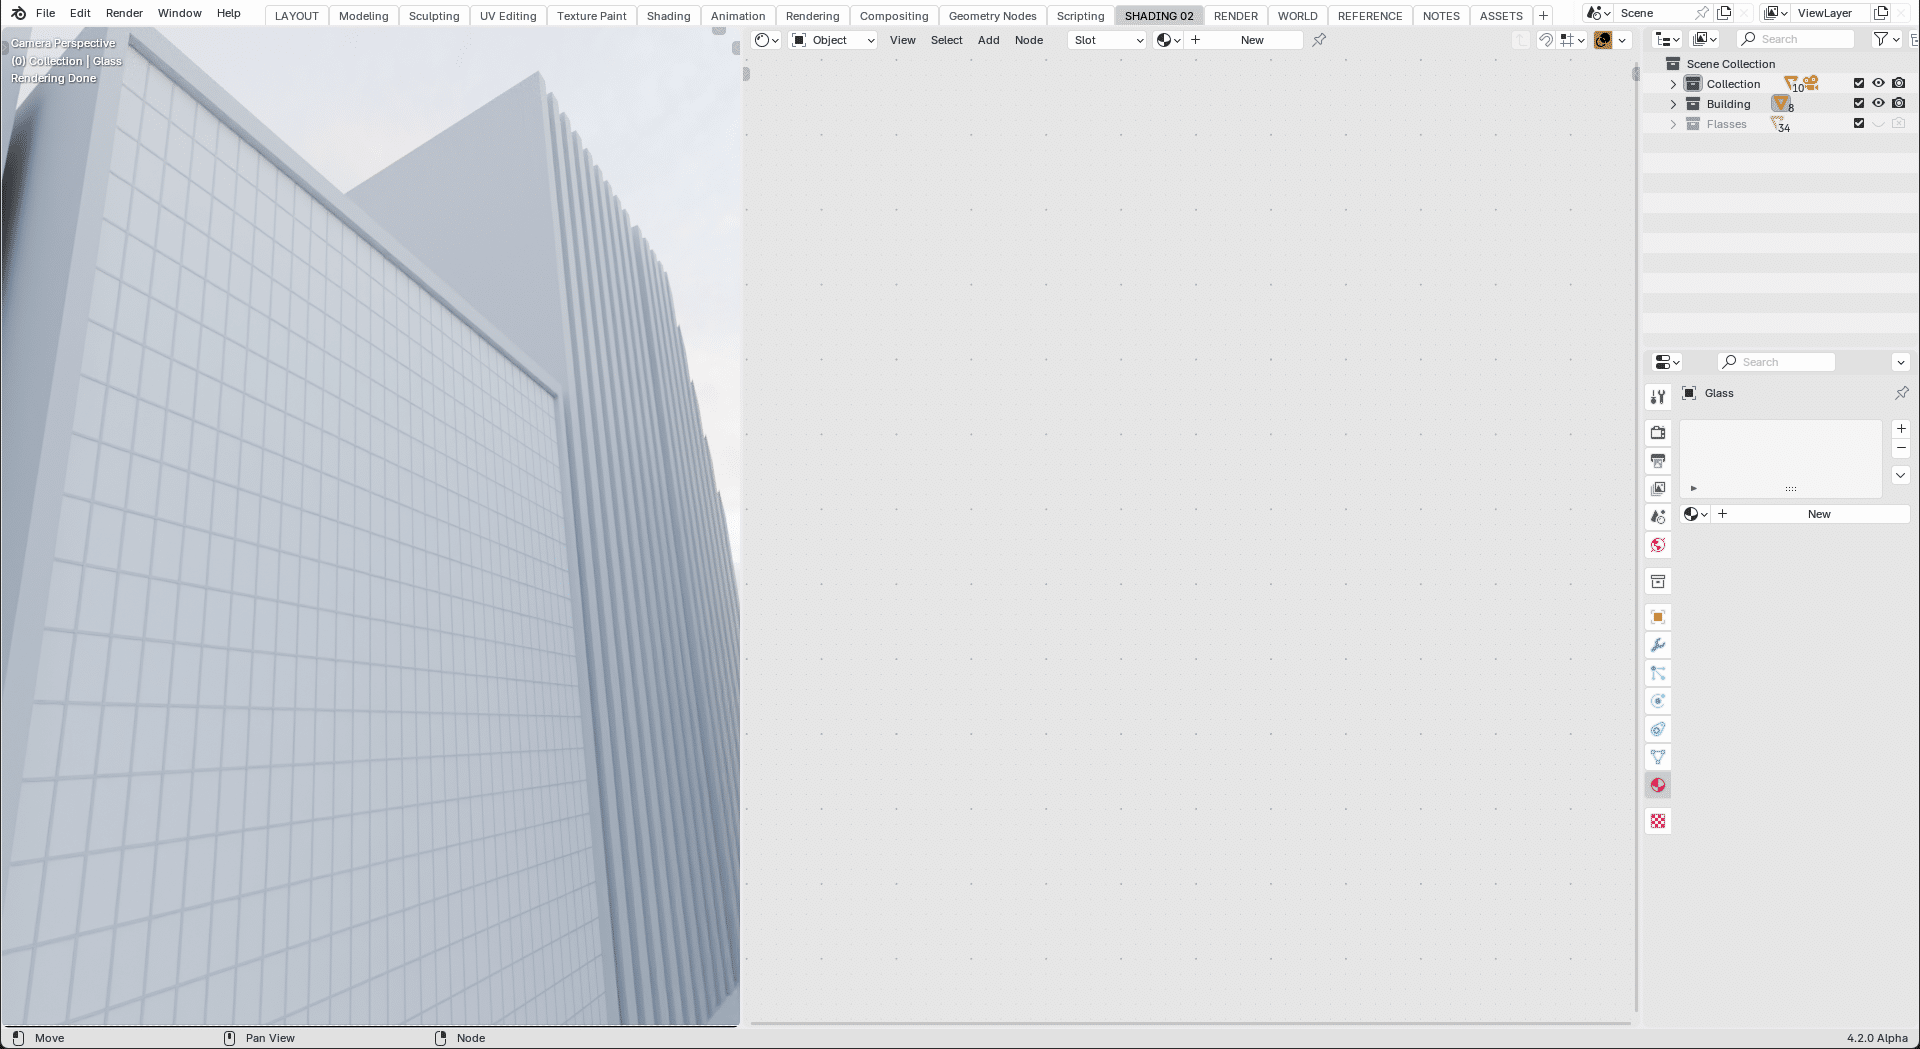
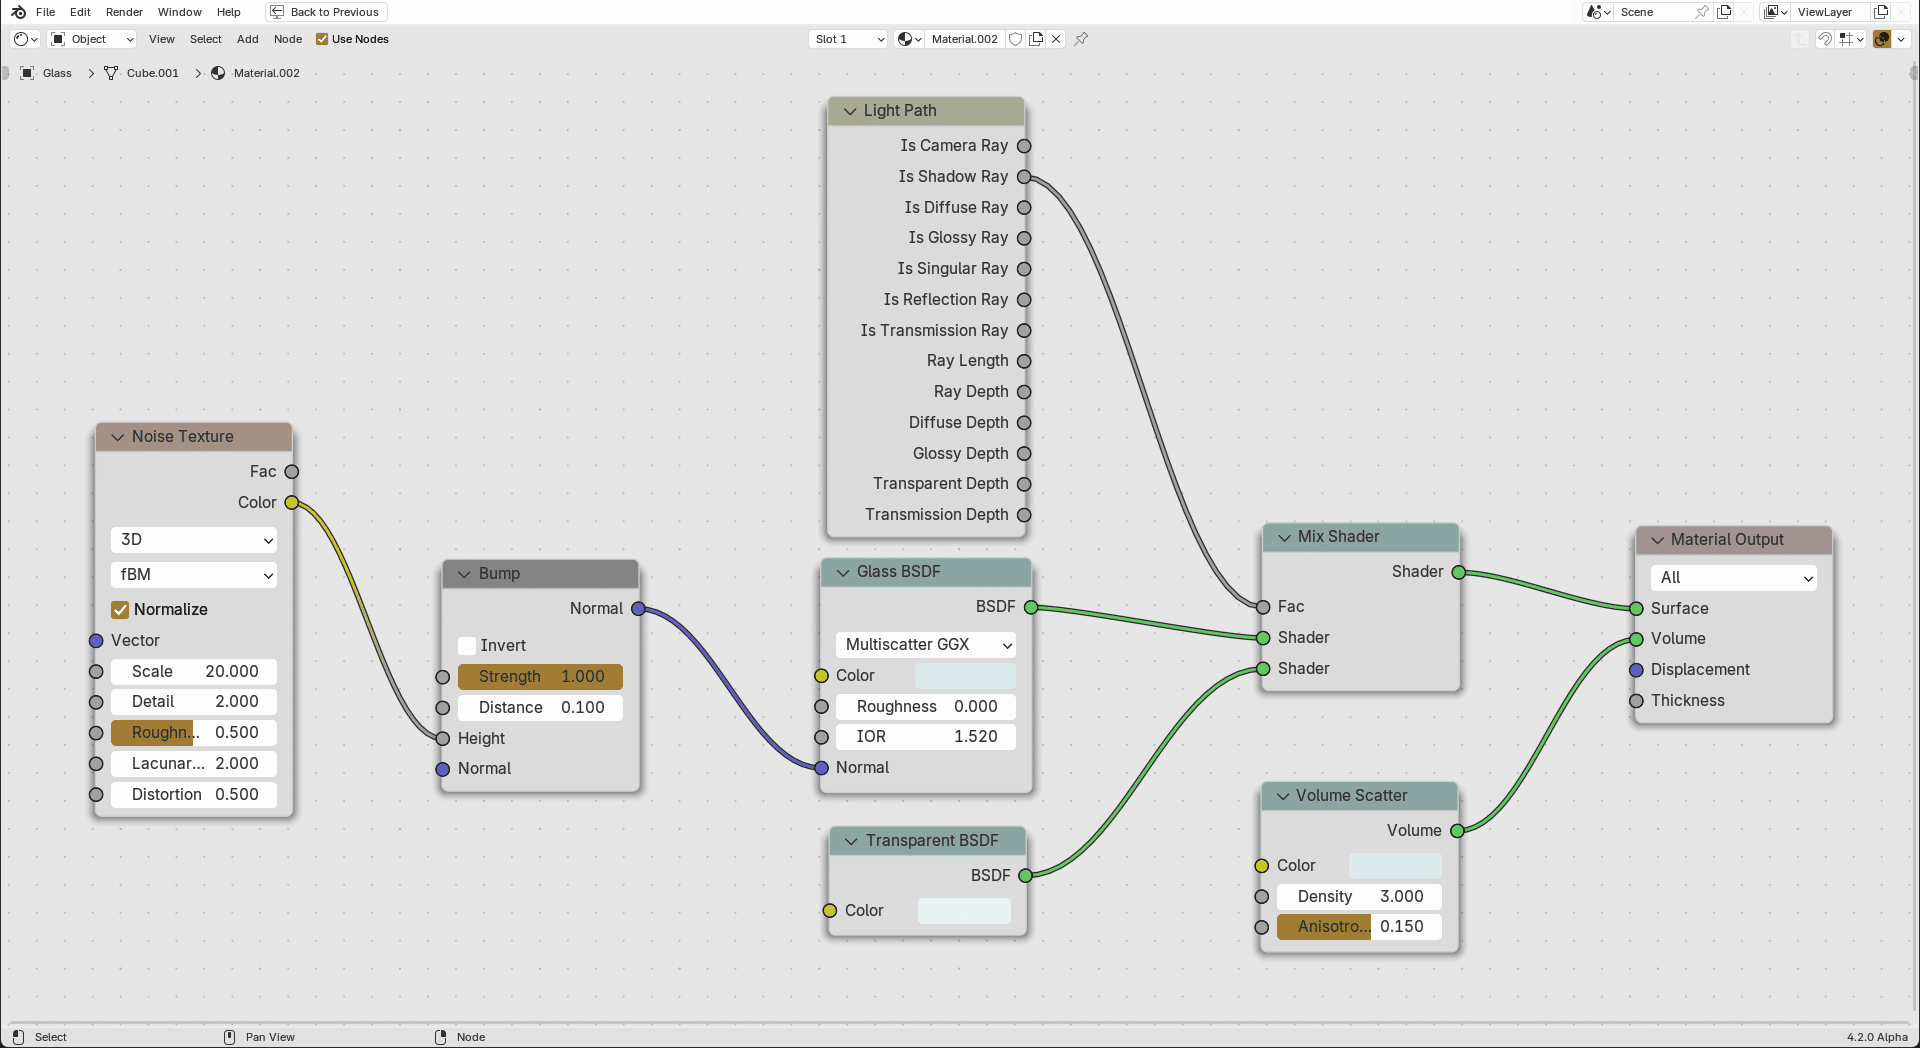
You can see the individual nodes and values in the screenshot. I used this hex color code „DBEBEA“ as the color for the glass. You use this color value in the „Glass BSDF“ node and in the „Volume Scatter“, you also enter the same color value in the „Transparent BSDF“, whereby you select a slightly lighter value.
To create this effect, proceed as in the following short video, although I would like to point out that I have deliberately chosen slightly higher values to make this effect more visible. In addition, the values I have chosen are not a benchmark and are also very dependent on your scene, so I strongly recommend that you play around with the values until it feels right and realistic for you. Basically, I just want to show you where the journey should take you. What you make of it is of course up to you.

As always, I hope you enjoy this 4th part of my Glass Guide and wish you a great and successful rest of the week.