
There is a small, fine add-on for Blender called “One Click Damage” and with it you can procedurally create various stones or stone walls with damage. If you don’t know this AddOn yet, just follow this link here. CLICK
Today I would like to show you how you can do this in Max. But before we start, I would like to mention that the individual values I have shown here depend very much on the size of the object. You should also bear in mind that the units of measurement you have set in Max play a major role. I have set my units of measurement in “cm”, if you have selected “inches”, “meters” or “mm”, you must either increase or decrease the values I have given you until you get the result that suits you.
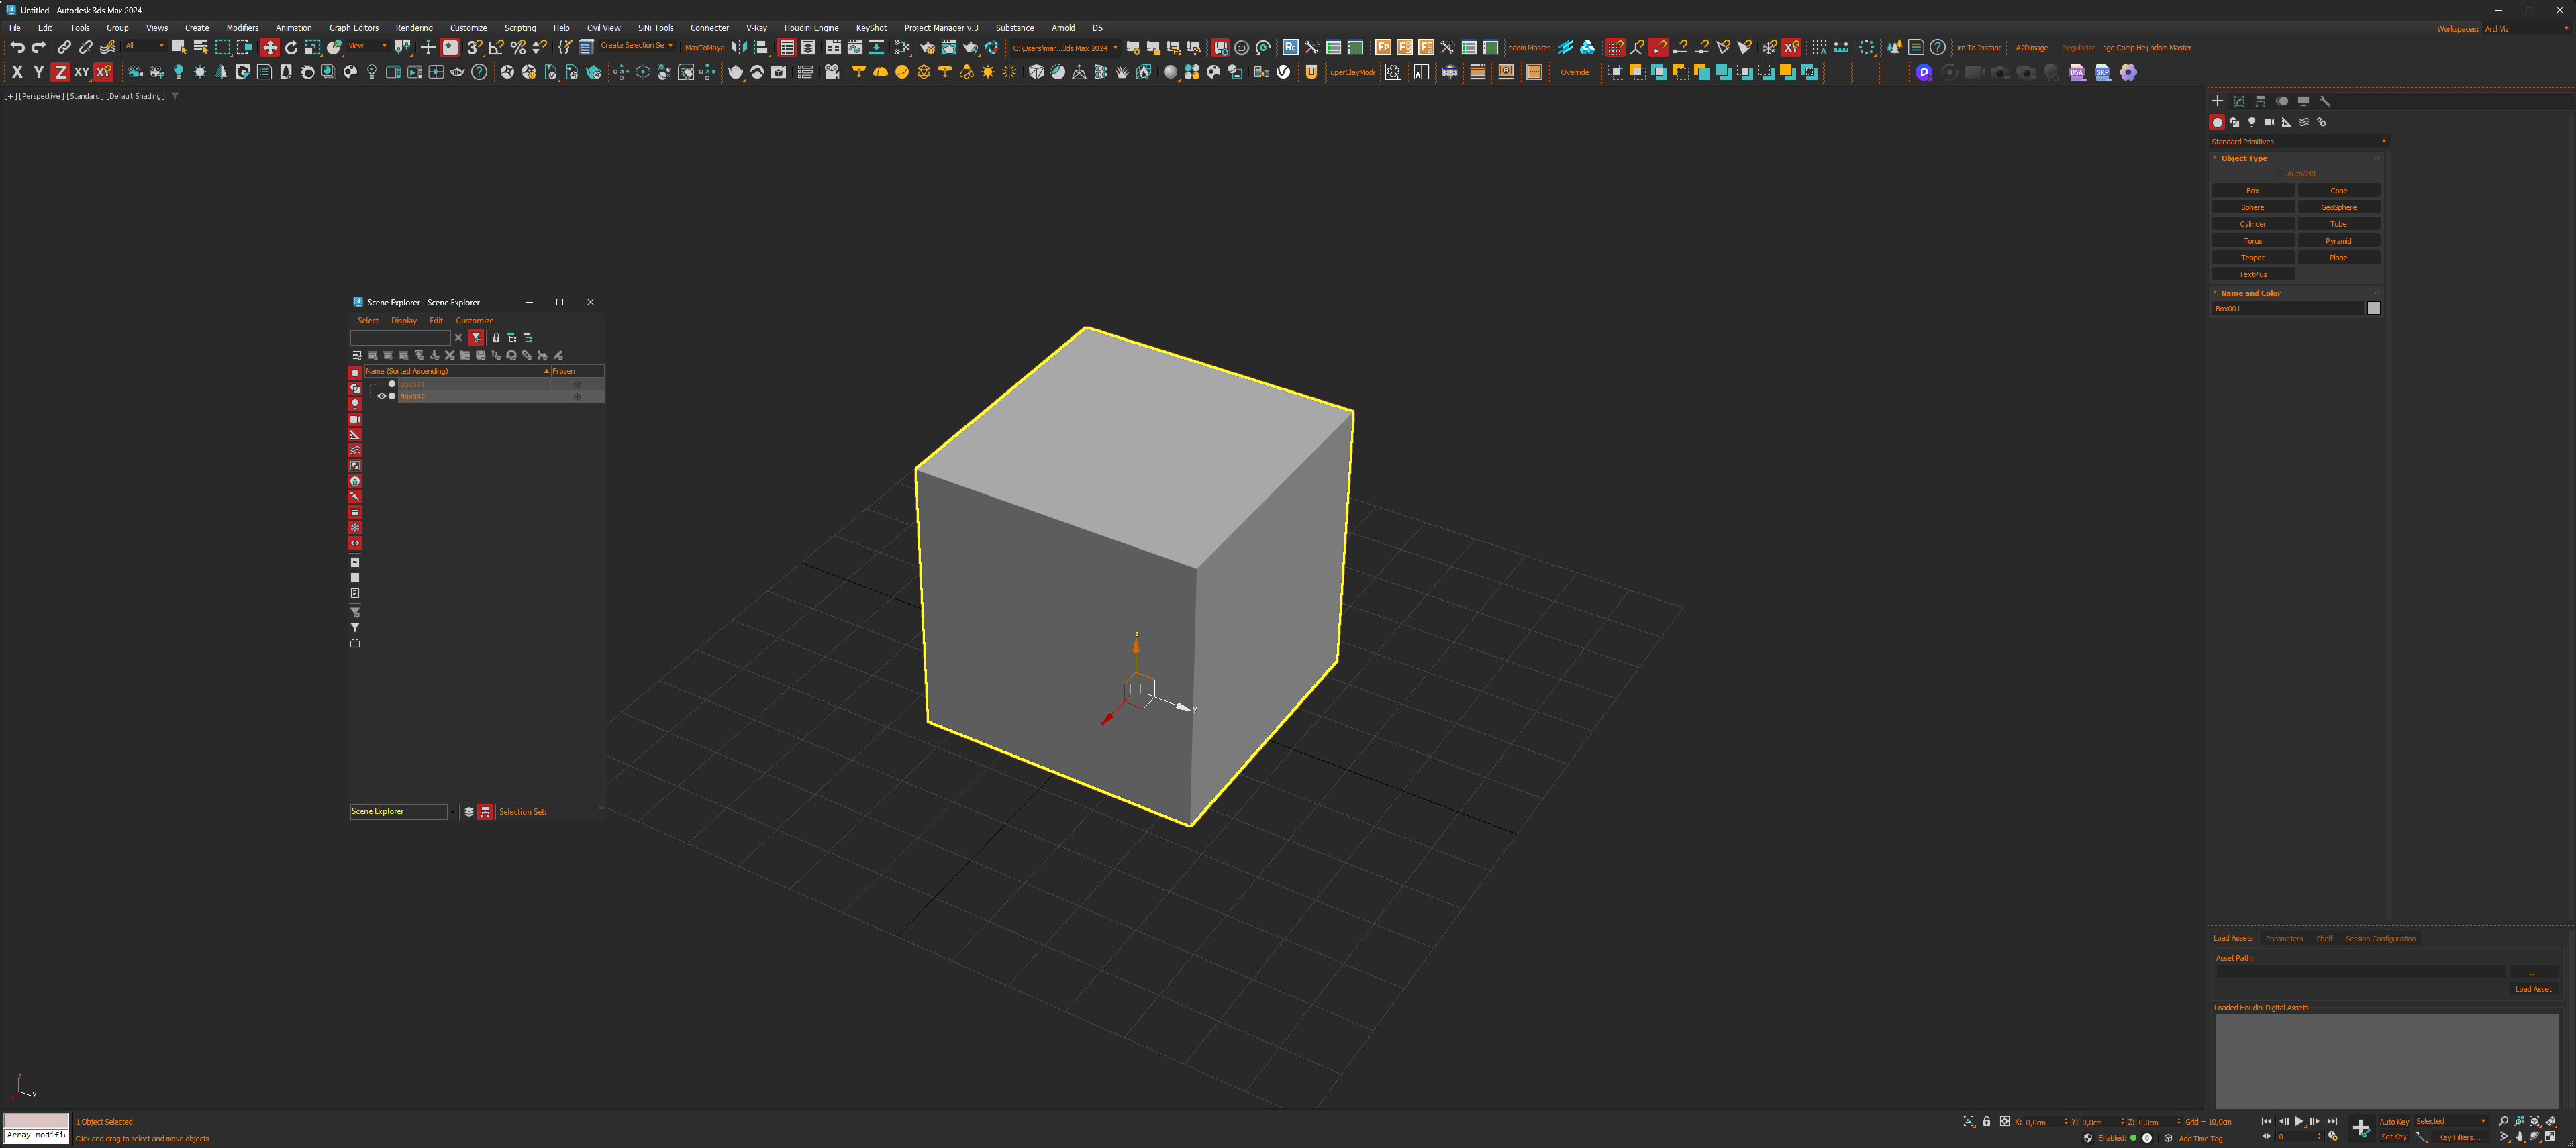
Now, let’s get started. First you create a cube, but you can also use a cylinder or cuboid. For the sake of simplicity, I have chosen a cube here. I have chosen the dimensions 50x50x50 cm for the cube.
Next, convert the cube into an “Editable Poly” and then copy the cube and hide the first cube in the “Outliner”.
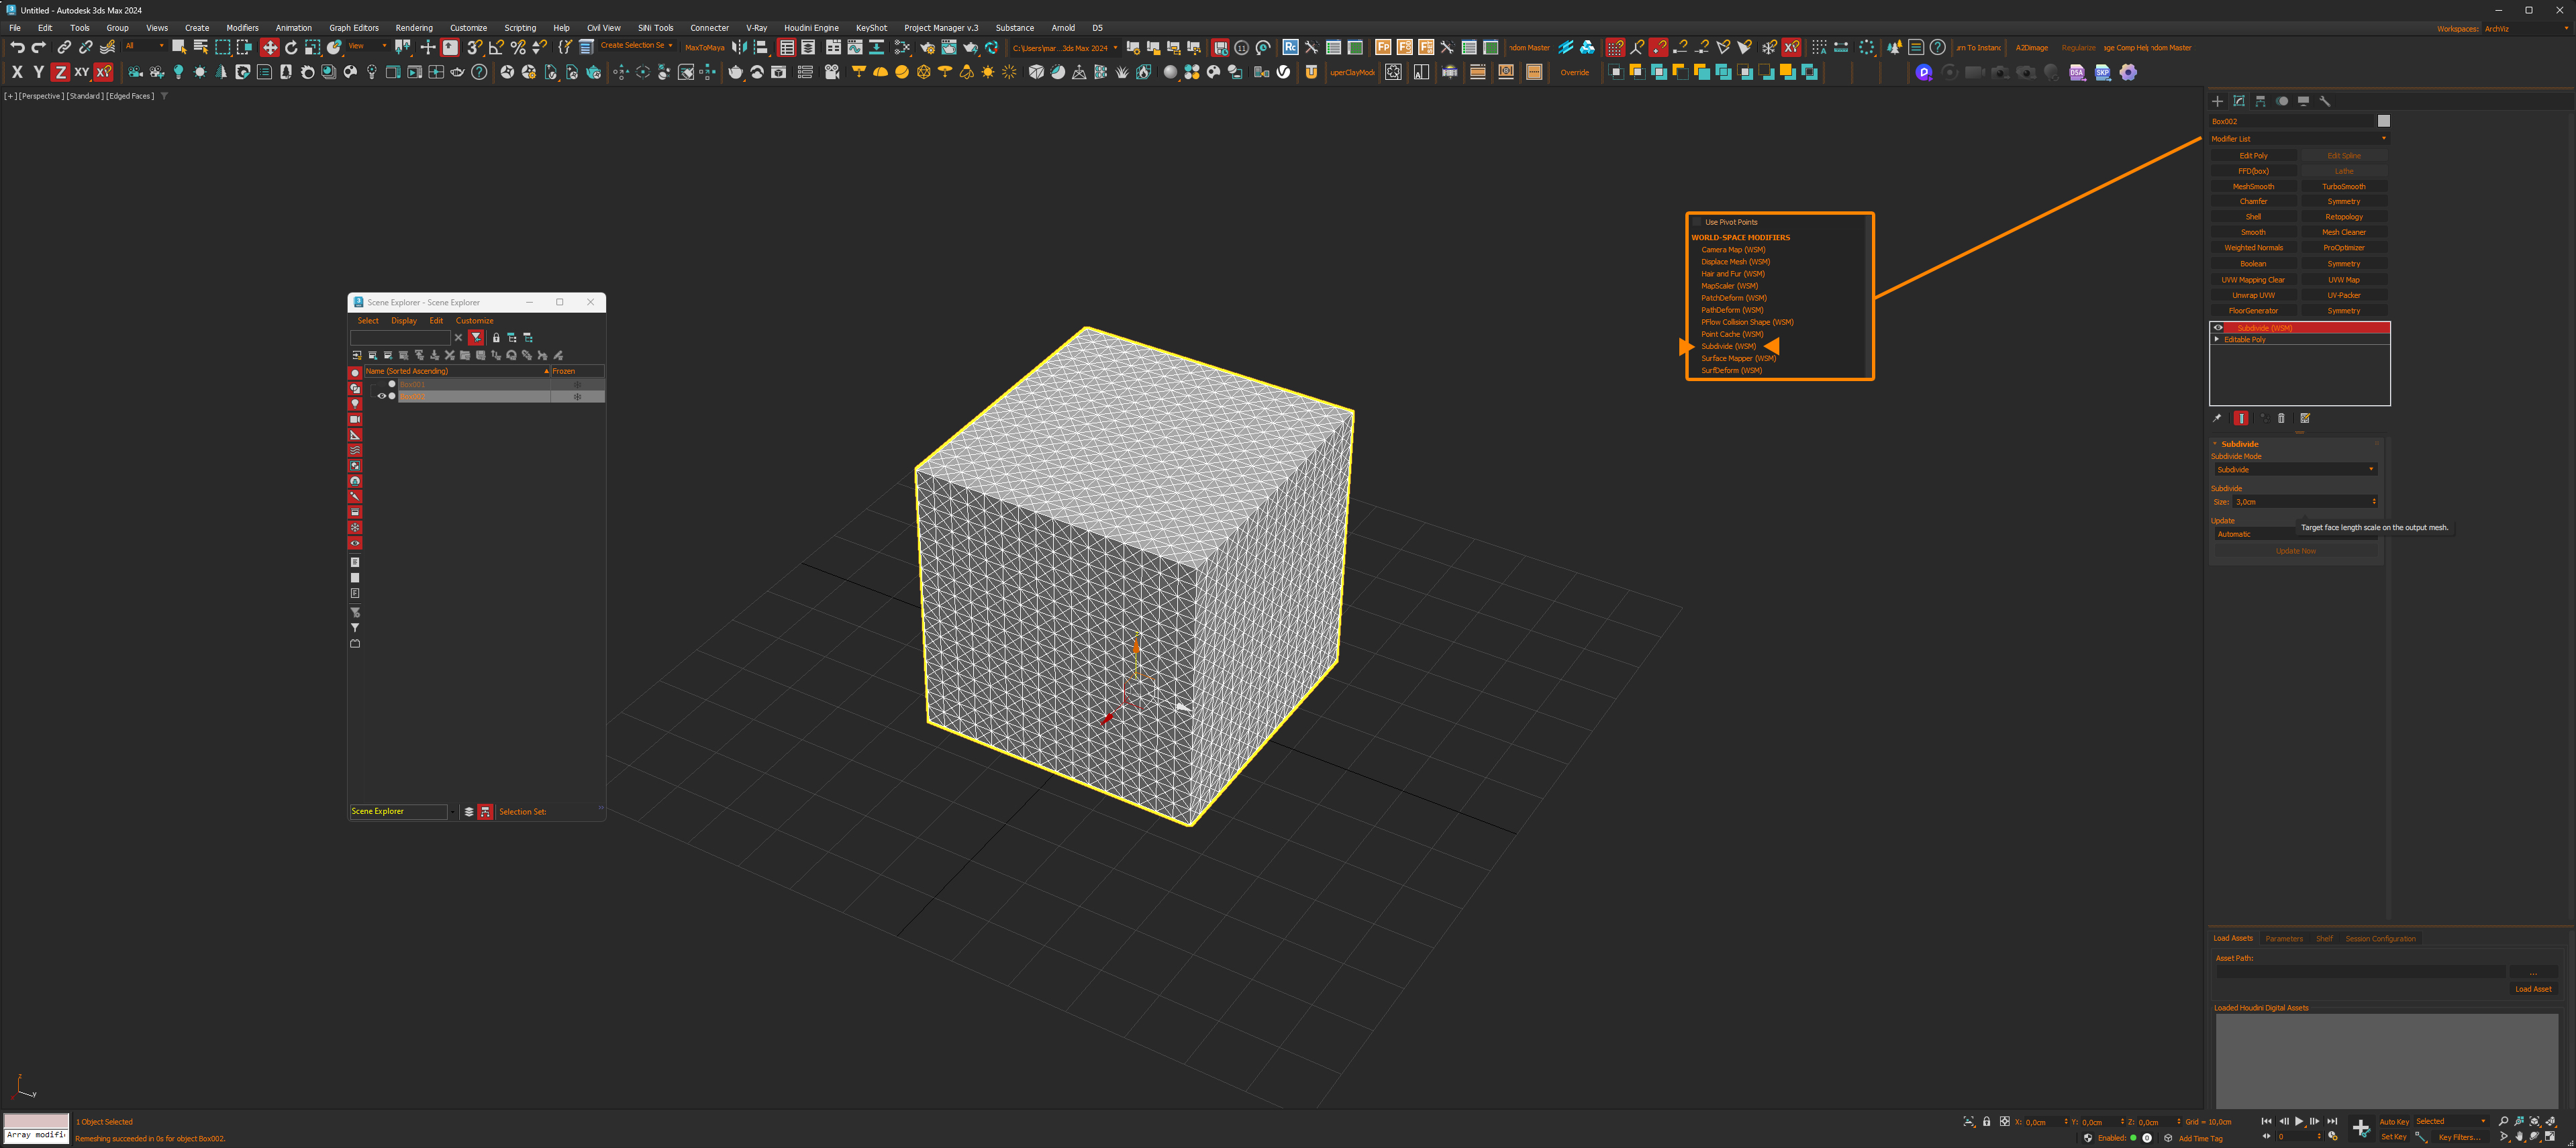
Now search for “Subdivide (WSM)” in the modifiers and set the size to 3.0 cm
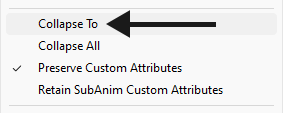
Once you have done this, right-click on the “Subdivide (WSM) – Modifier” you have just created and select “Collapse to”.
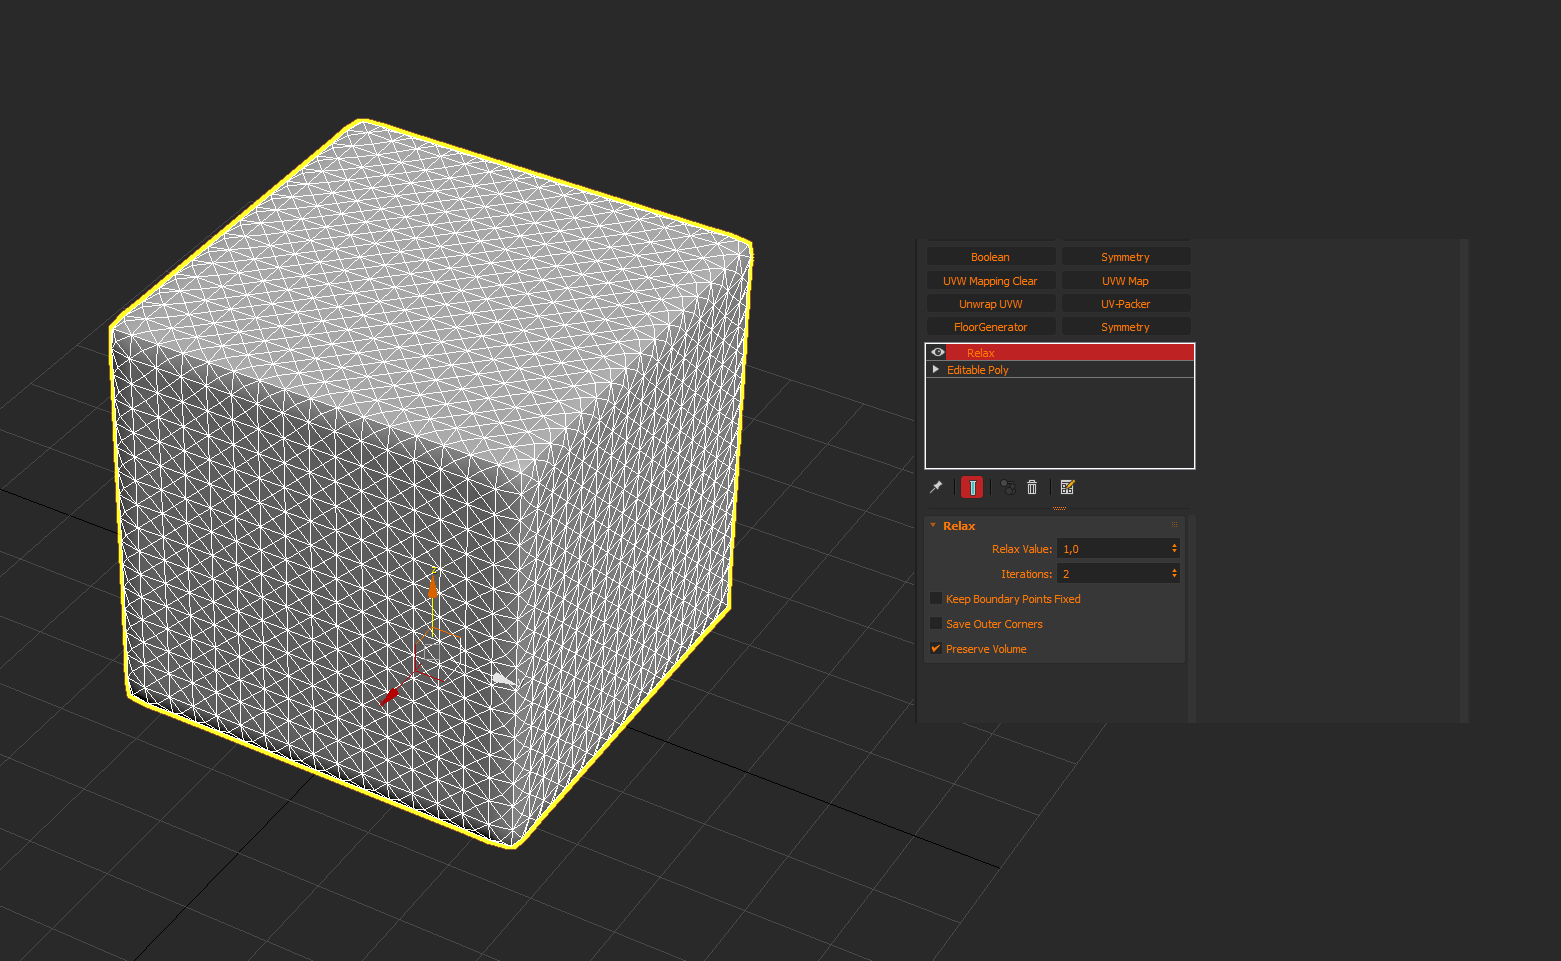
Next, select “Relax” in the modifier list and set the “Relax Value” to “1” and the „Iteration value“ to “2”.
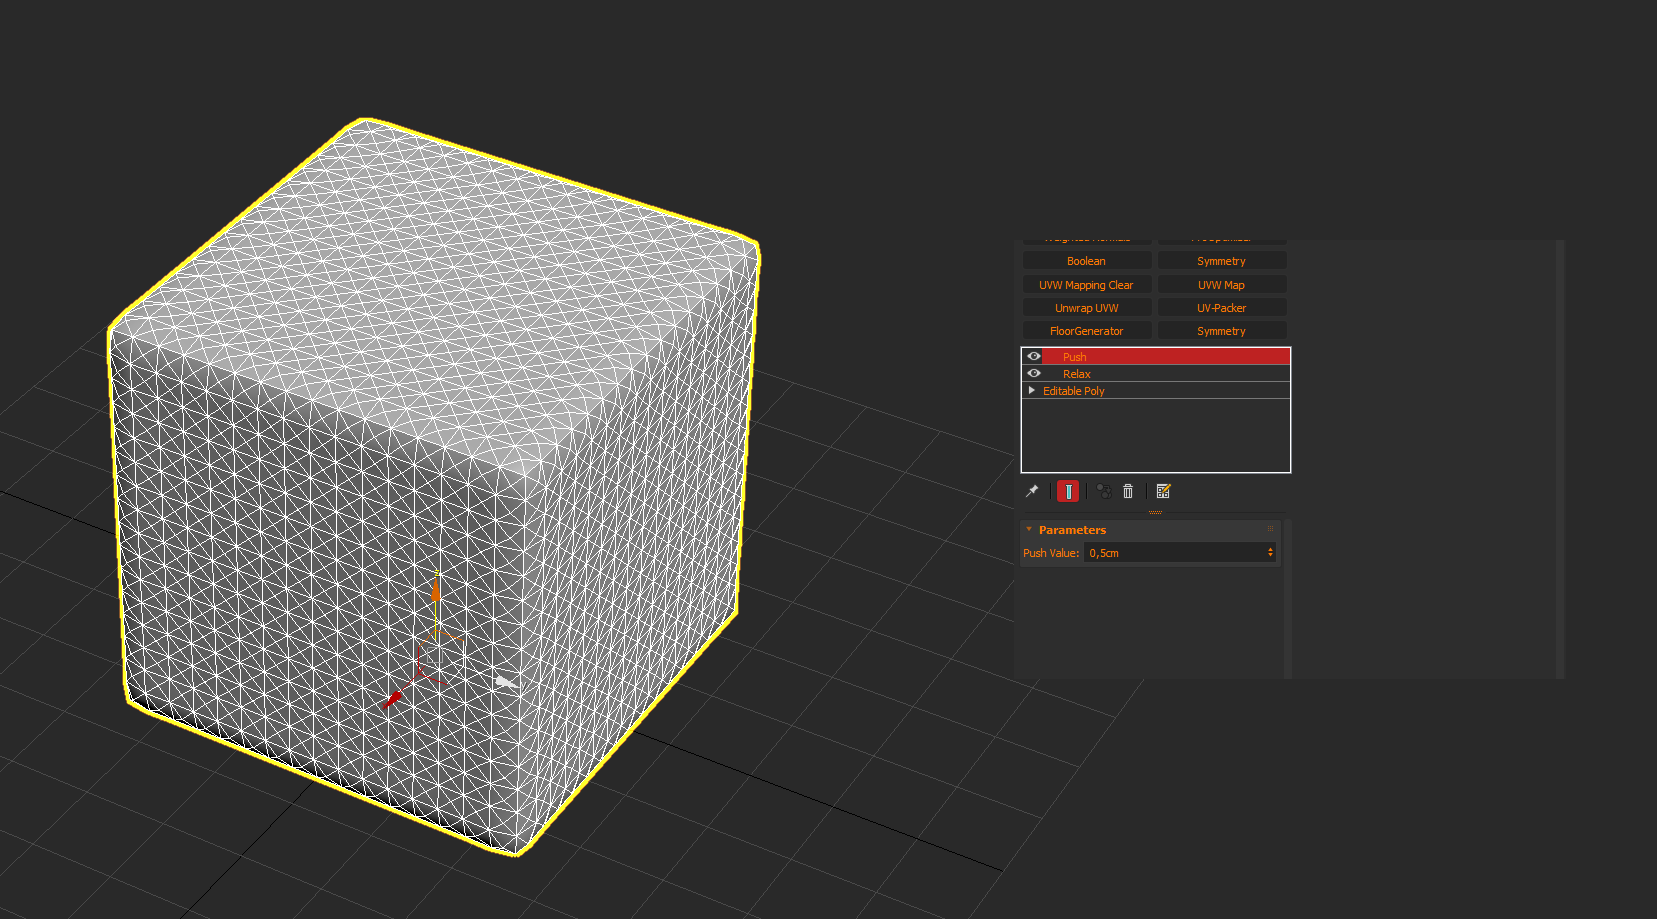
Now it’s time to show the first cube again using the outliner. Then add another modifier from the list with the name “Push” and set the value to „0.5“. As mentioned at the beginning, you have to play with the values depending on the object size and your chosen units of measurement.
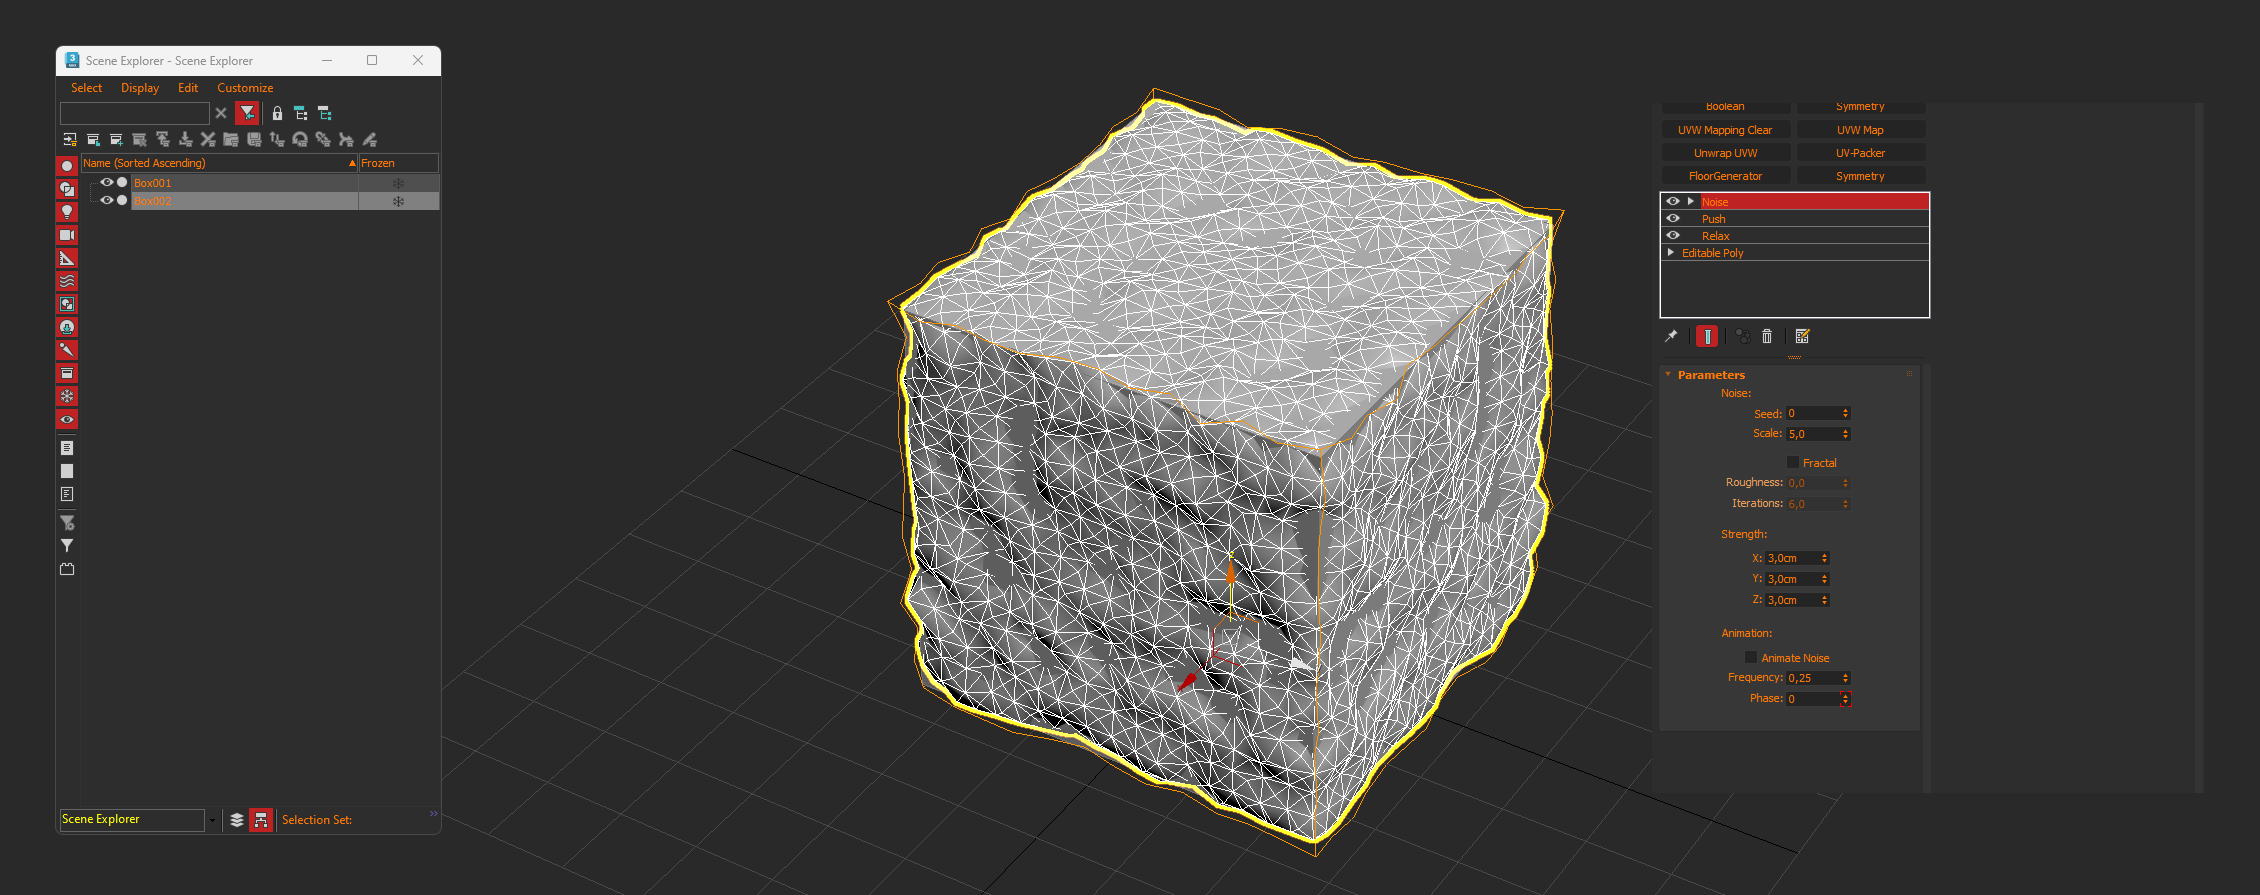
Now select the “Noise modifier” from the list and set the size value to “0.5” and the “X,Y,Z Strength values” to “3.0cm”.
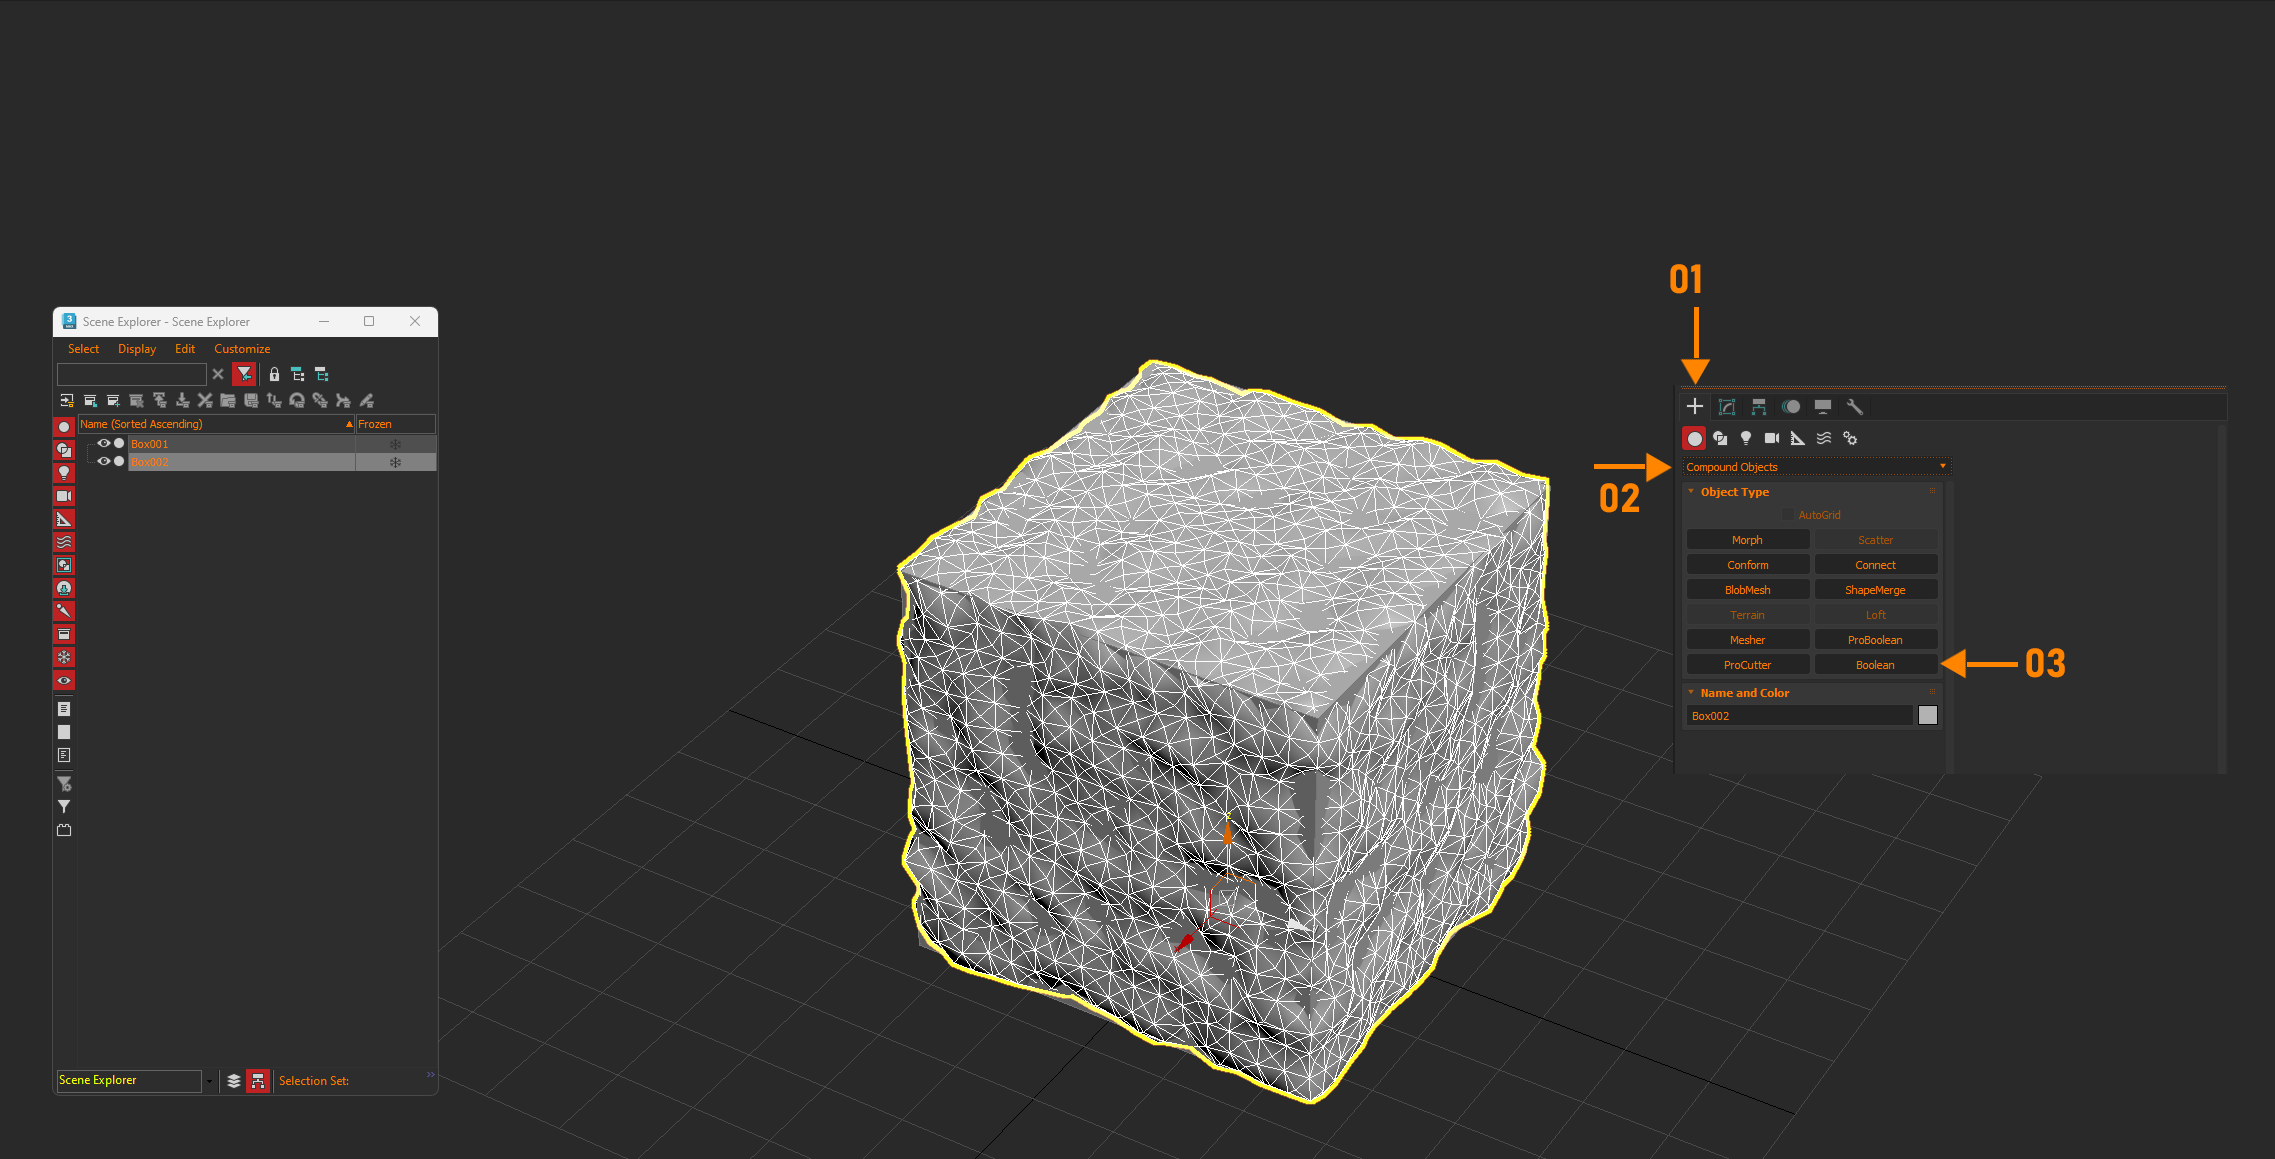
Well, we are almost through, you now have to click on the “Create Tab” and select “Compound Objects” from the “Drob-Down-Menu” and click on the “Boolean” button.
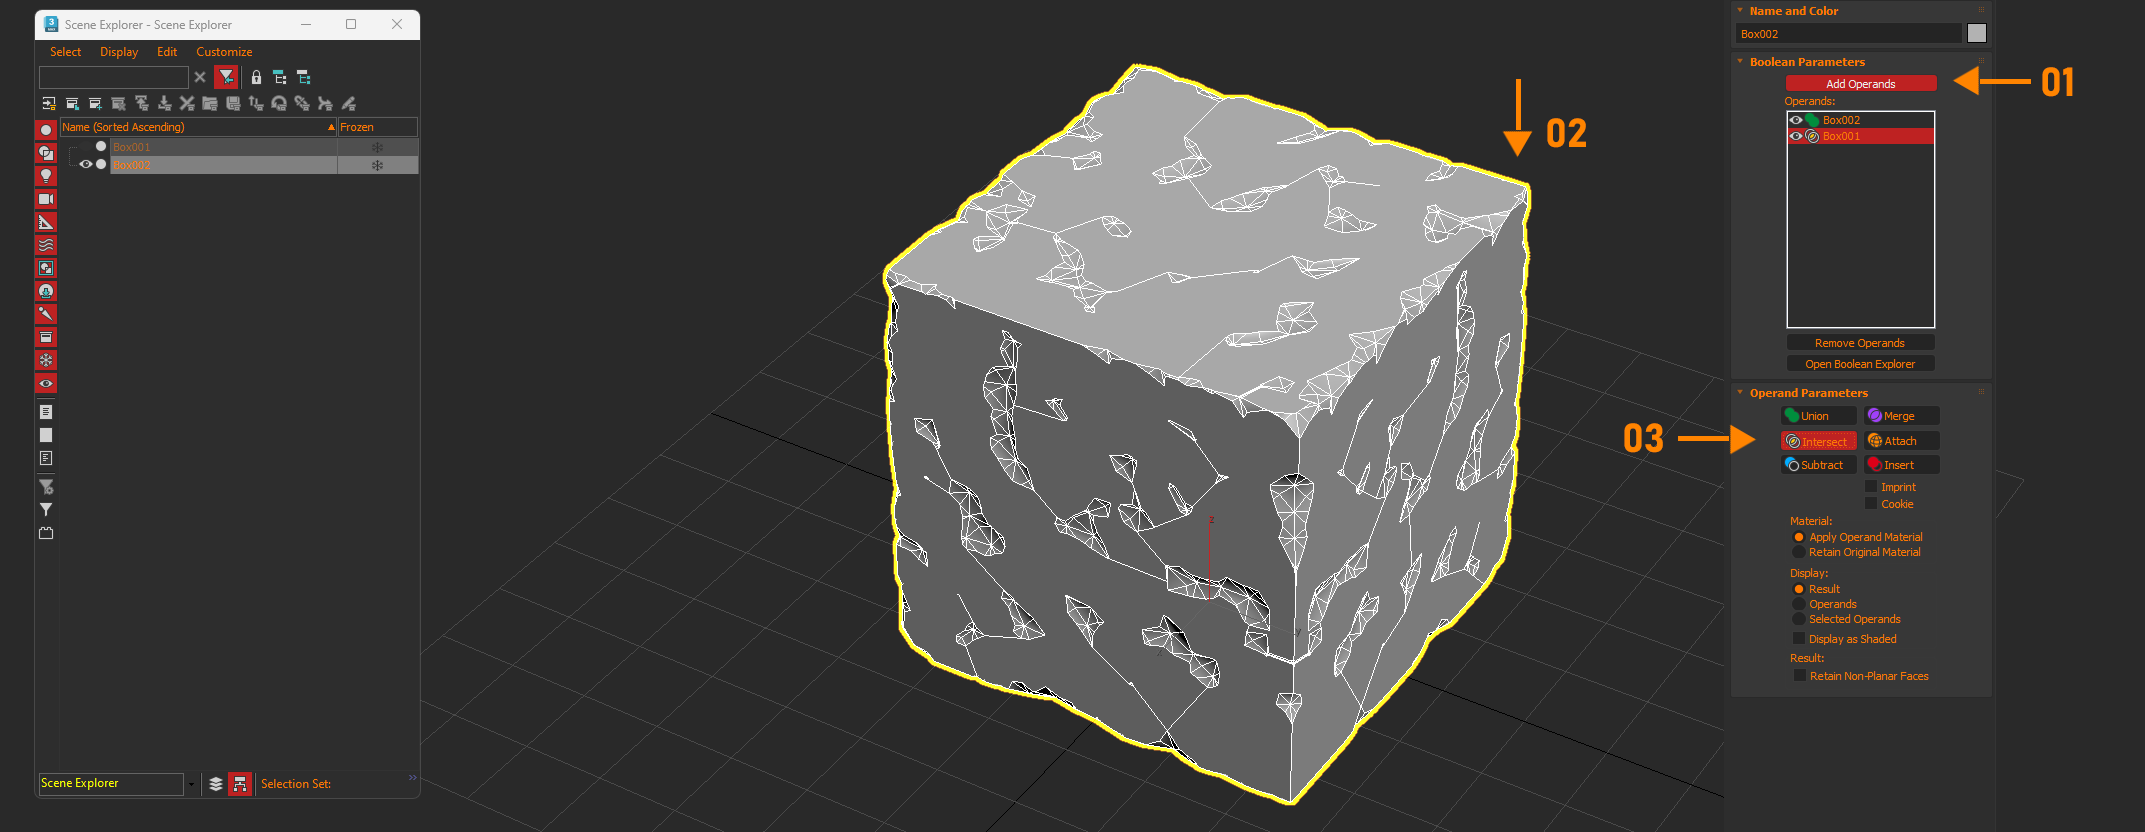
Now click on the “Add Operands” button and click on the first cube in the viewport and add it. Then select “Intersect” as the parameter.
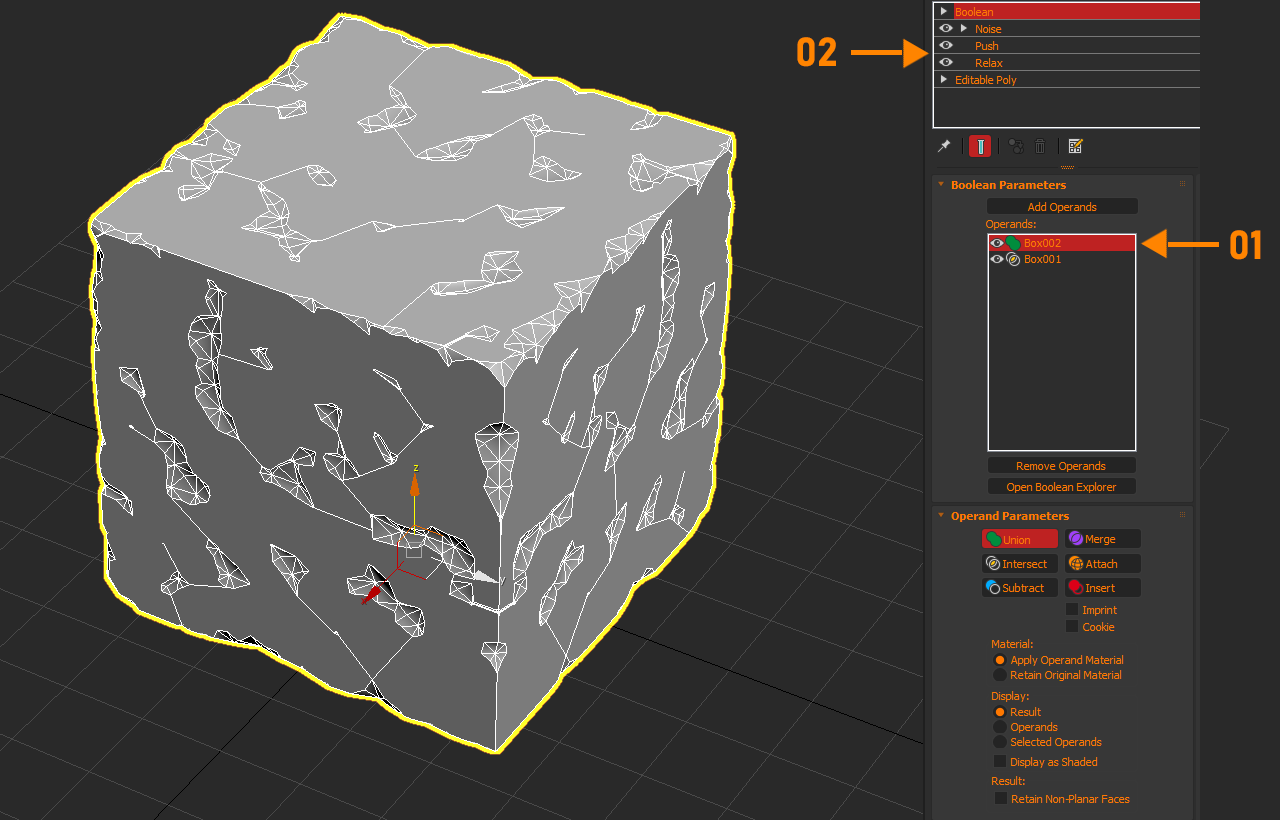
If you now want to adjust the values even further, select the second die with the modifiers and play around with it until you are happy with the result.
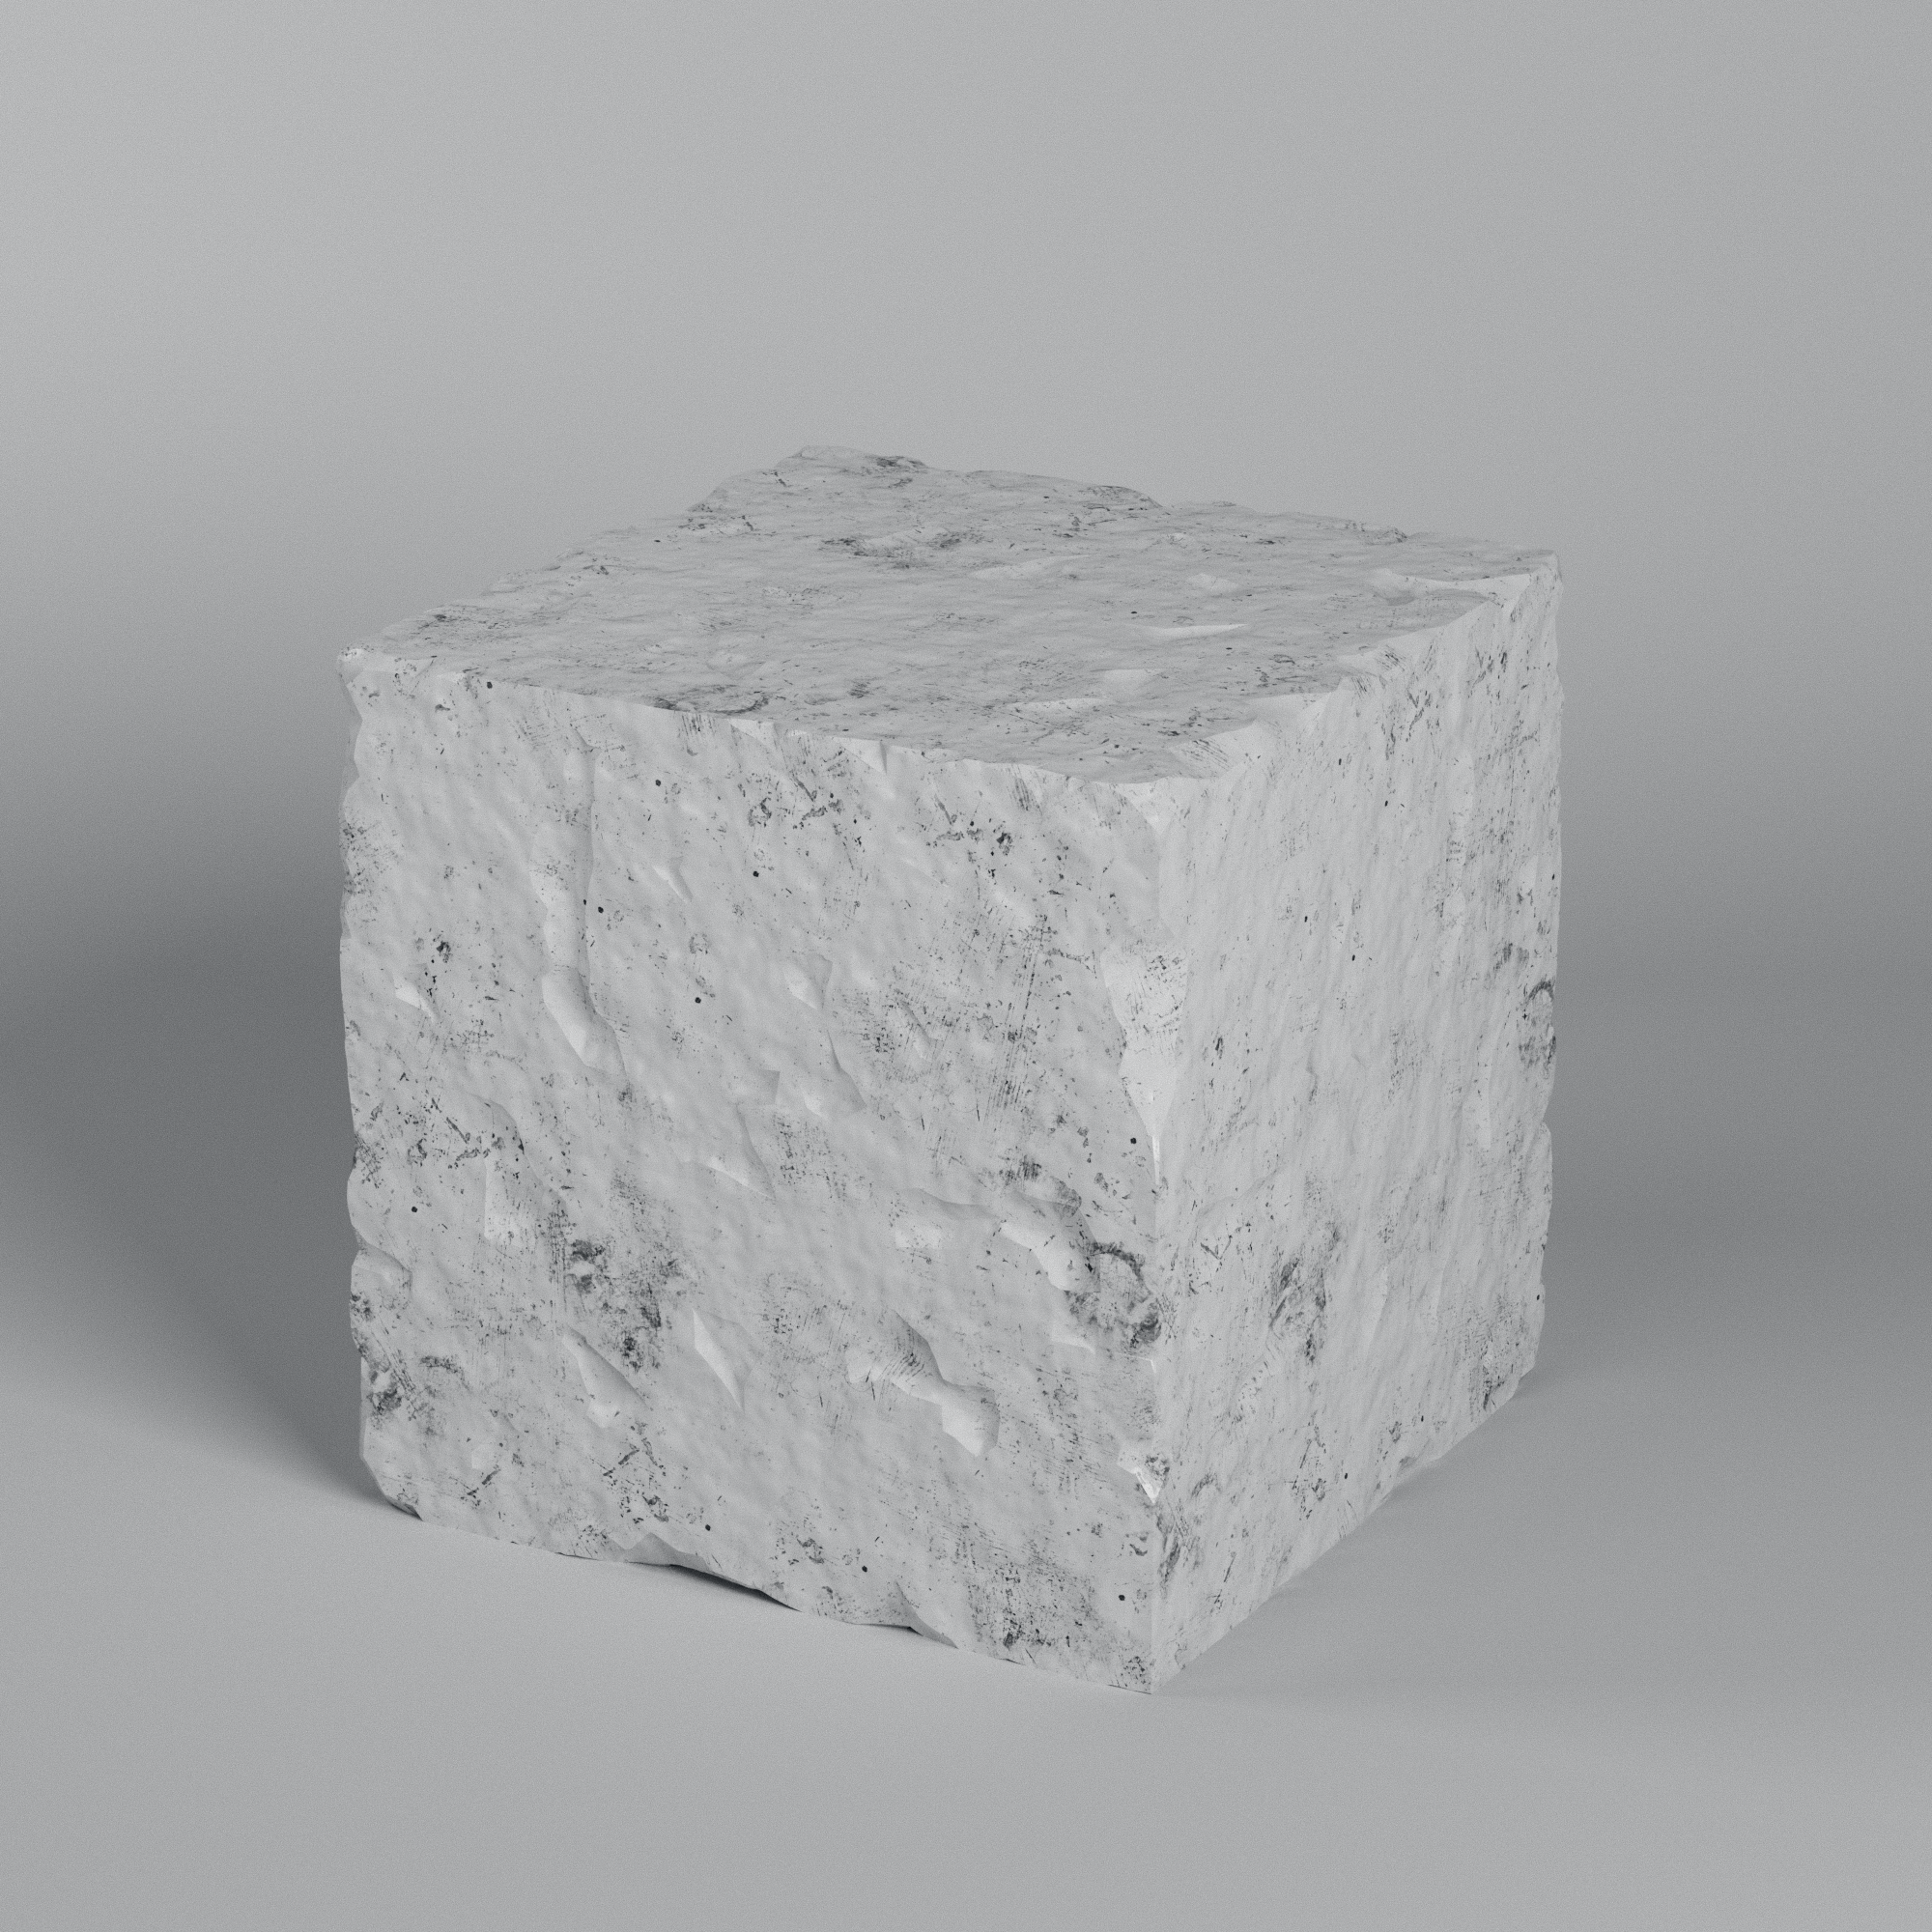
Finally, I simply used a “Noise-Shader” as a Bump and placed a Texture over it, and that was it.